Home Wall Graphics
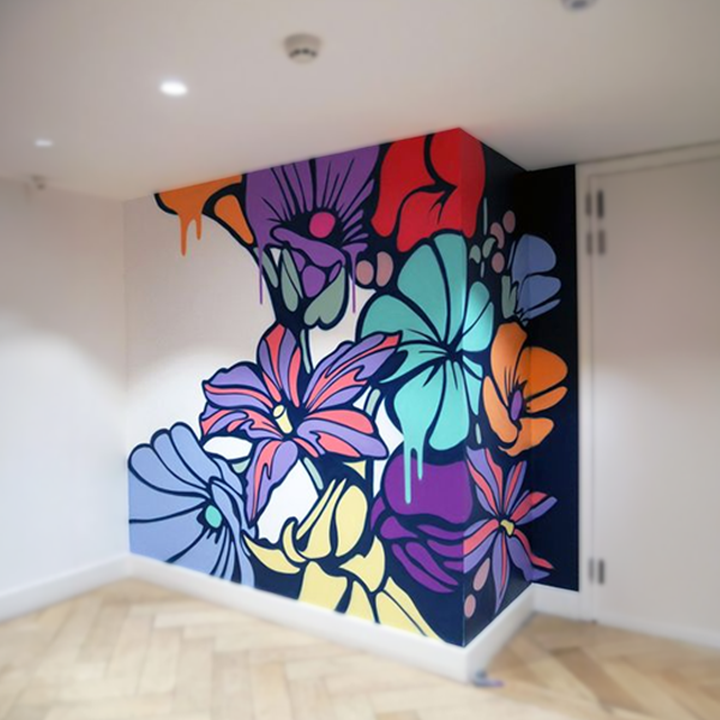
Transforming your living room with a bold accent wall is easier than ever when you choose home wall graphics that turn blank surfaces into personal galleries.
What Are Home Wall Graphics and How Do They Work
Home wall graphics are large-format, often removable prints designed to cover a significant portion of a wall, turning it into a statement piece without the commitment of paint or wallpaper. Unlike small posters, these graphics are usually created as a single cohesive image or pattern that spans multiple panels, giving a cohesive, immersive look. They are commonly applied with a peel-and-stick adhesive, allowing you to change the design whenever your style evolves.
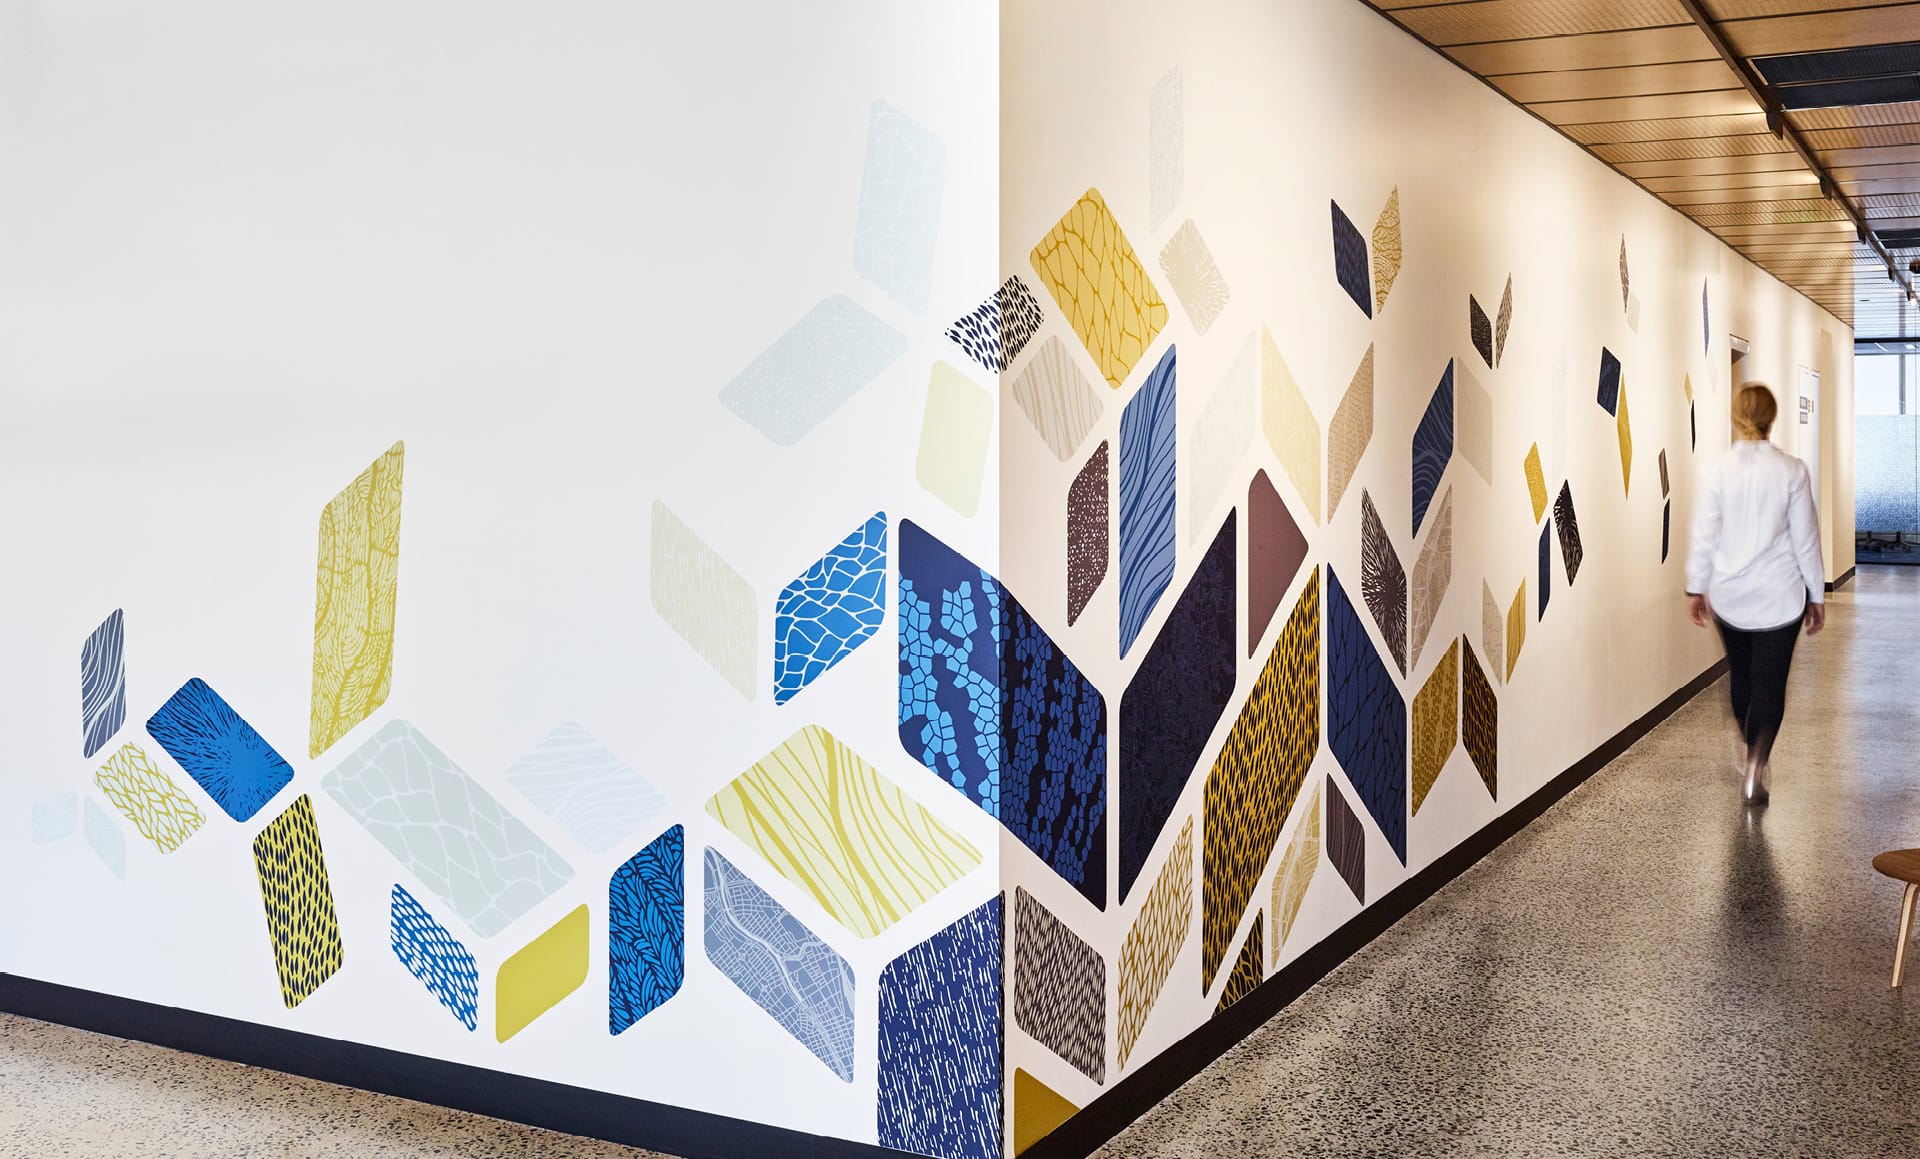
Because they are printed on lightweight, flexible materials, home wall graphics conform easily to corners, sloped ceilings, and even textured surfaces in a way that traditional framed art cannot. This flexibility means you can use them in bedrooms, hallways, home offices, or outdoor spaces, adapting the same graphic to different rooms with simple cutting and repositioning. The result is a high-impact, low-permanence solution for homeowners who want personality on demand.

Design Ideas and Themes to Inspire Your Wall
When it comes to home wall graphics, the design possibilities range from photorealistic nature scenes to abstract geometric patterns, ensuring there is a style to match every taste. If you love the outdoors, consider a sweeping forest mural, a coastal horizon, or a botanical print that brings the feeling of a walk in the park directly into your living room. For a more modern aesthetic, opt for minimalist line art, monochrome gradients, or architectural sketches that add structure without overwhelming the space.
Here are a few popular themes to spark your creativity:
- Nature and landscapes, such as mountains, forests, and skies.
- Abstract art and geometric shapes for a contemporary vibe.
- Cityscapes and travel-inspired scenes for wanderlust lovers.
- Typography and inspirational quotes for a personalized touch.
- Custom family photos or illustrated family trees for a warm, intimate feel.
Whatever theme you choose, think about how the color palette interacts with the existing furniture and lighting in the room. A cool-toned graphic can make a sunny space feel calm, while warm tones can energize a neutral room and create a cozy atmosphere.
Choosing the Right Materials and Finish
The material of your home wall graphics plays a big role in both appearance and durability, so it is worth understanding the main options before committing. Matte finishes reduce glare and give a soft, paper-like look that works well in bedrooms and reading nooks, while satin or semi-gloss finishes add a subtle sheen that can make colors pop in living areas with more ambient light.
For high-traffic zones or spaces with humidity, such as above a sink or in a basement, consider vinyl or textured finishes that resist fingerprints and are easier to clean. Many quality home wall graphics are printed with fade-resistant inks, ensuring that vibrant colors stay true even in rooms with direct sunlight. By matching the material and finish to the room’s function and lighting, you can enjoy a beautiful wall that maintains its look for years.
Measuring, Planning, and Preparing the Wall
Successful installation starts with careful measurement and planning, because a home wall graphic can dramatically highlight both the strengths and the imperfections of a surface. Use a tape measure to note the height and width of the intended area, and mark the center point to help align the graphic symmetrically, especially if the design features a horizon line or a central motif. If the wall has outlets, switches, or architectural details, sketch them on your layout so you can position the graphic to either highlight or cleverly conceal them.

Before applying the graphics, give the wall a quick cleaning to remove dust, cobwebs, and greasy smudges that could interfere with adhesion. In many cases, a simple solution of mild soap and water, followed by a dry cloth, is enough to create a clean, smooth surface. If you are placing the graphic over painted drywall, check for any loose or peeling paint and make small repairs so the surface remains flat and bubble-free once the adhesive is applied.
Installation Tips and Step-by-Step Application
Installing home wall graphics is often a two-person job for large pieces, but it is entirely doable on your own with a little patience and the right tools. Start by unrolling the graphic in a well-lit area to let it relax and reduce curling, then carefully align the top edge with your center mark using a level. Slowly peel back a small section of the backing and press the graphic onto the wall, using a soft squeegee or credit card to push out air bubbles from the center outward, working your way to the edges.
- Measure twice and cut once to avoid wasting material.
- Work in small sections to keep the adhesive manageable.
- Use a level to keep lines and patterns perfectly straight.
- Smooth from the middle to the edges to prevent trapped air.
- Let the adhesive set fully before touching the finished surface.
If you make a small misalignment, most modern adhesive graphics allow you to gently lift and reposition without tearing, giving you the freedom to fine-tune the placement until it looks just right.

Care, Longevity, and Removal
Once your home wall graphics are in place, routine care is minimal, but a few simple habits will help preserve the image and the integrity of the adhesive. Dust the graphic regularly with a soft, dry cloth, and avoid harsh cleaning products that could strip the printed surface or degrade the adhesive layer. In spaces like kitchens, check occasionally around the edges for any lifting due to steam, and gently press them back down if needed.
When the time comes to update your decor, most home wall graphics are designed for easy removal, leaving behind a clean surface with minimal residue. Slowly peel the graphic back at a sharp angle, and any stubborn adhesive can be tackled with a mild solution of warm water and gentle soap or a specialized, residue-free adhesive remover. Because the wall underneath usually remains intact, you can easily experiment with new designs, colors, or layouts without the fear of permanent changes, making these graphics a flexible way to refresh your home over time.
Design de Interiores com Murais: Transforme suas Paredes em Histórias de Beleza [4K]
Hoje, mergulhamos nesta jornada inspiradora pelo mundo do design de interiores com murais — um mundo onde as paredes se ...
