Heat Transfer Stickers For Cloth

Heat transfer stickers for cloth make it simple to add vivid designs, logos, and text to garments without complicated equipment.
What Are Heat Transfer Stickers for Cloth and How Do They Work
Heat transfer stickers for cloth are thin, adhesive labels that you can press onto fabric using heat and pressure to create a durable graphic finish. They usually consist of a printed design layer and a heat-activated adhesive that bonds with the fibers of the cloth when heated. Because they are easy to apply at home or in a small workshop, they are a popular choice for customizing T-shirts, jackets, bags, and sportswear.
The process relies on a heat press or a household iron to melt the adhesive slightly so that it penetrates the material and cools into a strong bond. When done correctly, the sticker stays flexible, resists washing, and feels smooth against the skin. Understanding the basic mechanics helps you choose the right sticker type, temperature, and pressure for your project.
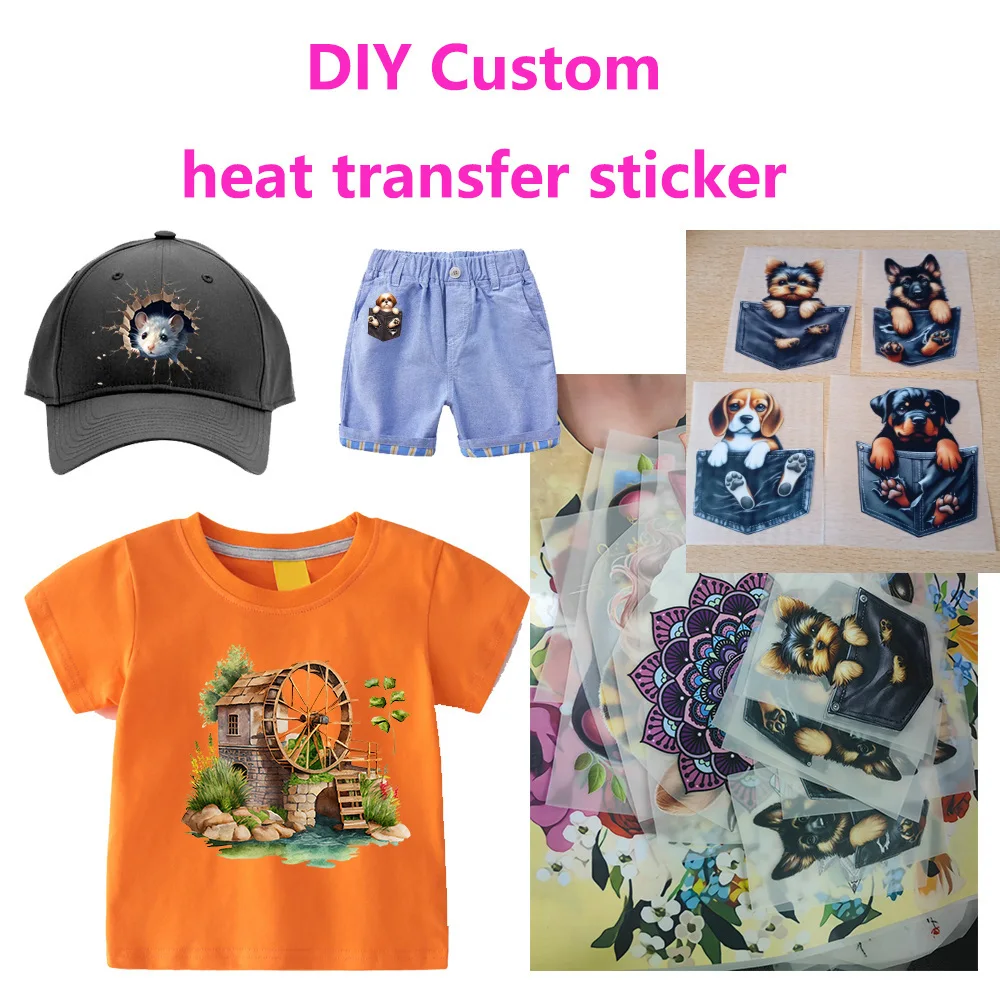
Types of Heat Transfer Stickers and Their Best Uses
Not all heat transfer stickers for cloth are the same, and choosing the right kind can dramatically affect the final look and durability. Some stickers are made for cotton, others perform better on polyester blends, and a few are designed to work on both without losing vividness or flexibility.
- Standard adhesive stickers for everyday T-shirts and casual wear.
- Glitter and metallic stickers that add shine and a premium effect.
- Soft-touch stickers that create a suede-like, low-glare finish.
- Reflective stickers for enhanced visibility in low-light conditions.
- Washable and reusable stickers for temporary branding or sample designs.
Before applying, check the sticker’s recommended fabric, temperature range, and whether it needs a release sheet. Matching the sticker type to your project ensures that colors stay bright, edges stay crisp, and the material remains comfortable to wear.
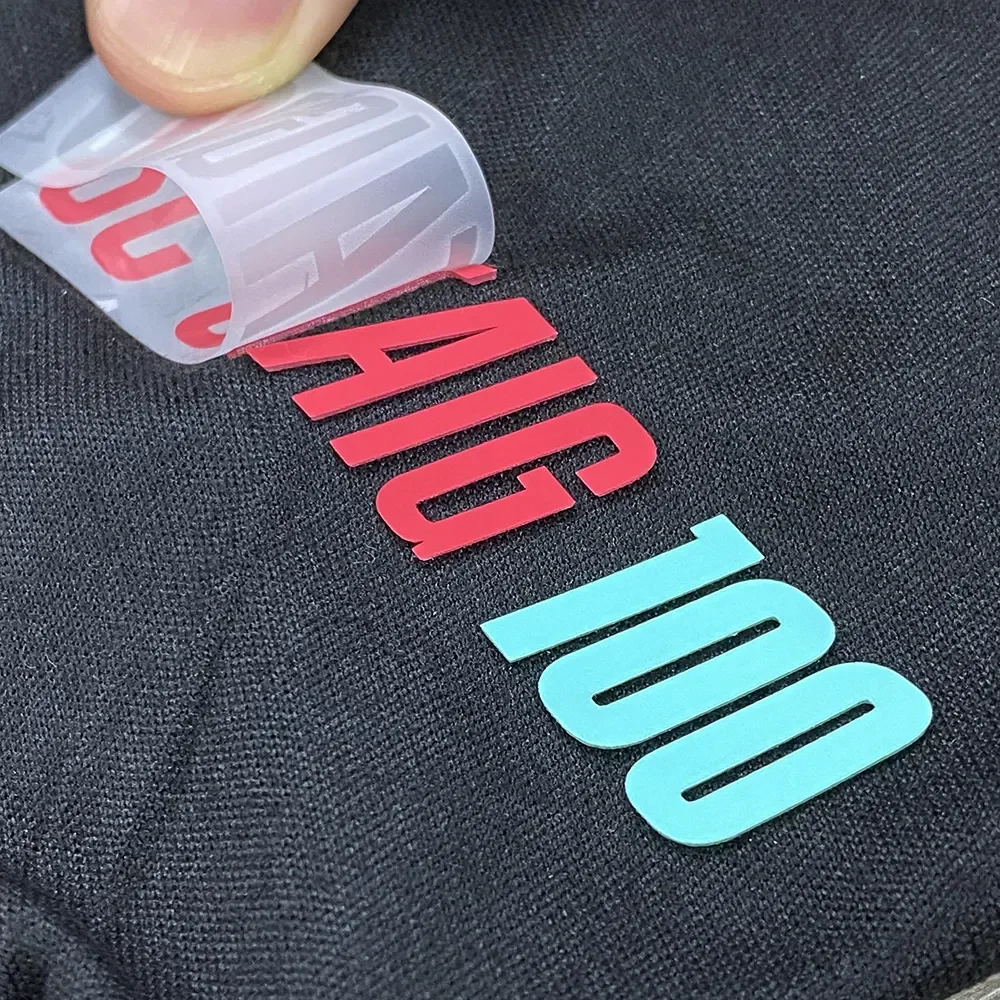
How to Apply Heat Transfer Stickers for Cloth Correctly
A successful application starts with preparation, so take a moment to clean the fabric and lay it completely flat. Even a small crease or patch of dust can cause weak spots, bubbles, or faded prints once the sticker cools. Using a heat press gives the most consistent temperature and pressure, but a household iron can work if you control the settings carefully.
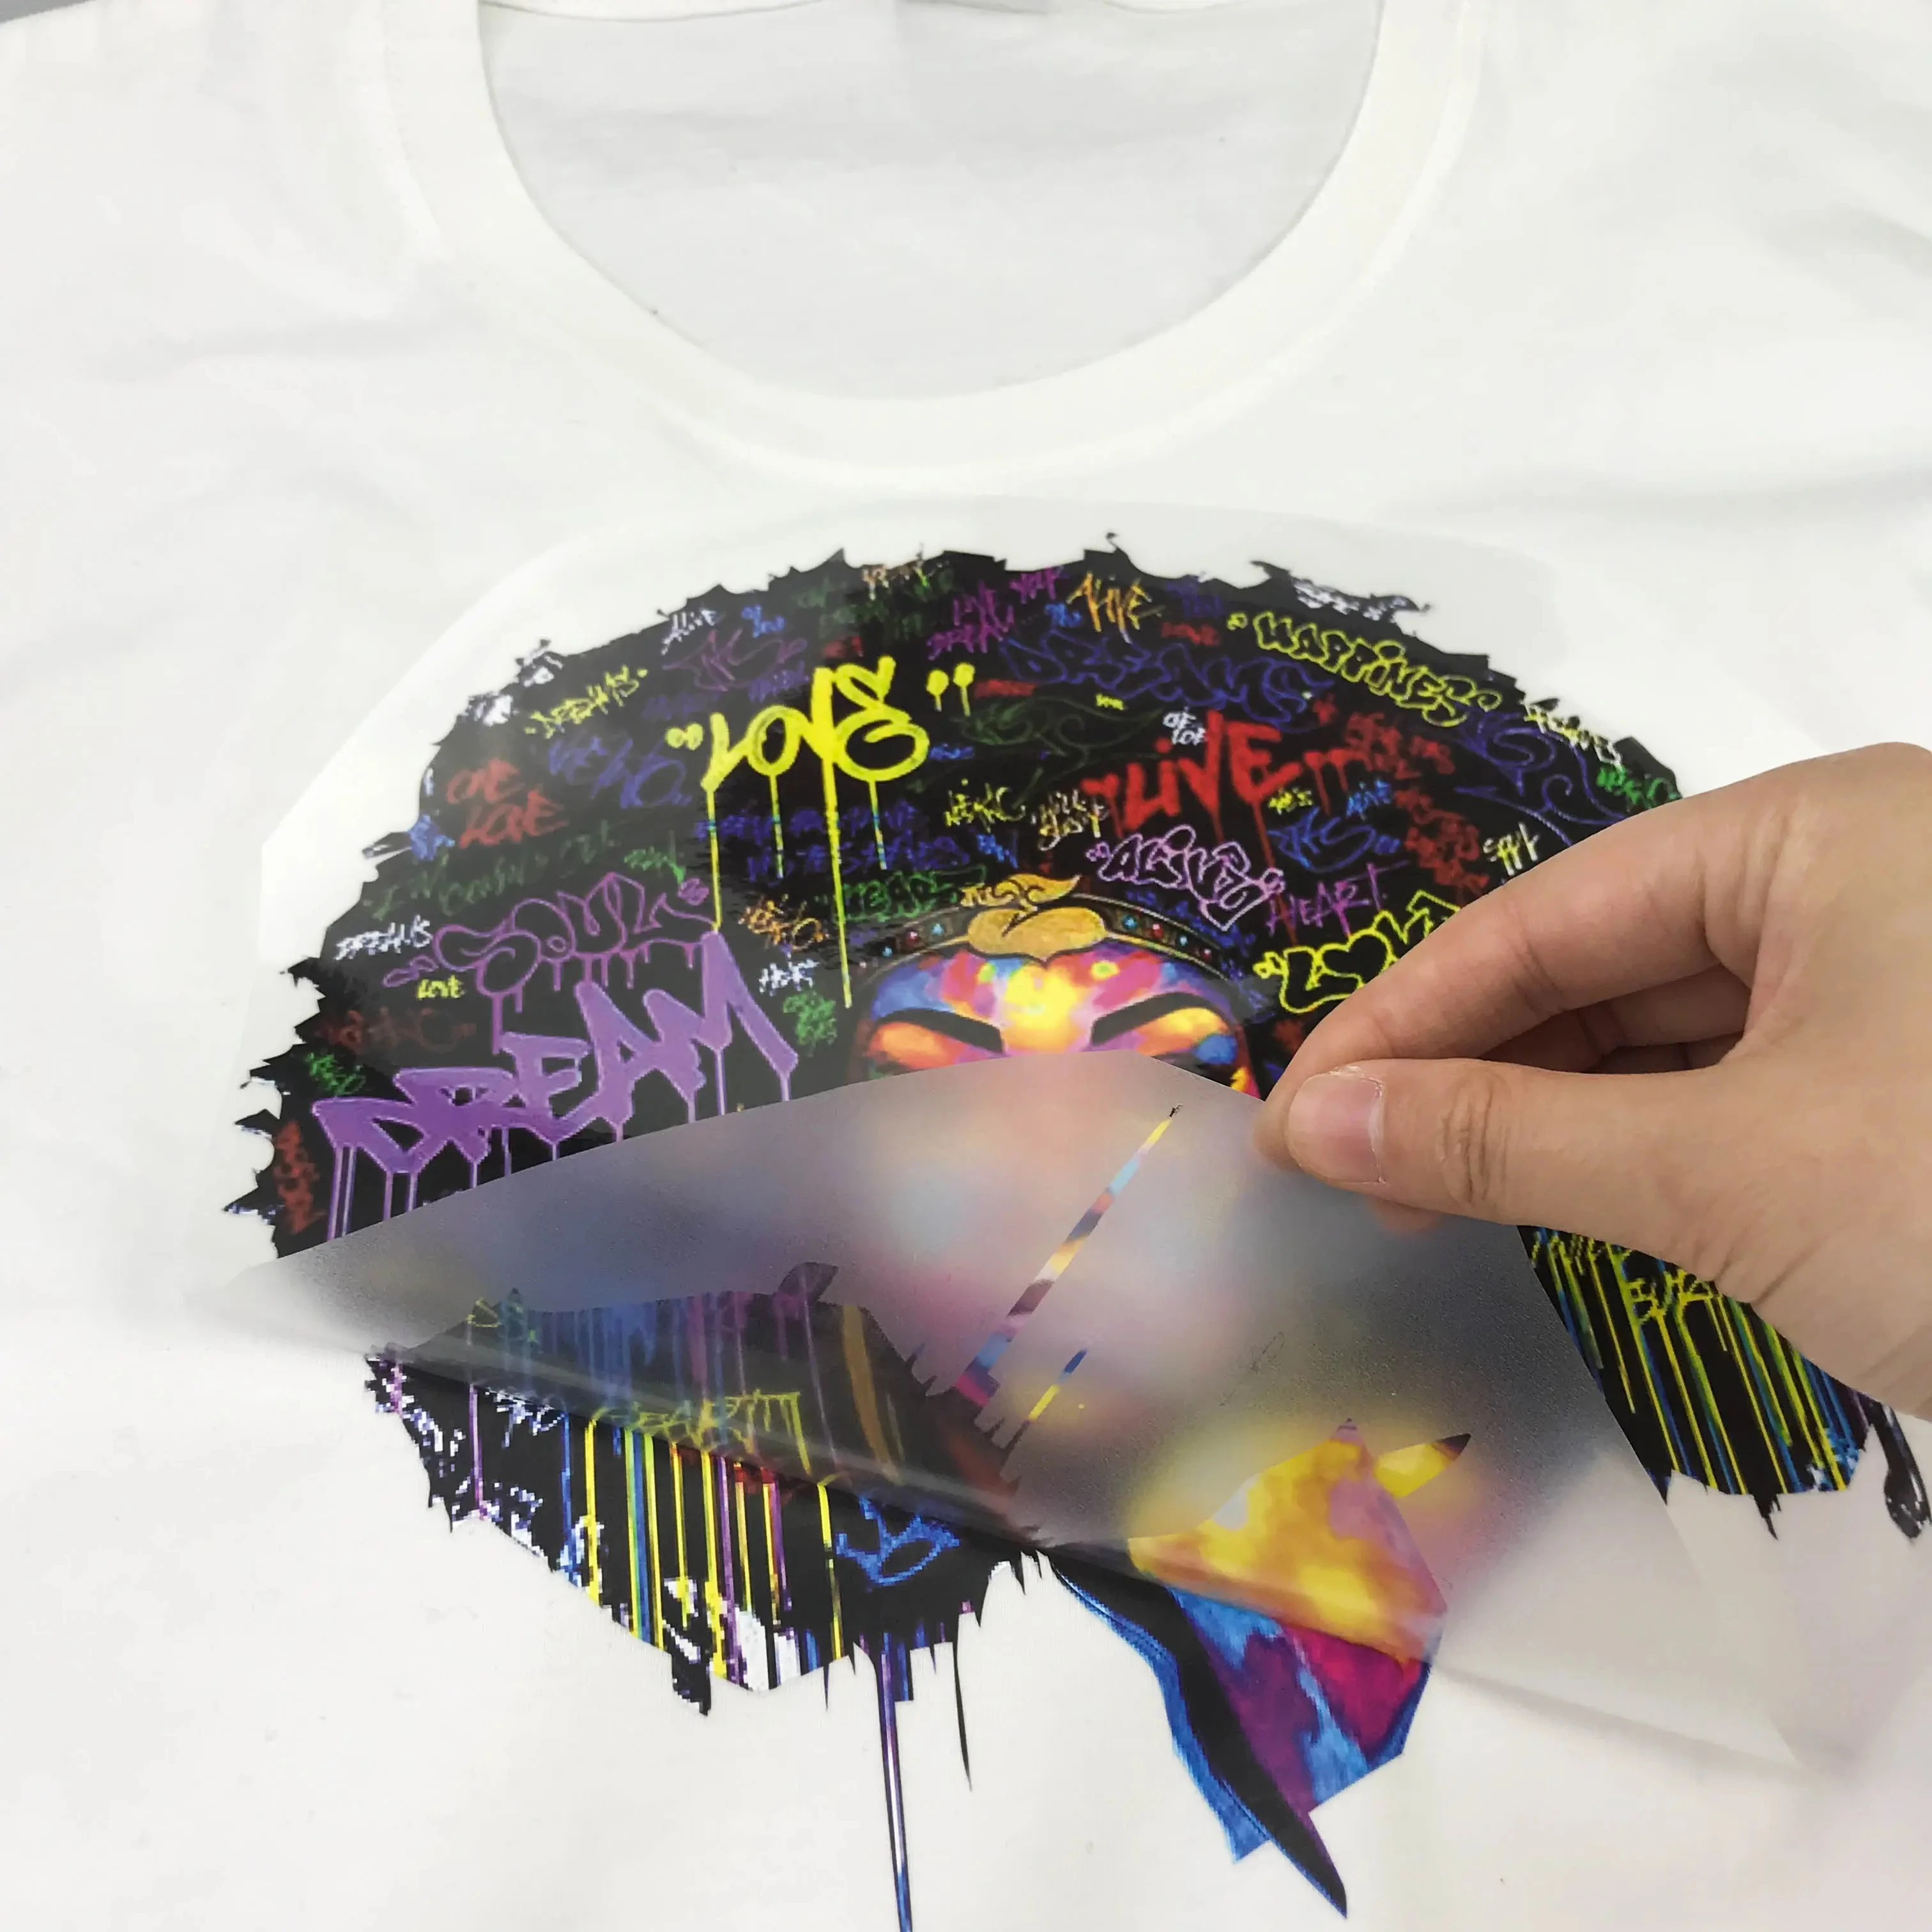
Place the sticker on the fabric with the adhesive side against the material, cover it with a protective sheet if recommended, then apply steady heat and pressure. Move the iron or press in slow, even motions rather than leaving it in one spot, which can scorch the fabric or cause uneven bonding. Let the sticker cool before peeling off any carrier sheet, and follow any cooling instructions for the best long‑term results.
Common Mistakes to Avoid When Using Heat Transfer Stickers
Even with a simple process, it is easy to run into problems that ruin your design or waste materials. One of the most frequent errors is using the wrong temperature, which can either fail to bond the sticker or damage the fabric. Too little pressure or peeling the sticker too early can also lead to weak adhesion and flaking over time.
- Skipping fabric cleaning before application.
- Using steam when the sticker or adhesive sheet should stay dry.
- Applying heat for too short or too long a period.
- Ignoring recommended cooldown times before moving or washing the item.
- Using low-quality stickers on detailed designs that need fine lines.
By paying attention to temperature, pressure, timing, and cleanliness, you can avoid these pitfalls and achieve professional-looking results even on your first try.
Caring for and Maintaining Cloth with Heat Transfer Stickers
Proper care keeps your designs looking fresh and prevents premature peeling or cracking. Turn garments inside out before washing to reduce friction against zippers, buttons, and other stickers. Use a gentle or delicate cycle, avoid harsh detergents, and skip the fabric softener, which can interfere with the adhesive bond.
Air drying is usually safer than machine drying, but if you choose to tumble dry, use a low setting and remove the item while it is still slightly damp. When ironing at home, avoid direct contact with the sticker and place a cloth over it instead. With consistent care, heat transfer stickers for cloth can remain vibrant and flexible for many washes.
Creative Ideas and Inspiration for Heat Transfer Stickers on Clothing
Beyond simple logos, heat transfer stickers for cloth open the door to playful, expressive designs that stand out. You can combine small stickers into a larger collage, create matching sets for friends, or use them to refresh old garments with new patterns and motifs. Small businesses, artists, and hobbyists alike appreciate how quickly stickers can prototype new ideas without large investments in equipment.

Experiment with color contrasts, gradients, and subtle placements to highlight pockets, cuffs, collars, or the back of a shirt. Whether you are making personalized gifts, promoting a brand, or just having fun with fashion, thoughtfully designed stickers can turn ordinary cloth into a signature canvas.
Heat transfer stickers for cloth provide a flexible, affordable way to bring your ideas to life on fabric, whether you are crafting at home or running a small creative business.
Minhas configurações de prensa térmica para TODAS as minhas transferências de calor (tempo e temp...
Sempre me perguntam quais são as configurações da minha prensa térmica para diferentes métodos de impressão em camisetas, como ...
