Heat Press Stickers

Heat press stickers are a fast and reliable way to add bold designs to garments, bags, and accessories without the learning curve of a full vinyl cutter.
What Are Heat Press Stickers and How Do They Work
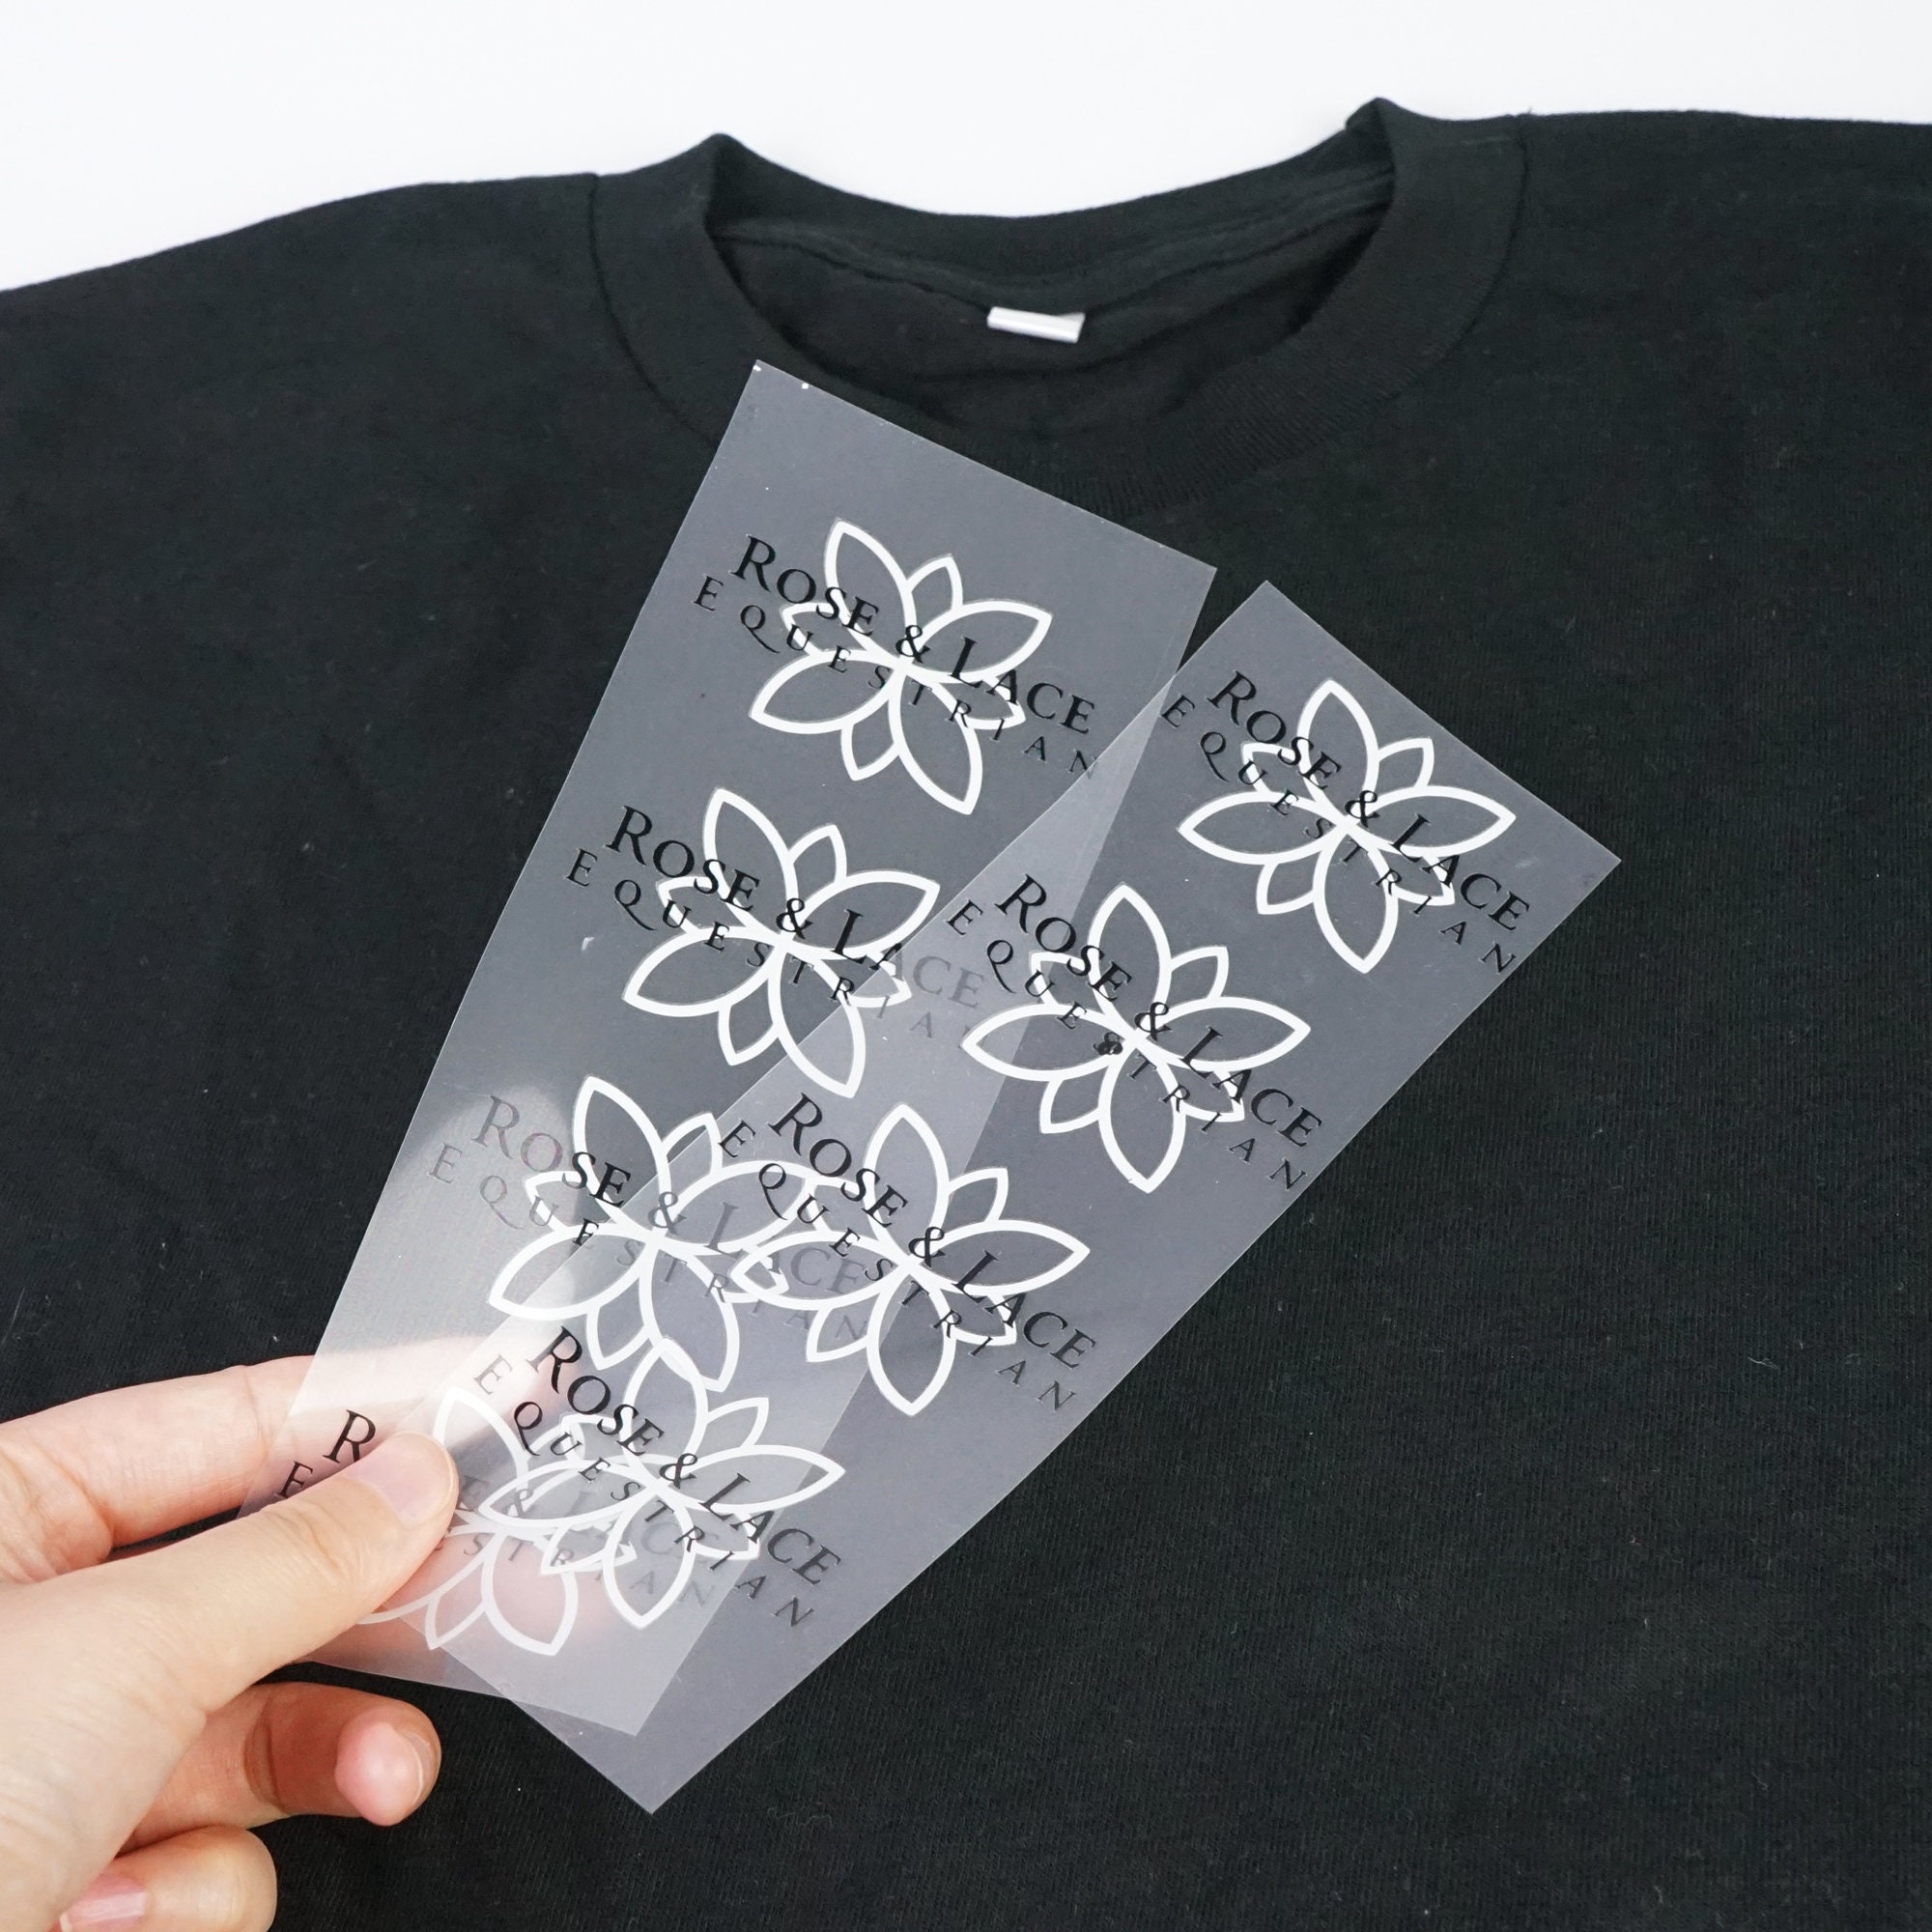
Heat press stickers are thin, printed films or sheets that adhere to fabric when heat and pressure are applied with a heat press or a household iron. Unlike traditional iron-on transfers that print on the paper side, many modern heat press stickers are carrier-free or use a temporary adhesive that activates only under heat and pressure. This makes them ideal for precise placement, vibrant colors, and a smooth finish that feels more like a direct print than a patch.
The technology behind heat press stickers is similar to that of screen printing or dye sublimation, but applied in a ready-to-use format. Designers print the artwork onto a special release paper or film, which protects the adhesive layer until it is pressed onto the target material. When you apply heat with a heat press machine, the adhesive melts slightly, bonding the ink layer to the fibers or smooth surface of the item. The result is a durable, flexible graphic that resists cracking and fading better than many low-quality iron-on transfers.

Types of Heat Press Stickers and Their Uses
Not all heat press stickers are the same, and choosing the right type can make the difference between a professional result and peeling or fading. The most common categories include printable heat transfer vinyl for cut designs, full-color printed heat press sheets for detailed artwork, and specialty stickers designed for specific surfaces like mugs, bags, or hats. Each type is engineered to work best with a particular pressing temperature, time, and substrate, so understanding the options helps you avoid wasted materials and reprints.
- Printable heat transfer vinyl (HTV) that comes in sheet form and is cut to shape before pressing.
- Full-color printed heat press stickers with detailed photos, gradients, and complex artwork.
- Specialty stickers for non-textile items such as ceramic, wood, or hard hats.
- Removable or repositionable heat press stickers that allow fine-tuning before final adhesion.
- Glitter, metallic, and textured heat press stickers for added visual and tactile effects.
For beginners, starting with simple printable heat transfer vinyl sheets is a practical choice, because they behave predictably in a heat press and are forgiving when it comes to pressure and timing. More experienced creators often move to full-color printed stickers for intricate designs, especially when they need consistent branding across multiple items. Knowing the exact product specifications and matching them to your heat press machine ensures cleaner edges, stronger adhesion, and less troubleshooting.
Preparing Artwork and Materials for Heat Press Stickers
Good results with heat press stickers start long before you press the first design. Preparing your artwork involves checking color modes, resolution, and mirroring text or logos when required, especially for printable heat transfer vinyl that must be printed in reverse. Many design programs offer presets for heat transfer printing, which help you simulate how the final image will look once the carrier sheet is peeled away. Taking the time to test small sections and verify color profiles can save you expensive sheets of material and reduce frustration.

Equally important is preparing the substrate, which is the item you are decorating. Clean, dry, and properly pressed fabrics respond best to heat press stickers, while wrinkles, residues, or finishes like silicone sprays can cause peeling or uneven adhesion. For garments, a quick pre-press can remove moisture and set the fibers so the sticker bonds evenly across the surface. For non-textile projects, such as mugs or phone cases, make sure the surface is smooth, degreased, and compatible with the adhesive system of your chosen heat press stickers.
Step-by-Step Guide to Using a Heat Press Machine
Operating a heat press machine with heat press stickers is straightforward once you understand the basic variables of temperature, time, and pressure. Most machines allow you to set precise temperature ranges, often between 300 and 380 degrees Fahrenheit for standard HTV and printable stickers, while holding pressure at a firm, even level. A typical starting point is to follow the manufacturer’s recommendation, then adjust slightly based on the thickness of the fabric, the darkness of the substrate, and the type of adhesive used.
- Position the heat press sticker on the item with the printed side facing down or as specified by the product instructions.
- Place the protective sheet or carrier, if required, over the sticker to prevent shine or damage from direct contact.
- Lower the heat press platen carefully, ensuring even pressure across the entire design area.
- Press for the recommended time, usually between 10 and 30 seconds, depending on material and machine settings.
- Let the item cool slightly before slowly peeling the carrier sheet, starting from one corner.
- Inspect the edges and re-press any areas that look lifted or incomplete.
Small adjustments make a big difference, so keep a log of temperature, time, and pressure for each new combination of heat press stickers and fabric. This habit helps you reproduce successful results and quickly identify problems such as under-curing, over-curing, or poor adhesion. With practice, you will develop an intuitive sense for when a design is fully bonded and ready for washing or finishing.
Tips for Long-Lasting Results and Troubleshooting
To maximize the lifespan of your heat press stickers, wash garments inside out, avoid harsh detergents, and skip the fabric softener, which can interfere with the adhesive bond. Drying on a low or medium setting and avoiding prolonged direct heat from irons or dryers helps prevent edge lifting and fading. If you notice peeling, revisit your temperature and timing settings, ensure the surface was clean before pressing, and confirm that you peeled at the right stage, whether it was warm peel or cold peel.
Troubleshooting is easier when you isolate variables one at a time. For instance, if colors look faded, check your printer settings and confirm that the design was printed at the correct size and resolution. If parts of the sticker are lifting, focus on pressure distribution and whether the item received a second, shorter press to seal the edges. Testing each change on a scrap piece of the same material keeps your main project safe and builds a reliable reference for future batches of heat press stickers.
Creative Ideas and Final Thoughts
Heat press stickers open the door to custom clothing, promotional gear, small batch products, and one-of-a-kind gifts without the need for large runs or complex equipment. From subtle logos on hats to all-over patterns on jackets, these stickers allow creators to experiment with color, texture, and finishes while maintaining a professional look. As you refine your process, you will discover which materials, settings, and designs deliver the best results for your specific heat press machine and target audience.

Whether you are a hobbyist, a small business owner, or a maker exploring new customization options, heat press stickers offer a versatile and accessible way to bring your graphics to life. By combining thoughtful preparation, careful pressing technique, and ongoing testing, you can consistently produce vibrant, durable designs that stand up to everyday wear and proudly showcase your style or brand.
Heat Press Sticker tutorials
Here is the unboxing video for our product. Item : Heat Press Sticker Website : https://www.my-soccer.com/ FB Fanpage ...
