Heat Press Sticker Transfer

Heat press sticker transfer is a popular and reliable method for creating durable, professional-looking designs on fabrics and hard surfaces.
What Is Heat Press Sticker Transfer
Heat press sticker transfer refers to a technique where a specially printed design is transferred onto another material using heat and pressure. This process is commonly used for garments, bags, mugs, phone cases, and other substrates that can withstand elevated temperatures. Unlike simple iron-on decals, a heat press sticker often involves a carrier sheet and precise temperature control to ensure vibrant color and strong adhesion.
The appeal of this method lies in its balance of ease and quality. Crafters, small business owners, and hobbyists appreciate that it delivers consistent results with relatively minimal effort. Once the basics are understood, it becomes straightforward to reproduce intricate graphics, detailed logos, and colorful patterns without the drawbacks of direct fabric printing. Understanding the fundamentals is the first step toward mastering this versatile creative and production technique.

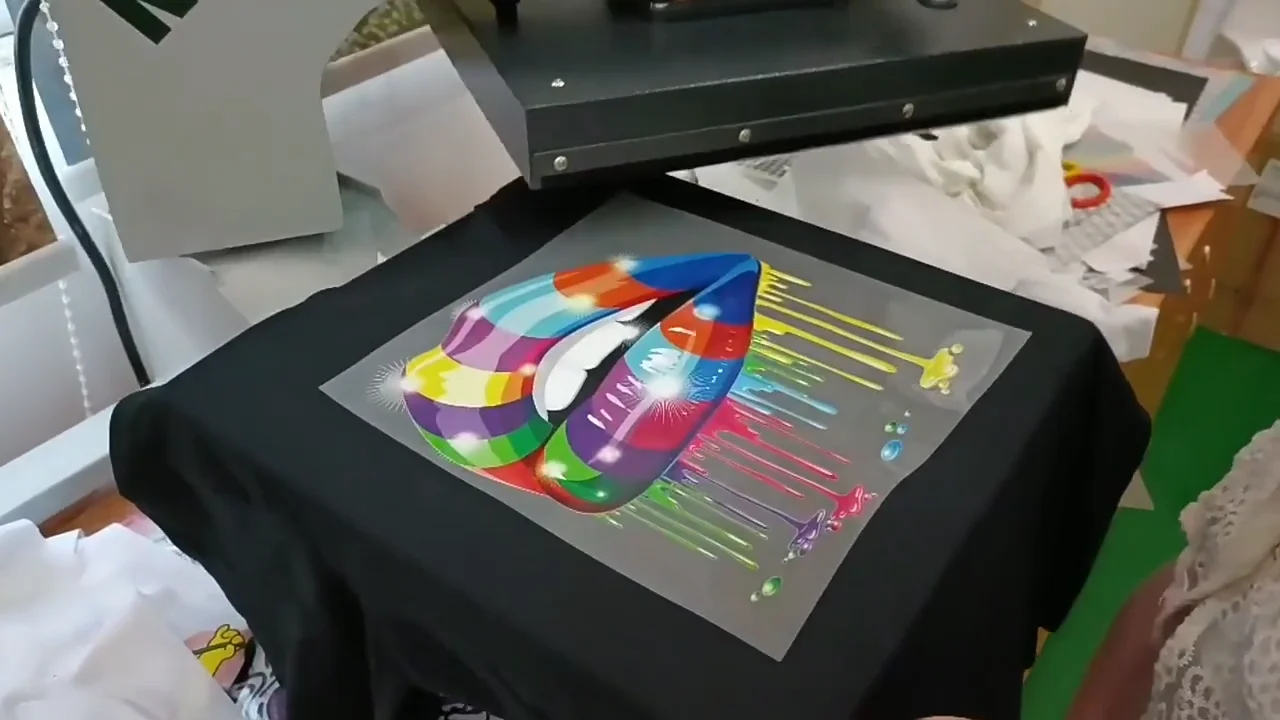
How Heat Press Sticker Transfer Works
At its core, the process relies on the interaction between heat, pressure, and time to move the design from a carrier medium to the target surface. The heat activates an adhesive layer embedded in the sticker, allowing it to bond firmly with the fibers or finish of the item being decorated. The press or a household heat application tool supplies the necessary temperature and even pressure across the entire surface.
During the application, the carrier sheet, which may be clear or colored, often peels away to leave only the design on the substrate. Some types of stickers, especially those used for fabrics, are designed to be soft and flexible after transfer, avoiding a stiff or plastic-like feel. Proper preparation of the surface, correct temperature settings, and accurate timing are critical factors that influence the final outcome.
Key Components of the System
- Heat press machine or a reliable heat source with consistent pressure
- Sticker or transfer sheet printed with suitable inks
- Target material such as cotton, polyester blends, ceramics, or metal
- Protective sheet or parchment to prevent sticking and control pressure
Materials and Surfaces Suitable for Transfer
Heat press sticker transfer works well on many materials, but not every surface is ideal. Cotton fabrics are often considered the easiest and most forgiving medium, providing a porous surface that allows the adhesive to anchor effectively. Polyester and poly blends can also produce excellent results, though they sometimes require lower temperatures to avoid damage to the fibers.
Beyond textiles, this technique is frequently applied to coated ceramics, treated metals, and certain plastics designed for decoration. Each material has its own temperature and pressure requirements, so it is important to verify compatibility before starting a full production run. Testing a small sample can save time, material, and frustration when scaling up to larger projects.
Surface Preparation Tips
Preparing the surface properly contributes significantly to the durability and appearance of the transfer.
- Clean the surface thoroughly to remove dust, oils, and residues
- Ensure the fabric is completely dry before applying heat
- Use a flat, stable work area to maintain even pressure
- Follow any specific instructions provided by the sticker manufacturer
Design and Print Considerations
The quality of the final decoration depends heavily on the design and the printing method used to create the transfer. Digital printing, screen printing, and specialized transfer printing techniques can all produce suitable artwork, but each comes with different characteristics. Vector-based graphics are generally preferred because they scale cleanly without losing detail, which is especially important for logos and text.

Color choices, resolution, and the interaction between the design and the base material all affect visibility and longevity. Light-colored stickers on dark fabrics often require a white underbase layer to maintain brightness, while dark stickers on light fabrics usually deliver the strongest contrast. Planning the design with the transfer process in mind helps avoid common issues such as fading, cracking, or weak adhesion after washing or use.
Step-by-Step Application Process
Executing a successful heat press sticker transfer involves more than just placing the sticker and pressing a button. Following a structured sequence of steps increases the chances of a clean, professional result every time.
- Preheat the heat press or iron to the recommended temperature for the sticker and material
- Position the sticker accurately on the prepared surface
- Place a protective sheet over the sticker to distribute pressure evenly
- Apply firm pressure for the specified duration, usually between a few seconds and a minute
- Allow the surface to cool before carefully removing any carrier film or backing
Small details, such as ensuring the surface is flat and free of wrinkles, can make a significant difference. It is also wise to keep notes on temperature, pressure level, and timing for each specific combination of sticker and substrate, as these parameters can vary widely.

Common Issues and Troubleshooting
Even experienced crafters occasionally encounter problems with heat press sticker transfer, such as peeling edges, faded colors, or incomplete adhesion. These issues often trace back to temperature settings, pressure distribution, or insufficient pressing time. Adjusting one variable at a time during testing helps identify the root cause without introducing new complications.
Environmental factors, including humidity and the age of the sticker, can also influence performance. Stored improperly or exposed to moisture, some transfers may lose their adhesive strength. By maintaining consistent conditions and handling materials carefully, it is possible to minimize defects and achieve reliable, repeatable results over time.
Quick Reference for Troubleshooting
- If edges lift, increase pressure or slightly raise the temperature within safe limits
- If colors appear dull, check printer settings and ensure the transfer is not overheated
- If the sticker does not adhere, verify that the surface is clean and appropriate for the transfer type
- Test adjustments on a scrap piece before applying them to finished items
Best Practices and Long-Term Results
To get the most out of heat press sticker transfer, it helps to adopt a few best practices that protect both the materials and the finished designs. Using high-quality stickers and compatible inks contributes significantly to durability, while proper storage keeps supplies ready for use. Documenting successful settings for different materials builds a valuable reference library for future projects.
Regular care, such as gentle washing for fabrics and avoiding harsh cleaning agents for decorated surfaces, can extend the life of the decoration. When done thoughtfully, heat press sticker transfer remains a dependable and creative way to personalize items, produce consistent merchandise, and explore intricate designs with confidence.
In summary, heat press sticker transfer combines technical precision with artistic flexibility, making it a go-to method for a wide range of decorative and commercial applications. By understanding the process, preparing materials carefully, and refining techniques over time, users can achieve vibrant, long-lasting results that meet their expectations and the demands of the market.
How To Heat Press A T-Shirt 101 - Easy Tutorial
Learn how to heat press t-shirts for your brand or business with a Heat Press. BUY TRANSFERS ...
