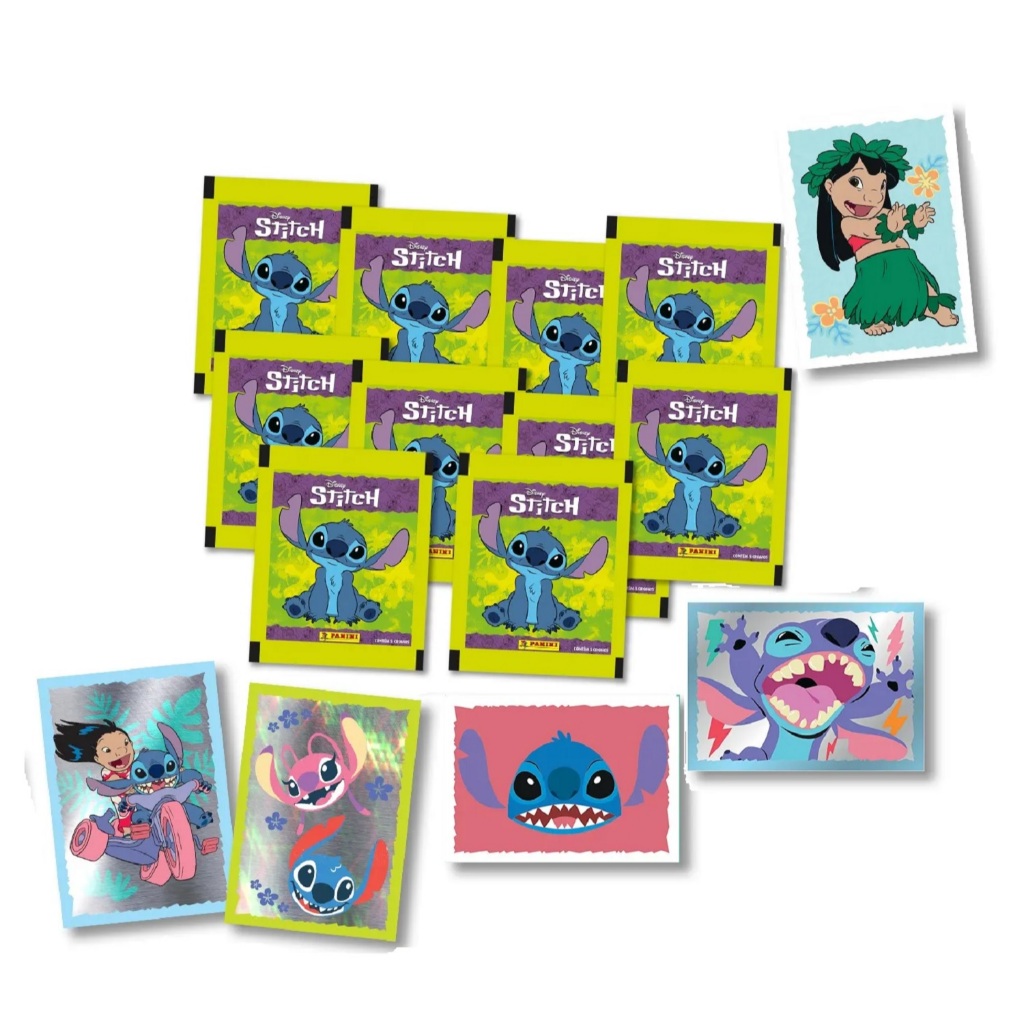
Figurinhas Stitch

Figurinhas stitch brings a delightful twist to the world of stickers and embroidery, merging cute collectibles with handcrafted detail. This playful combination appeals to crafters, collectors, and anyone who enjoys adding a personal touch to their accessories and garments. By finking tiny sticker-like images with neat rows of stitching, you can transform simple fabric into charming, personality-filled art.
What Are Figurinhas Stitch and Why They Are Trending
Figurinhas stitch refers to the technique of applying small, sticker-like embroidered patches onto fabric or garments, creating a hybrid of sticker art and needlework. The term draws from Brazilian Portuguese culture, where figurinhas are popular collectible stickers, often featuring athletes, cartoon characters, or everyday motifs. When translated into stitch form, these mini designs gain texture, durability, and a tactile charm that pure stickers cannot match.
Recently, figurinhas stitch has gained momentum on social platforms, where crafters showcase tiny stitched characters, animals, and symbols arranged like a curated album on jackets, backpacks, and phone cases. The trend thrives because it allows makers to blend nostalgia, personalization, and creativity in a compact format. Whether you prefer bold anime faces, minimalist symbols, or dainty florals, there is a figurinhas stitch style to suit your aesthetic.

Materials and Tools You Need to Start
Getting started with figurinhas stitch is straightforward, as the core supplies are similar to basic embroidery and scrapbooking projects. You will need fabric or garments as your base, small pieces of felt or tight-weave fabric for the patch base, embroidery floss in coordinating colors, a sharp needle, and small scissors. Optionally, you can use light-weight iron-on interfacing to give patches a bit more stiffness before stitching them down.
- Fabric or jacket, tote, or pouch to decorate
- Small embroidered patches or felt squares for the base
- Embroidery thread and needle
- Scissors, pins, and a small embroidery hoop
- Iron and pressing cloth (optional for a sturdier finish)
For beginners, it can help to start with simple shapes like stars, hearts, or single animals, since these require only basic stitches such as backstitch, satin stitch, or French knots. As your confidence grows, you can experiment with layered figurinhas stitch scenes, tiny faces, or intricate patterns that resemble miniature comic panels.
Design Ideas and Creative Themes
One of the joys of figurinhas stitch is the freedom to design cohesive sets or whimsical collections. You might create a set of tiny planets and rockets for a space lover, a row of sleepy animals for a calming patch pocket, or miniature food items arranged like a lunchbox mural. Because each patch is small, you can treat your project like a stitched sticker album, mixing and matching themes across jackets, notebooks, or shoe boxes.
Consider drawing inspiration from your hobbies, fandoms, or daily rituals. A music lover might stitch tiny guitars and eighth notes, while a plant parent could favor succulents and leafy vines. The small scale encourages experimentation with color gradients, tiny details, and playful compositions, making each piece feel like a charming collectible that is uniquely yours.
Step-by-Step Stitching Process
To create figurinhas stitch, start by sketching or printing tiny designs on paper, then cut them out to use as templates. Trace the shapes lightly onto your chosen fabric or felt, and cut them out with small, clean edges. Pin or baste each patch onto your garment or accessory where you want it to sit, then secure it with a simple running stitch or backstitch around the edges.
For more dimension, you can layer elements, such as stitching a felt base, adding embroidered details on top, and finally anchoring the whole piece with tight, neat stitches that mimic the clean borders of a sticker. Finish by pressing gently with a warm iron, protecting the embroidered surface with a thin cloth, so the patches stay firmly attached even through regular wear and washing.

Styling and Caring for Your Figurinhas Stitch Projects
Once your figurinhas stitch patches are complete, you can place them on jacket cuffs, denim skirts, laptop sleeves, or canvas bags for an instantly personalized look. Arrange them in a scattered layout for a playful vibe or align them in rows for a structured, album-inspired aesthetic. Because each patch is sewn securely, they withstand daily movement while still showcasing intricate details.
To keep your work vibrant, turn garments inside out before washing or choose a gentle hand wash cycle when possible. Avoid harsh detergents and direct ironing on the embroidered patches; instead, press from the reverse side with low heat and a protective cloth. With proper care, your figurinhas stitch creations will retain their color, texture, and charm, becoming treasured keepsakes that reflect your creativity.
Sharing Your Figurinhas Stitch Journey
One of the most rewarding aspects of figurinhas stitch is sharing your progress with others. You can gift small stitched sets to friends, trade patches within crafting communities, or display your work on social media to inspire fellow makers. The compact size of each project makes it easy to accumulate a collection of themed pieces, almost like a stitched gallery of your interests and milestones.
Joining online groups or local craft circles can introduce you to new techniques, from subtle shading with embroidery floss to combining felt and yarn for textured characters. By exchanging tips and celebrating each other’s tiny masterpieces, you help grow a supportive community where figurinhas stitch continues to evolve as a joyful, accessible form of creative expression.
In the end, figurinhas stitch offers a playful way to blend nostalgia, art, and craft, turning ordinary fabrics into miniature worlds of personality. Whether you enjoy quiet stitching sessions or building colorful patch collections, this trend invites you to slow down, create with care, and wear your imagination with pride.
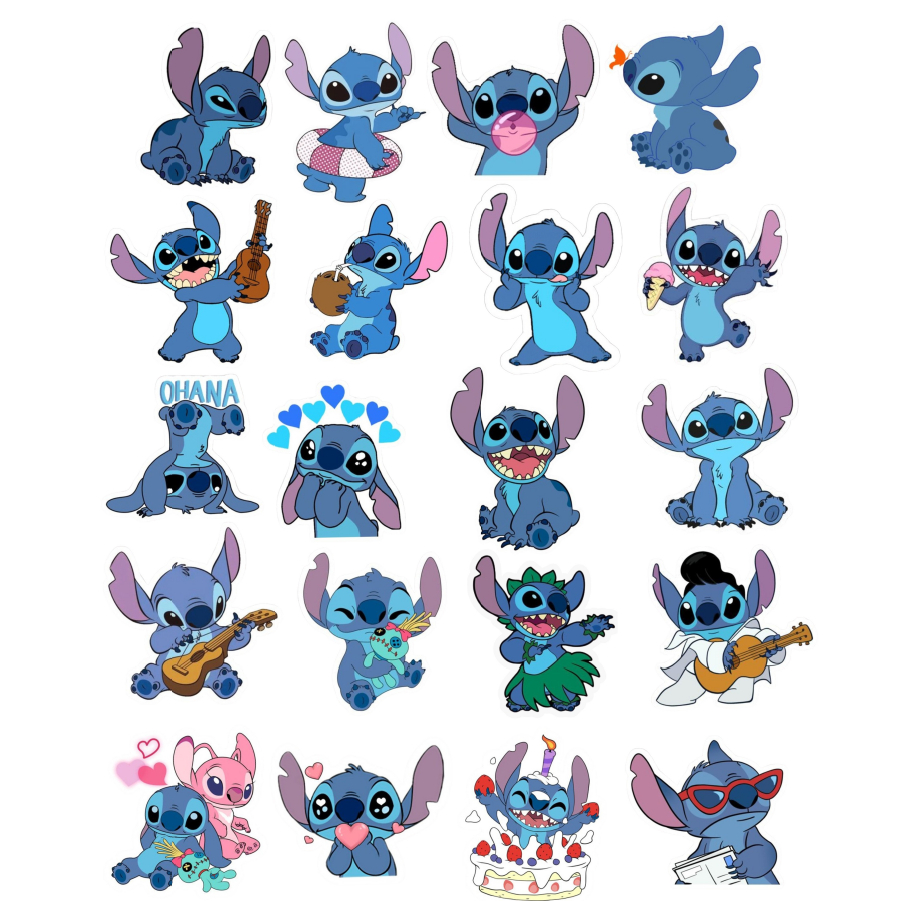
Stitch stickers ✨
shortvideo #diy #stitch.
