Diy Car Decals

Creating your own diy car decals is a fun and affordable way to give your vehicle a personalized look without the cost of professional vinyl work. With a few simple tools and a bit of creativity, you can turn your car into a moving canvas that reflects your style or brand.
Planning Your Custom Car Decals
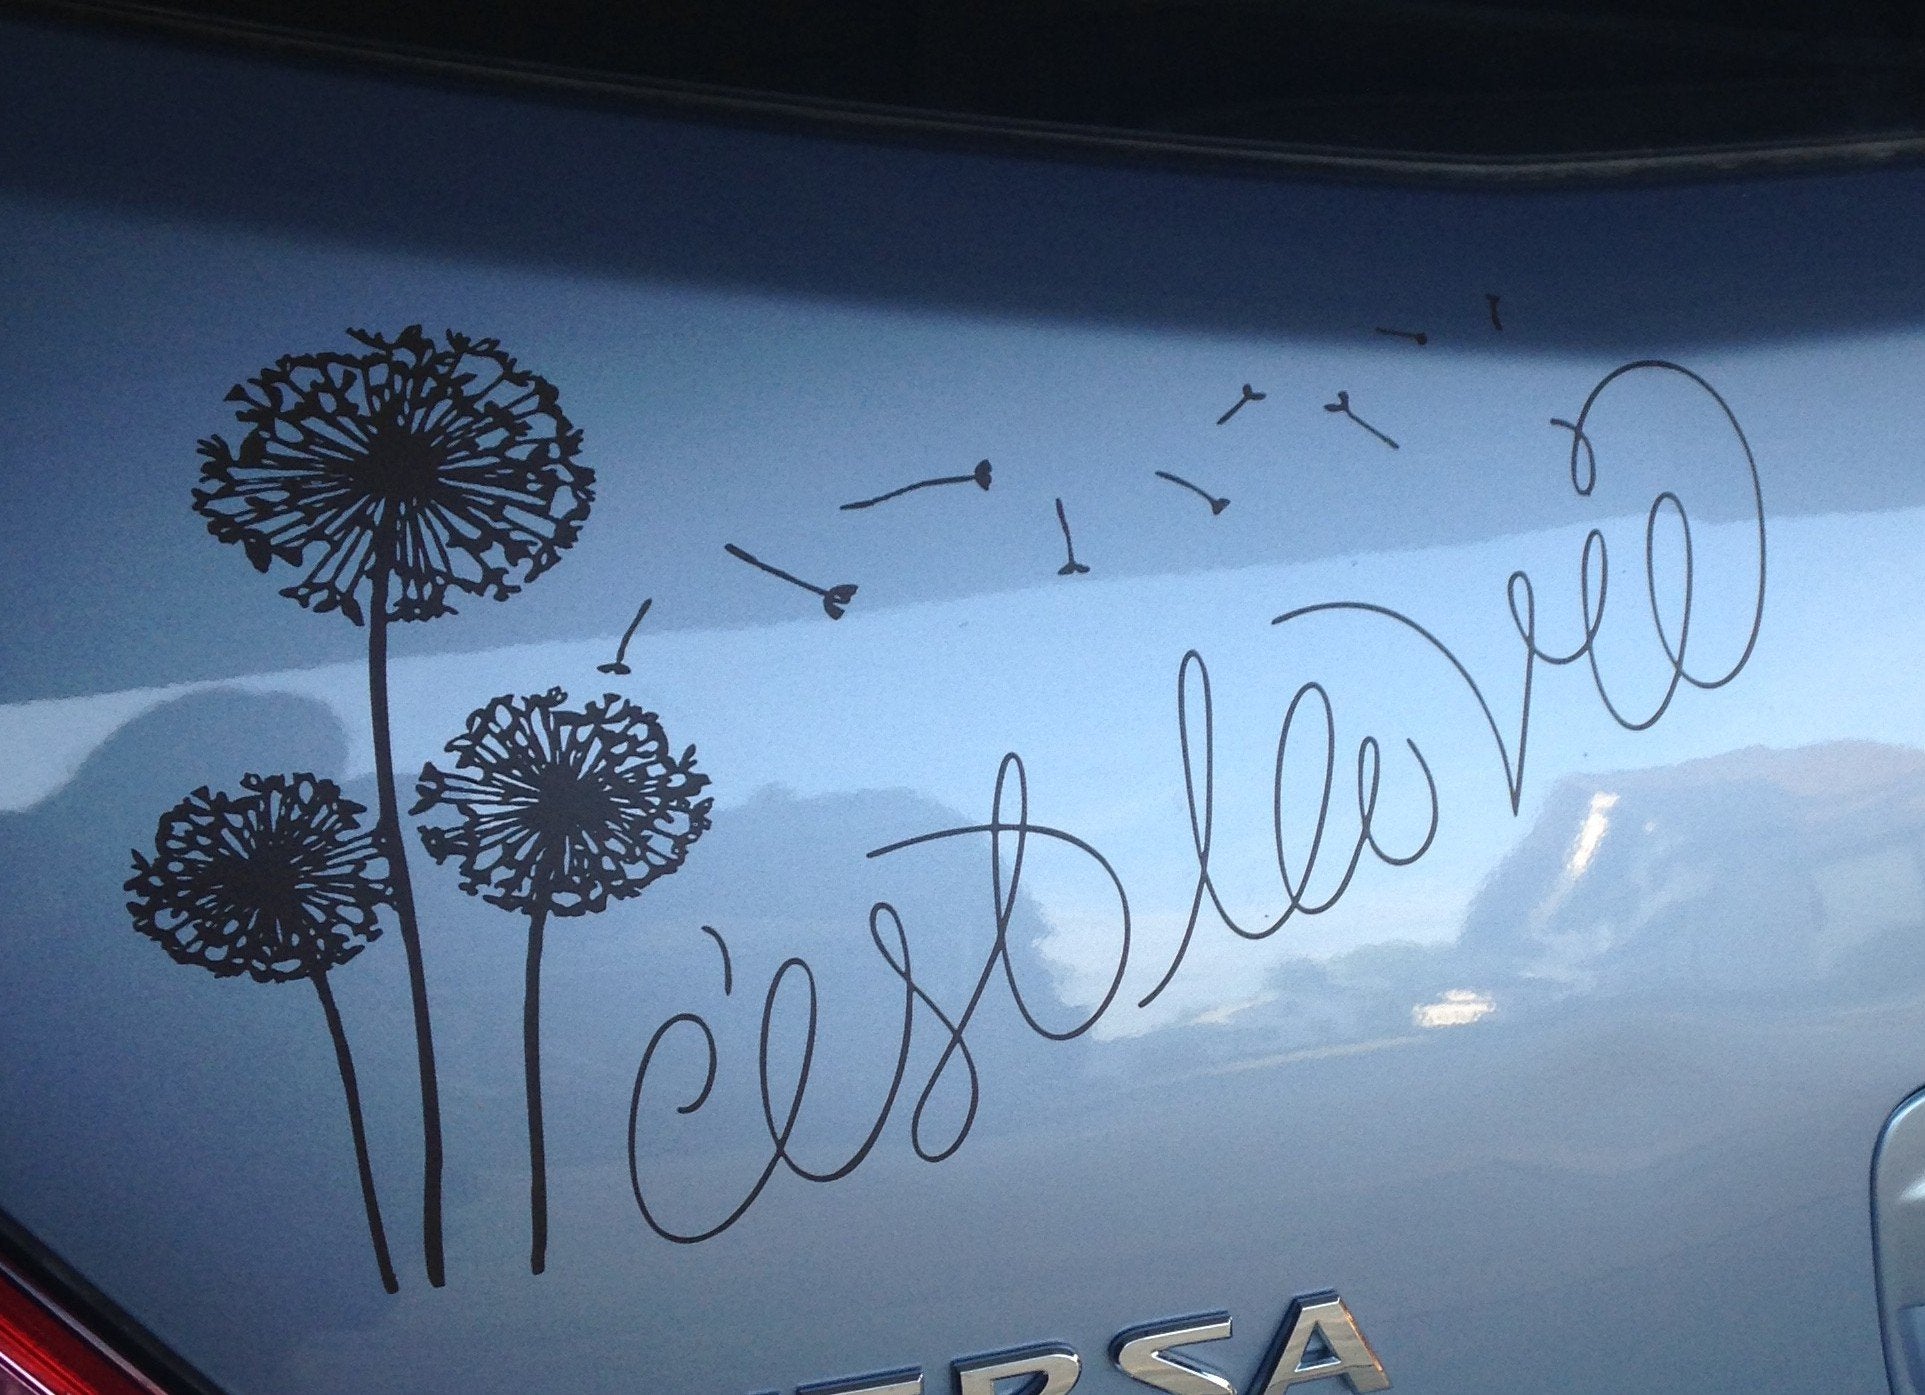
The first step in any diy car decals project is planning your design. Think about the message, logo, or pattern you want to display and consider how it will look on the curves and angles of your car. A simple sketch on paper can help you visualize placement and size before you cut any material.
When you design diy car decals, keep in mind that readability and contrast matter, especially from a distance. Choose bold shapes and clear text so that your decal stands out on the road. If you are promoting a business, make sure your contact information or brand logo is easy to recognize even while driving.
Choosing Materials for DIY Car Decals
Selecting the right materials is essential for durable diy car decals that survive weather, washing, and road debris. High-quality vinyl with strong adhesive backing is the most common choice because it resists fading, peeling, and cracking over time.
- Vinyl sheets in matte or glossy finishes
- Transfer tape for clean application
- Squeegee or credit card for smoothing
- Masking tape for temporary positioning
For beginners, starter kits that include pre-cut shapes or printable vinyl can simplify the process. If you prefer a more authentic hand painted look, you can also use durable outdoor paint or puffy fabric paint on special automotive film, but this requires more precision and curing time.
Designing and Cutting Your Decals
Once you know what you want, the next phase of diy car decals involves creating the actual graphics. You can draw by hand, use free vector software, or buy digital files that you print and cut yourself. Clean lines and simplified details work best for cut vinyl, especially on curved surfaces.

After printing your design, place it on the back of your vinyl and secure it with tape. Use a sharp craft knife or a precision cutting machine to follow the outlines carefully. Remove excess material, leaving only the parts you want to transfer onto your car, and keep the backing paper intact for later handling.
Preparing the Car Surface
Before applying diy car decals, it is important to prepare the surface so the decal sticks well and stays clean. Wash the area thoroughly with soap and water, then dry it completely to remove any dust or grease.
- Wipe down with rubbing alcohol to eliminate oils
- Mask off surrounding panels to avoid scratches
- Work in a shaded area to prevent the adhesive from setting too fast
A smooth, clean surface helps the decal lie flat and reduces the risk of air bubbles. If your car has old decals, remove them gently and use a razor on a low angle to scrape off stubborn residue without damaging the paint.
Applying the Decal to Your Vehicle
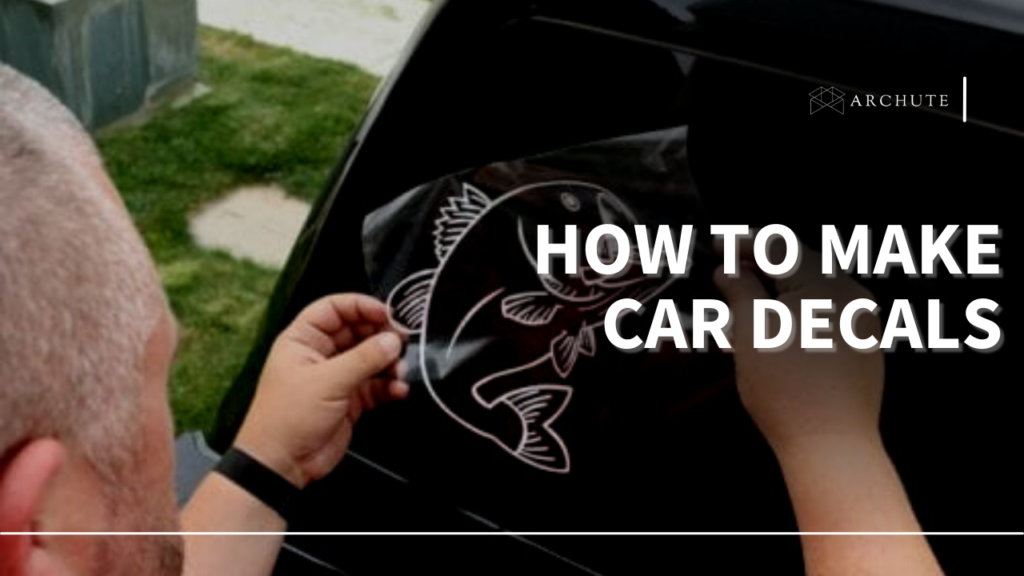
Applying diy car decals requires patience and a steady hand to avoid wrinkles and misalignment. Start by peeling back a small section of the backing and align the decal with your chosen spot, using masking tape to hold it loosely in place.
Once you are happy with the positioning, press the decal down from the center outward while sliding the squeegee across the surface. This pushes out air bubbles and ensures a strong bond. If small bubbles remain, gently lift the edge and smooth them out before the adhesive fully sets.
Maintenance and Longevity of DIY Car Decals
To keep your diy car decals looking fresh, avoid harsh chemicals, automatic car washes with strong brushes, and prolonged exposure to extreme sunlight. Gentle hand washing and soft cloths will help preserve the colors and adhesive strength.
Over time, check the edges of the decal for lifting, and if you notice peeling, press it back down firmly. With proper care, many handmade car decals can last for several years, making your diy car decals project both cost effective and visually rewarding.
Creative Ideas and Final Tips
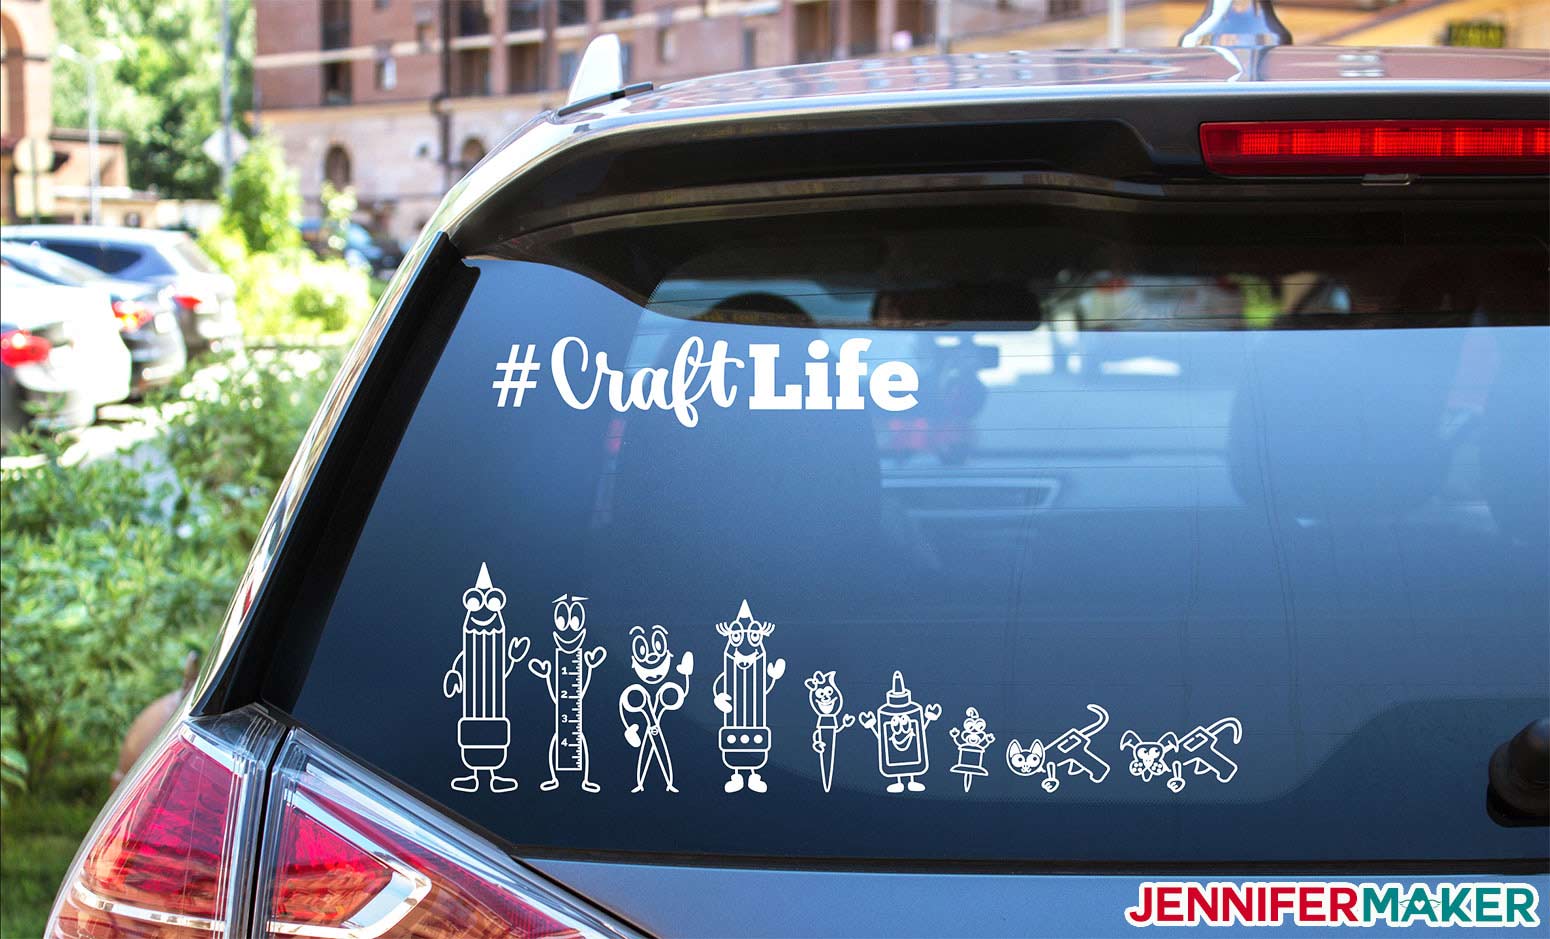
One of the best parts of diy car decals is the freedom to experiment. You can create matching sets for doors, playful patterns for the rear bumper, or subtle accents along the side mirrors. Mixing textures, such as glossy and matte vinyl, adds depth and visual interest.
- Test your design on paper before committing to large cuts
- Use contrasting colors for better visibility at a distance
- Practice on a scrap piece of vinyl to perfect your technique
Whether you want a bold statement or a subtle signature, diy car decals let you customize your ride with minimal investment and maximum impact. By planning carefully, choosing quality materials, and applying with care, you can enjoy a unique look that turns heads every time you drive.

Create and Sell Car Decals with Your Cricut | DIY Business Ideas
Want to make money from home with your Cricut machine? In this step-by-step Cricut tutorial, I'll show you how to make and sell ...
