Die Cut Window Decals
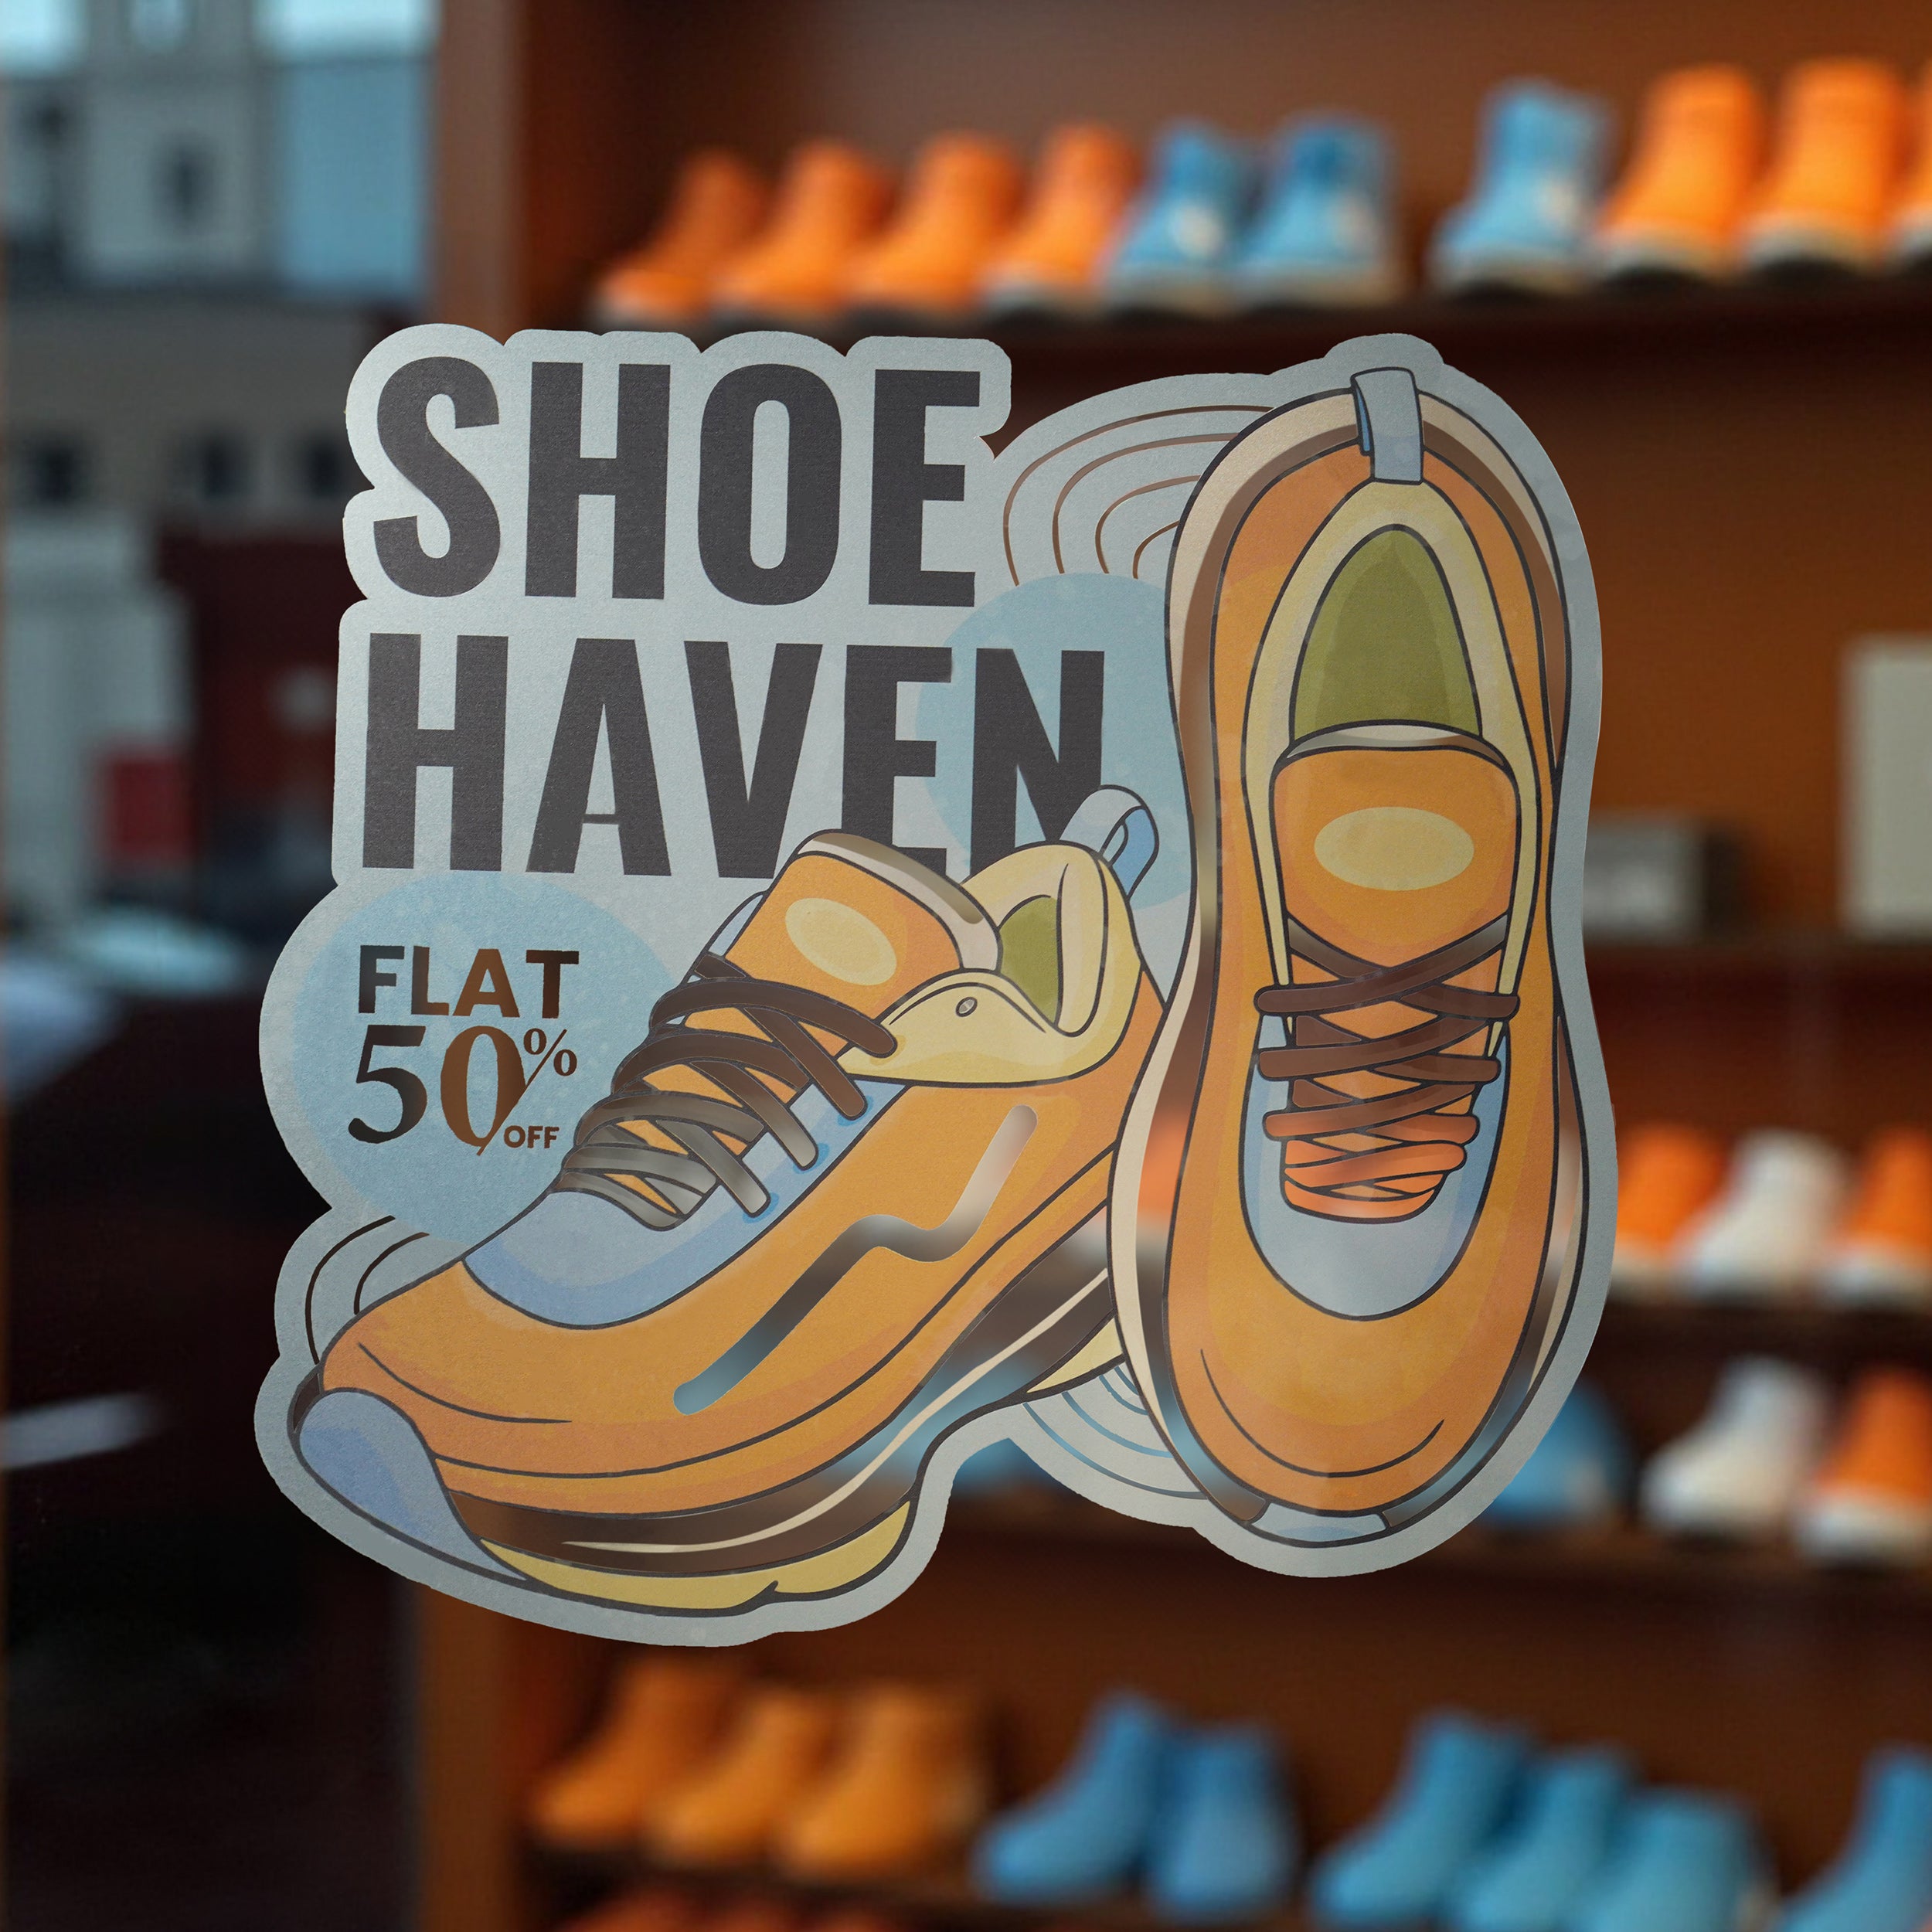
Die cut window decals transform ordinary glass surfaces into bold, custom graphics that catch light and attention without the commitment of permanent paint.
What Are Die Cut Window Decals
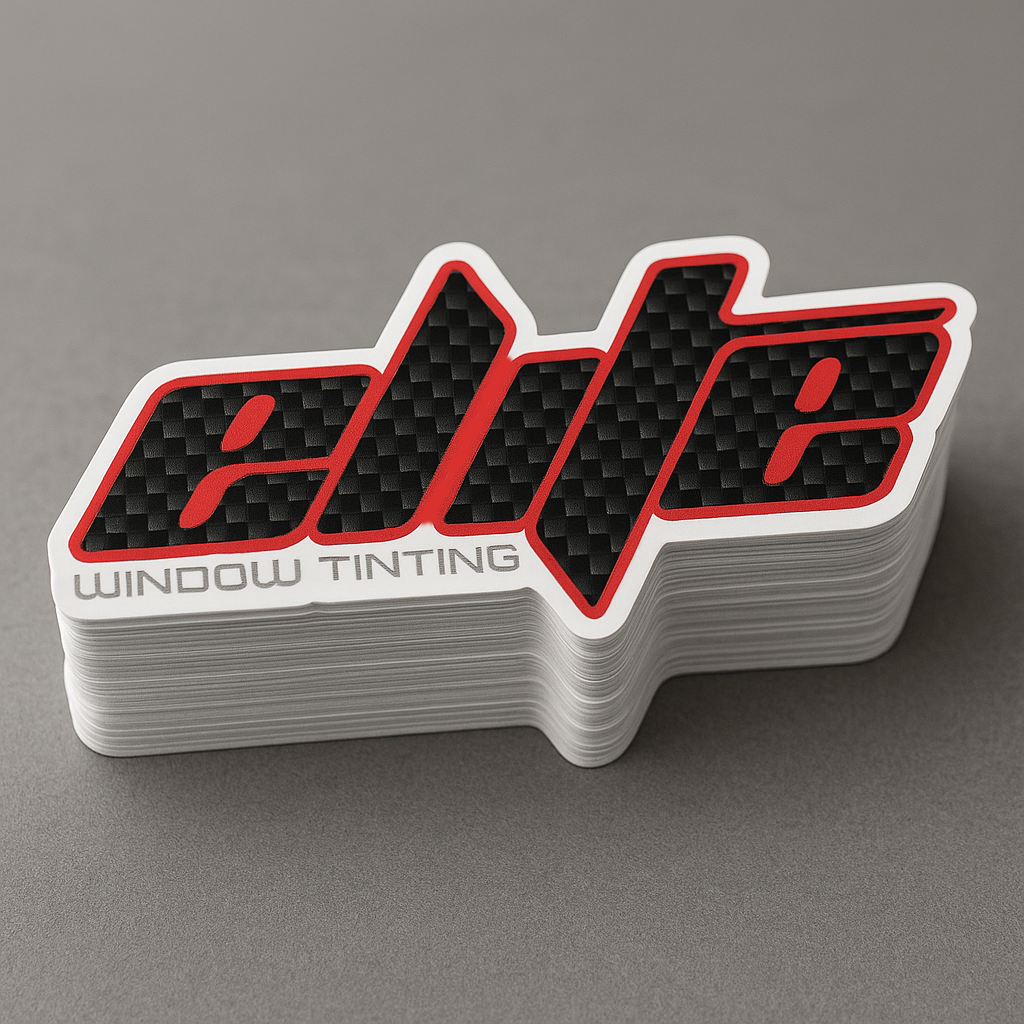
Die cut window decals are precision-cut adhesive graphics designed to stick directly to glass, allowing you to showcase logos, messages, or artwork with clean, sharp edges. Unlike simple printed vinyl, the term die cut refers to a process where a sharp blade trims each decal to the exact outline of your design, removing excess material and delivering a professional finish. Because they are cut rather than printed in shape, these decals can feature intricate logos, detailed illustrations, or sleek text that wraps around corners and curves.
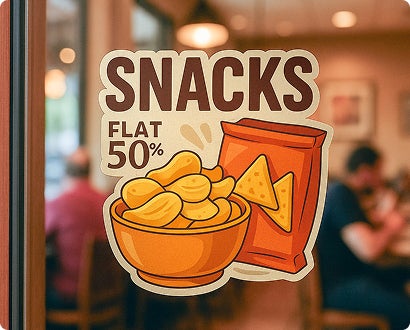
These decals are popular for storefronts, office glass, vehicle windows, and home interiors because they offer a high impact visual statement while remaining removable and non destructive in most cases. You get the benefits of a painted sign or frosted glass without the permanent alteration, making it easy to update branding, seasonal themes, or promotional campaigns. Modern materials and adhesives ensure that die cut window decals resist fading, light rain, and everyday cleaning, so your graphics stay vibrant between changes.

How the Die Cut Process Works
The die cutting process starts with a digital file of your design, which is imported into a cutting machine fitted with a sharp blade. The machine precisely follows the vector paths, cutting through the vinyl layer and liner while leaving the protective top layer intact until installation. This method allows for tight corners, fine details, and consistent results across large runs, ensuring every decal matches the last.
Because only the necessary material is removed, die cut decals are lighter and more flexible than full sheet prints, which makes them easier to apply on uneven glass surfaces. The absence of extra backing reduces bubbles and wrinkles, giving you a cleaner look that appears almost hand painted. For businesses that need many identical decals, this efficiency translates into faster production and lower costs per unit.
Design Tips for Maximum Impact
To make die cut window decals stand out, choose bold shapes and strong contrast so that your graphics remain readable from a distance. Simple, uncluttered designs often perform better on glass, where reflections and outdoor light can distract from fine details. Consider how natural light moves across the surface throughout the day and place key elements where they will stay visible.
- Use high contrast color pairs to improve legibility against changing backgrounds.
- Keep text large enough to read from a few meters away, especially for storefront signage.
- Test your design on a small section of glass first to see how it looks in real lighting conditions.
Working with a vector file ensures that your die cut window decals stay crisp at any size, avoiding pixelation when you scale up for large windows or banners. If your design includes fine lines or intricate patterns, discuss minimum line thickness with your provider to guarantee that the cut stays clean and does not tear during installation.
Best Applications and Use Cases
Die cut window decals are ideal for branding, wayfinding, and promotional messaging, whether you want a permanent fixture or a seasonal display. Retailers use them to frame store names, highlight sales, or direct customers to specific departments, while offices apply them to conference room doors and company signage. Vehicle wraps and fleet graphics also rely on die cut vinyl to create clean, brand consistent messaging that moves with the business.
Event organizers appreciate how quickly these decals can be produced and installed for conferences, weddings, or product launches. Because they are removable, you can reuse the same die cut window decals across multiple events, updating colors or text to match each occasion. This flexibility makes them a cost effective choice for businesses that value both design and practicality.

Installation and Maintenance Best Practices
Proper installation begins with a clean glass surface free of dust, grease, and old adhesive residue. Use a soapy water solution and a soft squeegee to position the decal accurately, then work out bubbles from the center toward the edges. Once the water evaporates, the adhesive bonds securely, and the edges remain crisp even in windy conditions.
For long lasting performance, avoid harsh abrasive cleaners and instead use mild soap or dedicated vinyl cleaning products. If you need to remove the decal, slow peeling at a low angle usually leaves the glass undamaged, though very old installations may require a gentle adhesive remover. With regular but careful cleaning, die cut window decals can retain their vivid appearance for many years.
Choosing the Right Materials and Provider
The longevity and look of die cut window decals depend heavily on the quality of vinyl, adhesive, and protective overlaminate used during production. Outdoor applications demand thicker vinyl and stronger adhesives to withstand UV exposure, wind, and temperature fluctuations, while indoor decals can be lighter and more flexible. Discuss your environment with your supplier so they can recommend the best material combination for your needs.
Choose a provider that offers proofing options, color matching, and clear specifications so you know exactly what to expect. Ask about cut accuracy, adhesion tests, and recommended cleaning methods to avoid surprises once the decals are on site. A reliable partner will guide you through design files, sizing, and placement tips, ensuring that your die cut window decals look perfect from the first day.
Die cut window decals give you a versatile, high impact way to communicate, brand, and decorate glass surfaces with precision and style. By understanding the die cut process, planning thoughtful designs, and following proper installation and care steps, you can enjoy vibrant, professional results that stand out in any setting.
How to make and apply a vinyl window decal with a Cricut! Full Process | JMKDIY
Links to vinyl and transfer tape below! Here's an in depth tutorial on creating a custom decal with your cricut. I go over every step ...
