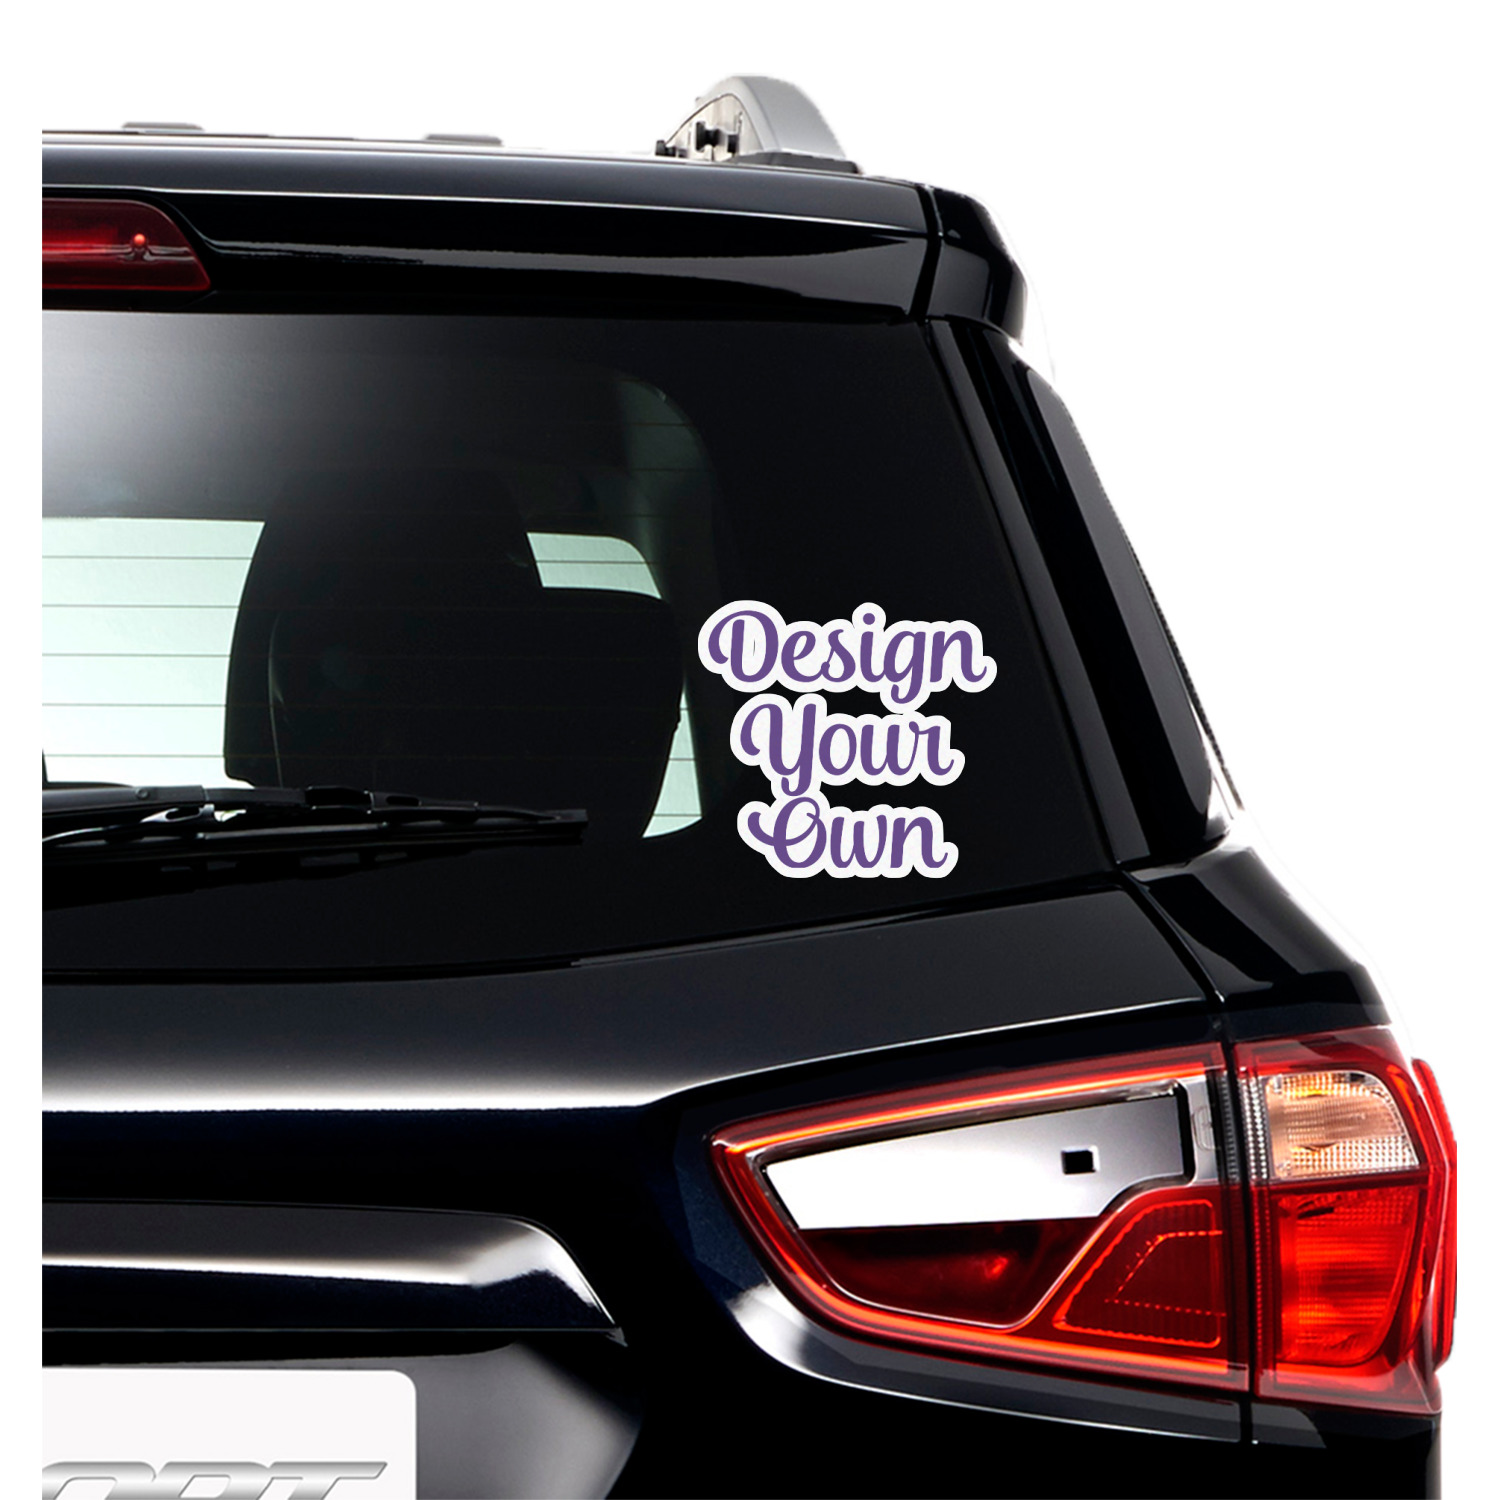
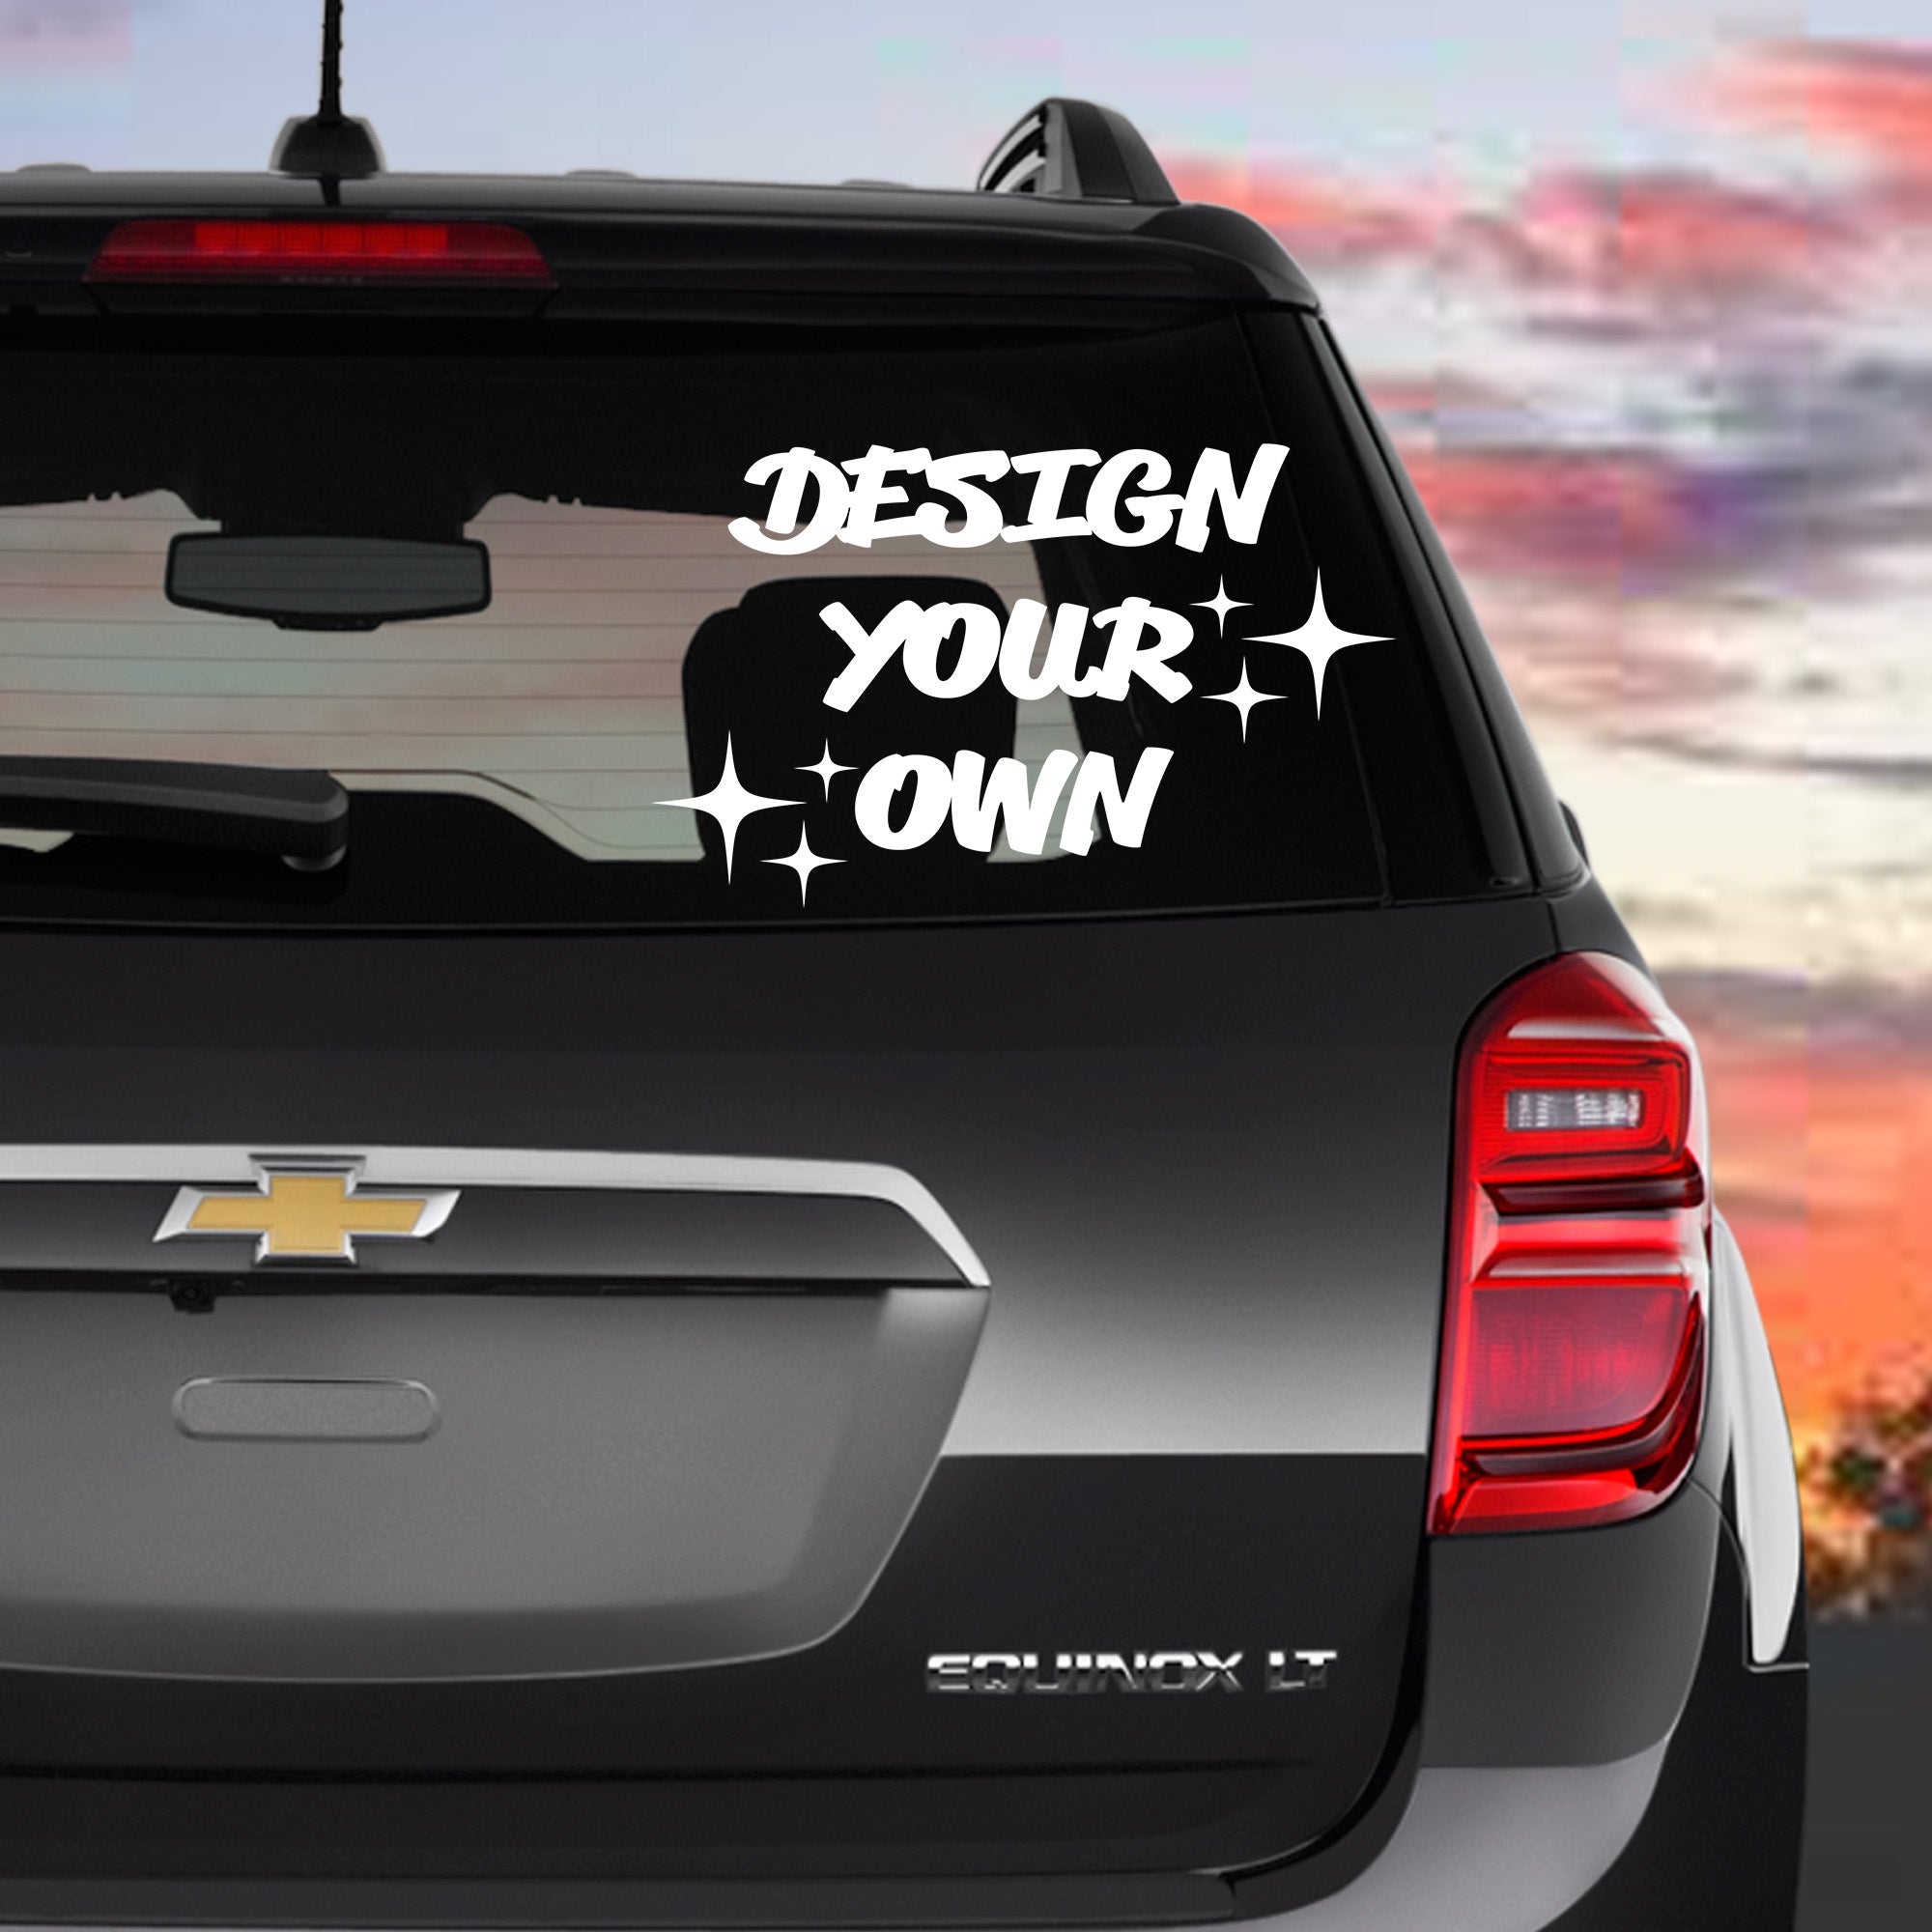
Design Your Own Decals

Design your own decals to personalize your gear, vehicle, or space is easier than you might think when you follow a clear, creative process.
Clarify the purpose and placement of your decal
Before you open any design tool, decide why you want a custom decal and where it will live. A logo on a laptop sleeve needs different details than a large wall mural or a fleet of company vans, so think about visibility, context, and how people will interact with it.
Consider the surface material, weather exposure, and viewing distance. A subtle indoor sticker can be more delicate and detailed, while an outdoor vehicle decal needs bolder lines, stronger contrast, and robust colors that remain readable from a distance and in different lighting conditions.

Gather inspiration and define your visual style
Collect examples that resonate with your brand or personal taste, such as minimalist icons, playful hand-drawn illustrations, or bold typographic compositions. Create a simple mood board to lock down color palettes, graphic motifs, and the emotional tone you want your decal to convey.
- Save reference images that share the feeling you want, from vintage posters to modern UI icons.
- Define a limited color palette to keep the decal clean and printable, especially if you plan to use a single-color or two-tone design.
- Sketch rough concepts on paper or a digital canvas to explore composition before committing to polished vectors.
Choose the right tools and file format
Use vector-based software such as design tools that create clean paths, because vectors scale without losing sharpness, which is essential for smooth edges and professional cutting. If you prefer a free route, many programs offer a robust free tier that handles basic shapes, text, and export needs well.
Export in a format compatible with cutting software, usually with transparent backgrounds, and double-check stroke settings, layer organization, and color modes. Prepare a simplified version with fewer tiny details if the decal will be cut from vinyl, ensuring the final lines are strong enough to withstand peeling and application.
Simplify the design for decal application
Decals often look best when you reduce complex images to strong shapes, clear lines, and key visual anchors. Remove unnecessary clutter, focus on one or two focal points, and use negative space to let the graphic breathe and stick to surfaces cleanly.
Test how the design reads at actual size by printing a rough draft or scaling it on screen. Check readability from a few steps away, and adjust line weights, icon sizes, and text height so that the decal remains legible once installed on mugs, panels, or storefront windows.
Select materials and finishes that match the environment
Choose between matte and glossy finishes based on where the decal will sit; a matte finish can hide minor surface imperfections and reduce glare, while a gloss finish adds vibrant shine and depth.

- For indoor use, a standard vinyl with adhesive backing works well and allows for clean removal without heavy residue.
- For outdoor applications, opt for weather-resistant materials and reinforced edges to prevent lifting, fading, or peeling under sun and rain.
- Consider removable options for renters or temporary campaigns, and reinforced variants for high-traffic surfaces that see frequent cleaning or abrasion.
Test, print, and prepare for installation
Do a small-scale test print or cut to confirm colors, alignment, and how the design interacts with real surfaces. This step helps you spot issues with contrast, scaling, or registration before you commit to a full run of decals.
Plan the installation process by cleaning the surface thoroughly, marking key alignment points, and preparing tools like a squeegee and soft cloth. A calm, well-lit workspace and a steady hand make the difference between a crisp, bubble-free result and a wrinkled mess.
Iterate based on feedback and usage
After your decals are in the world, gather reactions from the people who see them and note any recurring comments about readability, color, or placement. Use this feedback to refine future versions, adjusting details that only become clear in real-life conditions.
Track how the material holds up over time, whether outdoors or through repeated handling, and document any tweaks that improved durability or visual impact. Each iteration helps you build a library of designs that perform reliably and express your vision with confidence.
When you design your own decals with intention, you turn simple stickers into powerful visual tools that communicate personality, brand values, and purpose wherever they appear.
Create Your Own CUSTOM Decals and Apply Them PERFECTLY | Applying Transfer Sheets
Creating you own custom decals can be difficult...but does not HAVE TO BE! With this guide on how to create custom decals ...
