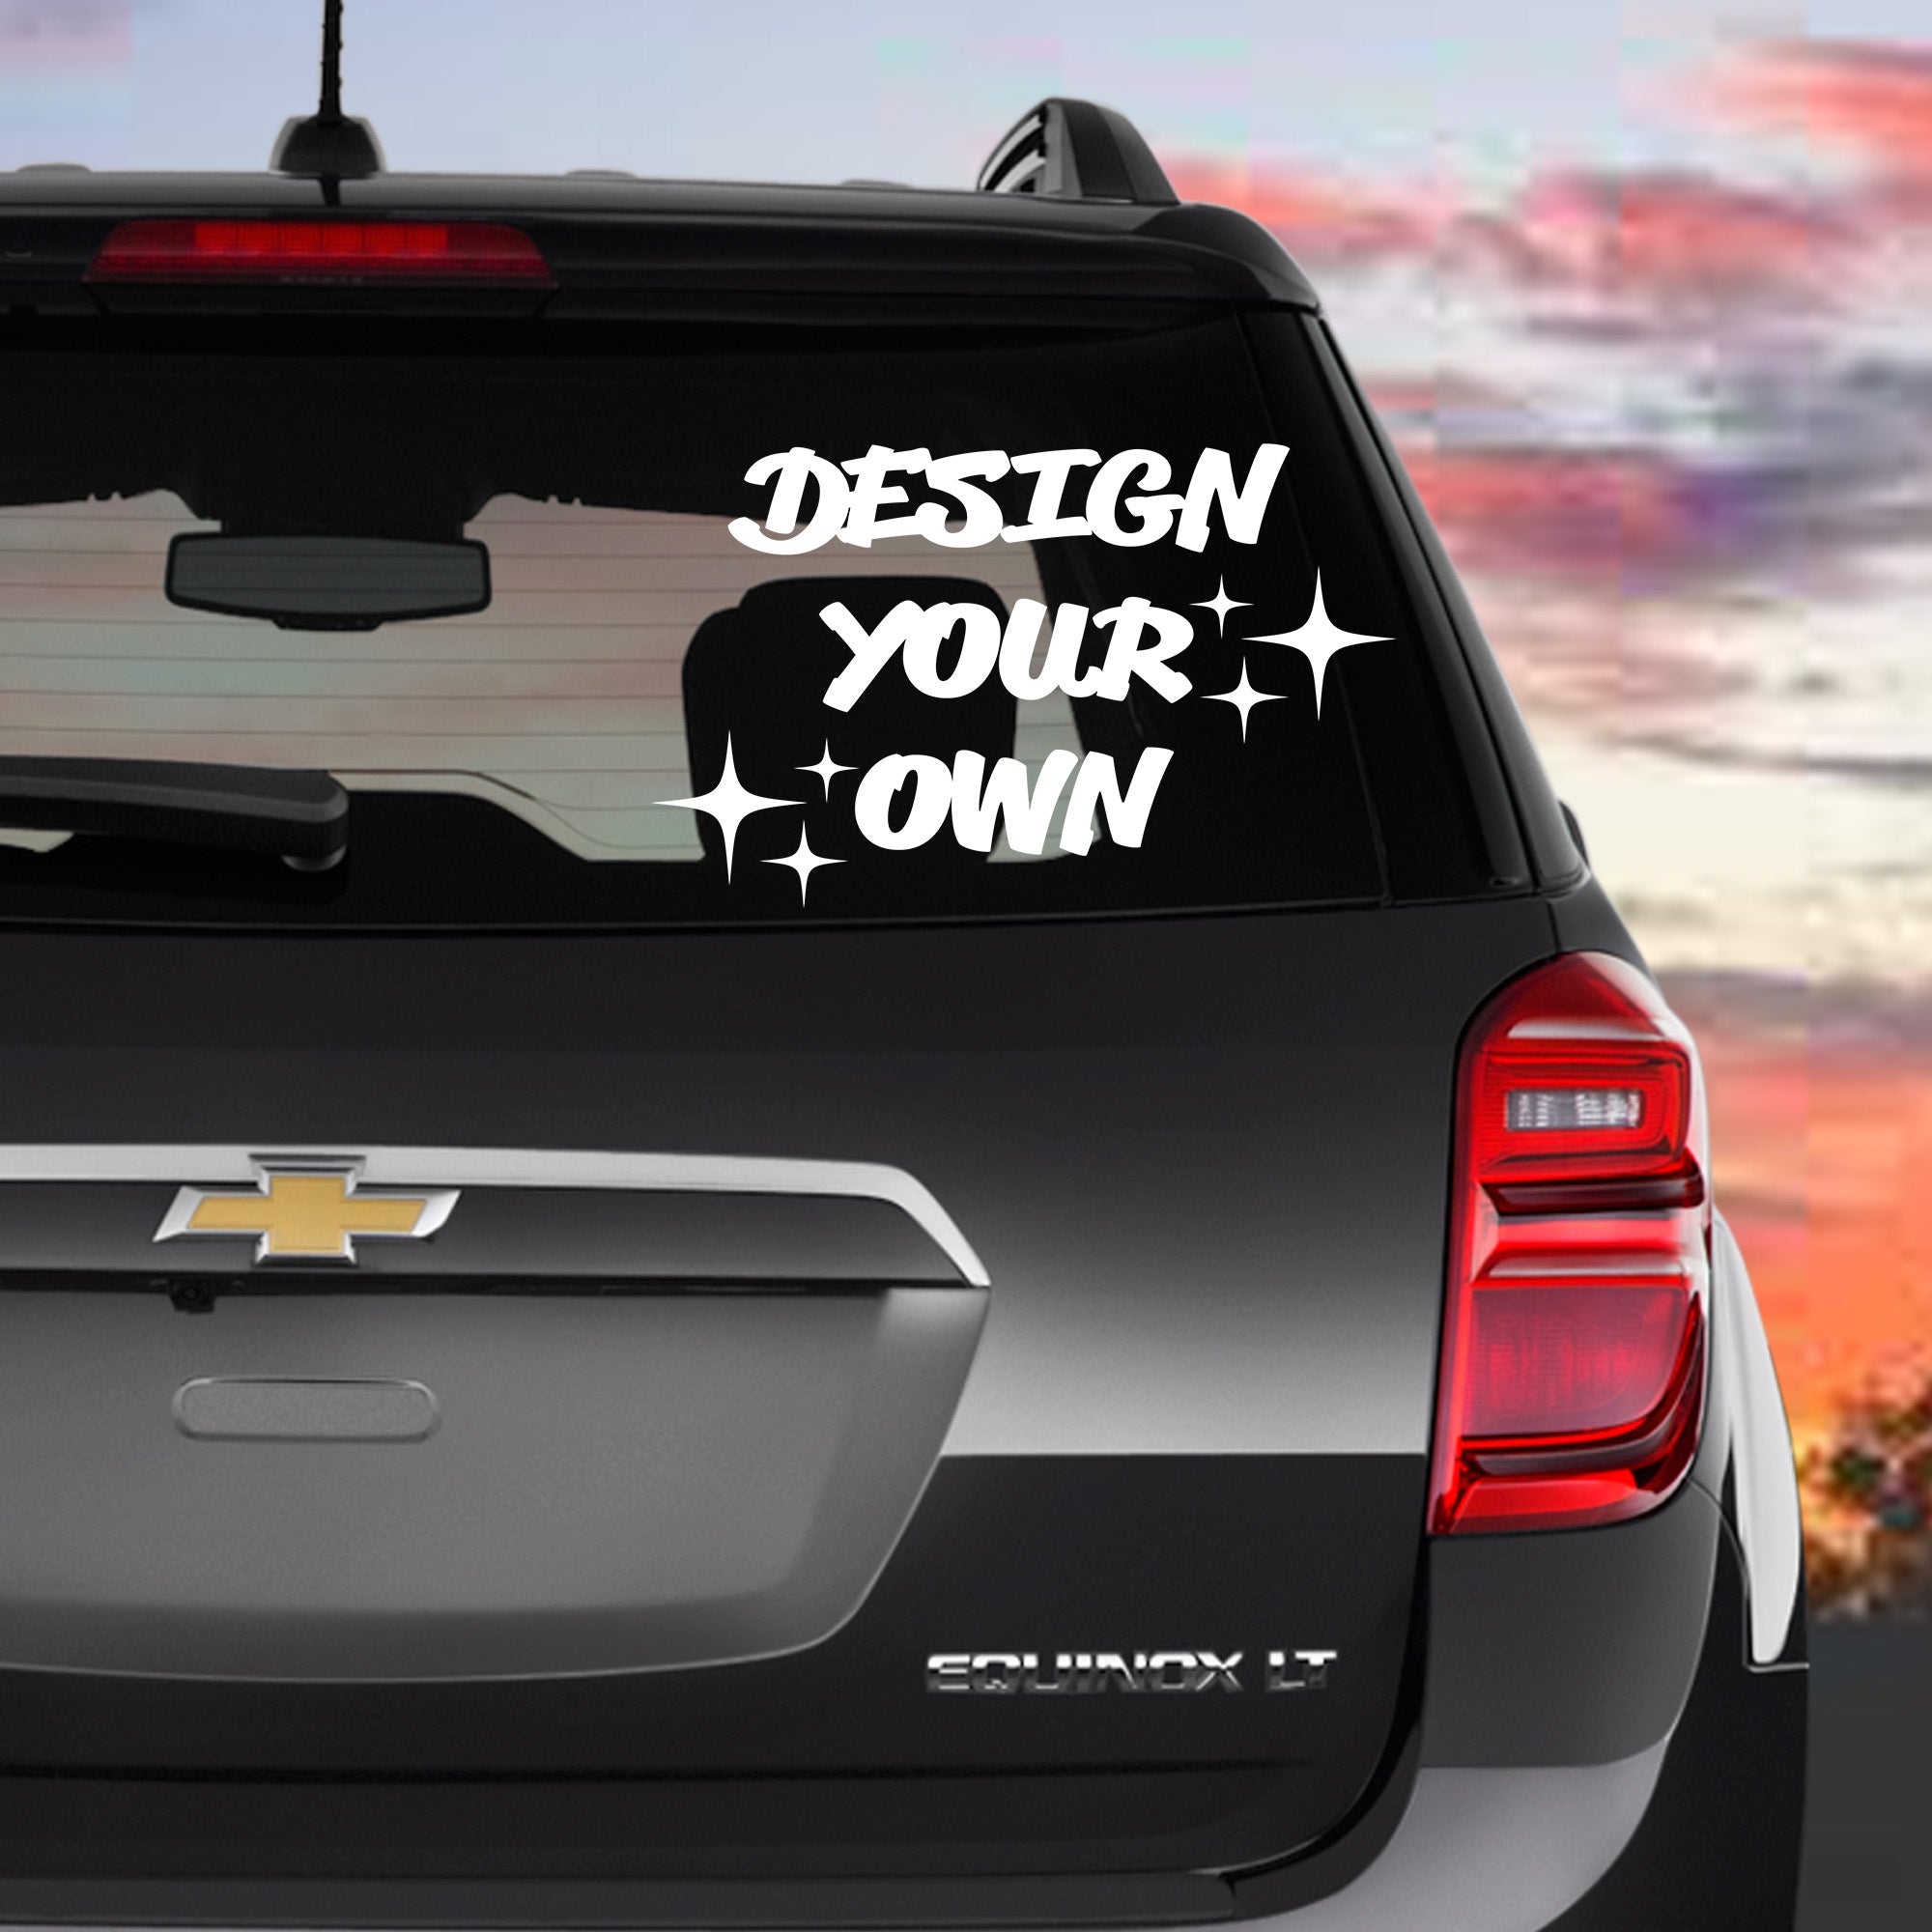
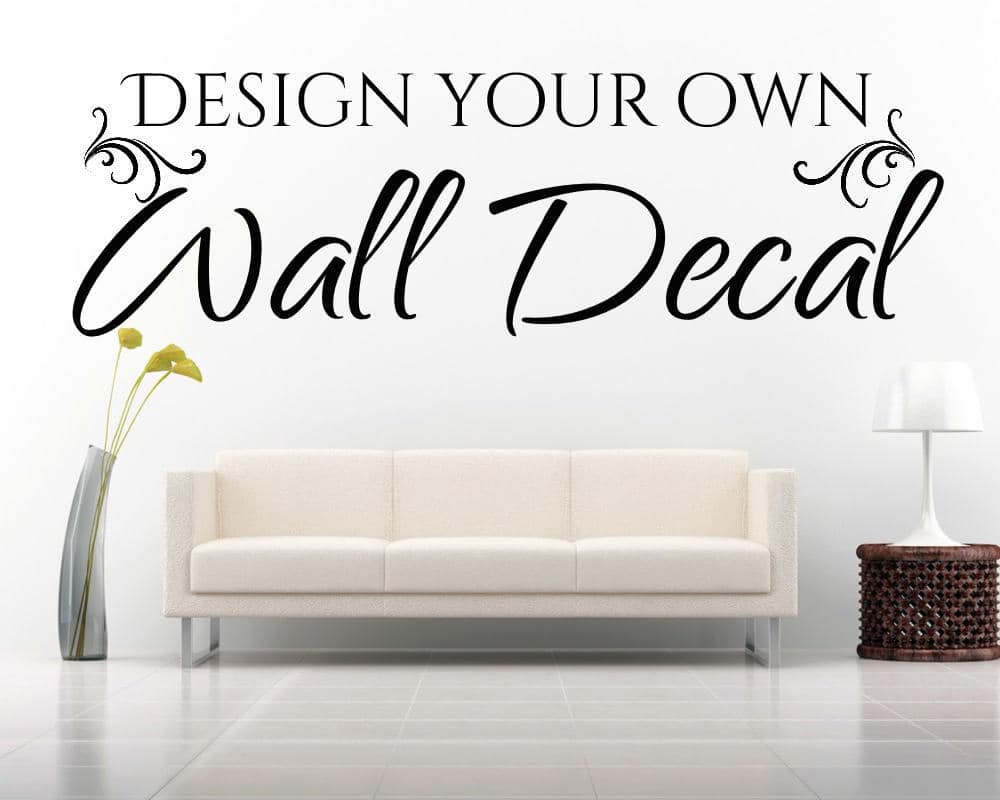
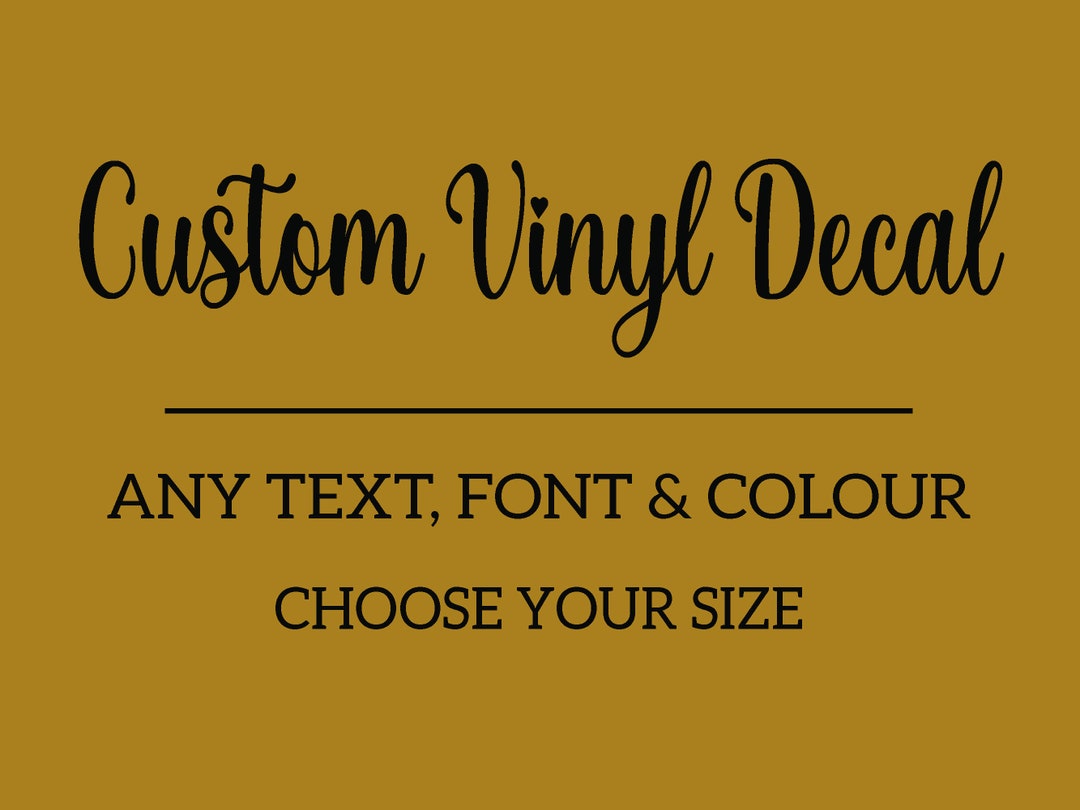
Design Your Own Decal

Design your own decal is a creative way to turn your ideas into bold, stick-on art that can personalize almost any surface.
Start with a Clear Vision for Your Decal
Before you open any design tool, spend a moment thinking about where the decal will live and what it should say. A clear vision makes every later choice easier, from colors to size to level of detail. You might be decorating a laptop, a car window, a storefront, or a piece of equipment, and each surface has different visibility and durability needs.
Consider the mood you want to create, whether it is playful, professional, edgy, or calming. Jot down a few keywords that capture the feeling, such as minimalist, vintage, tech-forward, or friendly. These words will guide your font, icon, and color decisions when you design your own decal, helping the result feel intentional rather than accidental.
Choose the Right Tools and File Format
Selecting the right software is a big part of how smoothly you can design your own decal. Many people start with free or low-cost tools that offer shape drawing, text, and image placement, plus export options that matter for cutting or printing. Look for tools that let you work in vector mode, so your lines stay sharp no matter how much you resize the decal.
When you prepare the final file, pay attention to format and resolution. For professional cutting, you often need a vector file such as SVG or DXF, while high‑quality PNG files work well for printing on vinyl with a clear background. Make sure the color profile is set for your output type, and double‑check that line weights and layer names are clean, which helps both you and any manufacturer or cutting machine interpret the design correctly.
Balance Simplicity and Detail for Maximum Impact
One of the most effective ways to design your own decal is to decide how much detail is truly necessary. Simple shapes and bold text often travel better from screen to surface, especially on curved panels or small items. Clean lines and strong contrast make the decal readable at a glance, whether it is on a street pole, a car door, or a storefront window.

That said, detail can add personality and depth when handled carefully. If your design includes intricate illustrations, consider simplifying complex areas into blocks of color or subtle gradients that still read clearly from a distance. Testing the design at actual size, or even printing a low‑cost proof, helps you see whether the fine lines will hold during cutting or printing, so you can adjust before committing to the final run.
Pick Colors and Materials That Match the Environment
Color choice dramatically affects how your decal will be perceived in its final location, so treat it as part of the design process to design your own decal. Think about the background colors the decal will sit against, and use contrast to make text and graphics pop. You can also use color to guide the viewer’s eye, highlighting key words or focal points without adding extra graphics.
The material you choose is just as important as the ink or vinyl. Matte finishes reduce glare and feel modern and understated, while glossy finishes add vibrancy and depth. For outdoor applications, look for weather‑resistant materials and adhesives that can handle sun, rain, and temperature swings. Matching the material to the environment ensures your decal stays vibrant and intact for as long as you intend.
Measure, Scale, and Test in Context
Scaling your design to the right size is a practical step that can make or less the final result. Before you lock in the file, measure the surface where the decal will go and mock it up with tape or a printed template to see how it feels in the space. A design that looks bold on a screen can disappear on a large wall if the scale and contrast are not adjusted for distance.
Testing in context also helps you refine placement details, such as avoiding seams on doors or awkward spots on glass. If possible, print a small proof or use a low‑tack temporary method to verify how the colors appear in real lighting and how the material responds to the surface. These small checks reduce the chance of rework and help you deliver a decal that meets expectations.
Plan the Application and Long‑Term Care
A well‑thought‑out application process is part of designing a successful decal, because even the best artwork can look uneven if bubbles or misalignment occur. Prepare the surface by cleaning it thoroughly, and consider using application fluid or tape to position the decal precisely before pressing it down firmly. Working slowly from one edge to the other helps push out air and keep the edges flat.
Think ahead about maintenance and longevity, too. Let people know whether the decal is suitable for dishwashers, outdoor exposure, or frequent handling, and suggest gentle cleaning methods that protect the graphics. When you design your own decal with both installation and care in mind, you make it easier for users to enjoy the result and refer others to your next project.
By combining clear intent, smart tools, thoughtful simplicity, and attention to color, material, scale, and application, you can create decals that look great from the first install and continue to perform well over time.
Create Your Own CUSTOM Decals and Apply Them PERFECTLY | Applying Transfer Sheets
Creating you own custom decals can be difficult...but does not HAVE TO BE! With this guide on how to create custom decals ...
