Design Your Own Contact Paper

Design your own contact paper to refresh your walls, cabinets, and furniture without the commitment of paint or new fixtures.
Why Design Your Own Contact Paper Is a Smart Home Upgrade
Contact paper has evolved from simple cupboard liners to a versatile design tool that lets you experiment with color, pattern, and texture throughout your home. When you choose to design your own contact paper, you gain full control over dimensions, visuals, and finishes, making it possible to match your exact style and practical needs. Whether you want to brighten a plain cabinet, protect a busy backsplash, or create a statement wall, custom contact paper gives you a low-cost, removable solution that feels as bold or subtle as you want.
Unlike wallpaper, many self-adhesive rolls are easy to install, forgiving of small mistakes, and simple to remove when you feel like refreshing a space. This flexibility encourages creativity, because you can test ideas on a small surface first and adjust colors or motifs without a big commitment. Designing your own contact paper also means you can coordinate patterns across rooms, create cohesive themes, or add subtle textures that complement your existing decor. It is an efficient way to update a rental, refresh a family home, or prepare a space for resale without major renovations.

Planning Your Custom Contact Paper Design
Start by deciding where the contact paper will live in your home, such as kitchen cabinets, bathroom vanities, bedroom headboard, or accent wall. Measure each surface carefully, noting dimensions, hardware locations, and any edges that need clean finishes, so your design fits perfectly once applied. Consider the function of the surface: high-traffic cabinets may need a more durable finish, while decorative accents can prioritize bold patterns and softer materials.
When you design your own contact paper, think about the mood you want to create in the room. A calm, neutral palette can make a small kitchen feel larger and more serene, while a vibrant geometric pattern can energize a plain breakfast nook. Gather inspiration from magazines, online galleries, and your own photos, and sketch rough layouts to visualize how colors, lines, and motifs will align with your existing furniture and lighting.
Choosing Colors, Patterns, and Textures
Color plays a powerful role in shaping the atmosphere of a room, so choose hues that support the function and feel of the space. For a soothing bathroom, soft blues and gentle greens work well, while a sunny yellow or coral can bring warmth to a plain kitchen cabinet. If you prefer a subtle update, consider a contact paper design that echoes your existing accent colors through tone-on-tone patterns or metallic highlights.
- Solid colors for a sleek, modern look
- Geometric or abstract prints for visual interest
- Nature-inspired motifs like leaves or waves for a calming effect
- Metallic or textured finishes to add depth and sophistication
Textures can transform a simple contact paper into something more tactile and luxurious. Matte surfaces hide fingerprints well and offer a soft, understated appearance, while glossier finishes reflect light and make a space feel brighter. Textured patterns, such as faux wood grain or subtle linen effects, can add dimension without overwhelming a room, especially when you design your own contact paper with these details in mind.
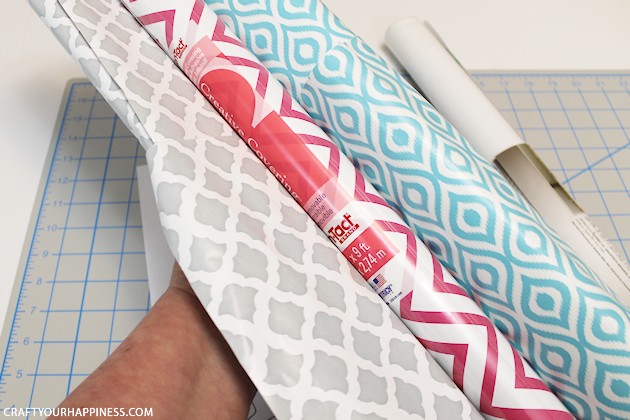
Measuring, Cutting, and Sample Testing
Precise measurements help you order or cut the right amount of contact paper, reducing waste and ensuring seamless coverage. Add a few extra centimeters or inches to each dimension to allow for trimming around edges, handles, and unexpected irregularities. If you are covering multiple surfaces, create a simple layout plan that shows which roll to use for each section, noting any pattern repeats that require careful alignment.
Before committing to a large run, test your design by applying a sample to a small area or creating a mockup on paper. Observe how the contact paper looks in different lighting throughout the day, checking for color accuracy, glare, and how well it complements nearby materials. This step helps you confirm that the chosen pattern scale suits the size of the surface, so large motifs do not get lost on big cabinets and tiny prints do not look busy on small spaces.
Installation Tips for a Clean, Professional Finish
A smooth, dust-free surface is essential for a flawless application when you design your own contact paper. Clean the area with a mild solution, dry it thoroughly, and if possible, work in a room with stable temperature and low humidity to help the adhesive bond evenly. Use a soft squeegee or credit card to press the material from the center outward, pushing out air bubbles and ensuring strong adherence without stretching the material.
- Measure twice and cut once to avoid short pieces and misaligned seams
- Use a sharp utility knife and a metal ruler for precise trimming
- Work slowly and gently to prevent wrinkles and maintain pattern alignment
- Keep a microfiber cloth handy to wipe off dust and excess adhesive
For intricate shapes, such as cabinet doors with cutouts or curved surfaces, consider applying the contact paper in sections and smoothing each part before moving on. Take your time to align patterns at seams, and do not worry if small bubbles appear at first; many can be smoothed out later. If a mistake happens, carefully lift the material, re-position it, and press again, remembering that patience leads to a polished result.
Maintaining and Refreshing Your Custom Contact Paper
Once your custom contact paper is in place, simple routine care can keep it looking fresh for years. Wipe surfaces gently with a soft cloth and mild cleaner, avoiding harsh abrasives that could dull finishes or lift edges. Pay attention to areas around handles and drawers, where frequent movement might cause peeling, and press down any lifted corners promptly to maintain a seamless look.

Over time, you might decide to change the contact paper design to match new decor trends or seasonal moods. Because many self-adhesive rolls are removable, you can peel off old patterns carefully, clean any residual adhesive with a gentle solvent, and apply a fresh design without damaging the underlying surface. This cycle of design and renewal makes contact paper a flexible, long-term choice for creative homeowners who like to refresh their spaces without major expense.
Designing your own contact paper is an accessible way to personalize your home, protect surfaces, and experiment with bold ideas on a practical budget. By planning carefully, choosing colors and textures that reflect your style, and following thoughtful installation and maintenance steps, you can transform ordinary spaces into curated, intentional rooms that feel uniquely yours.
Contact Paper Wallpaper! | Design your Space
Hello everyone! I hope all of you are safe and staying sane in this crazy time. While we may mostly be locked in our homes, what ...
