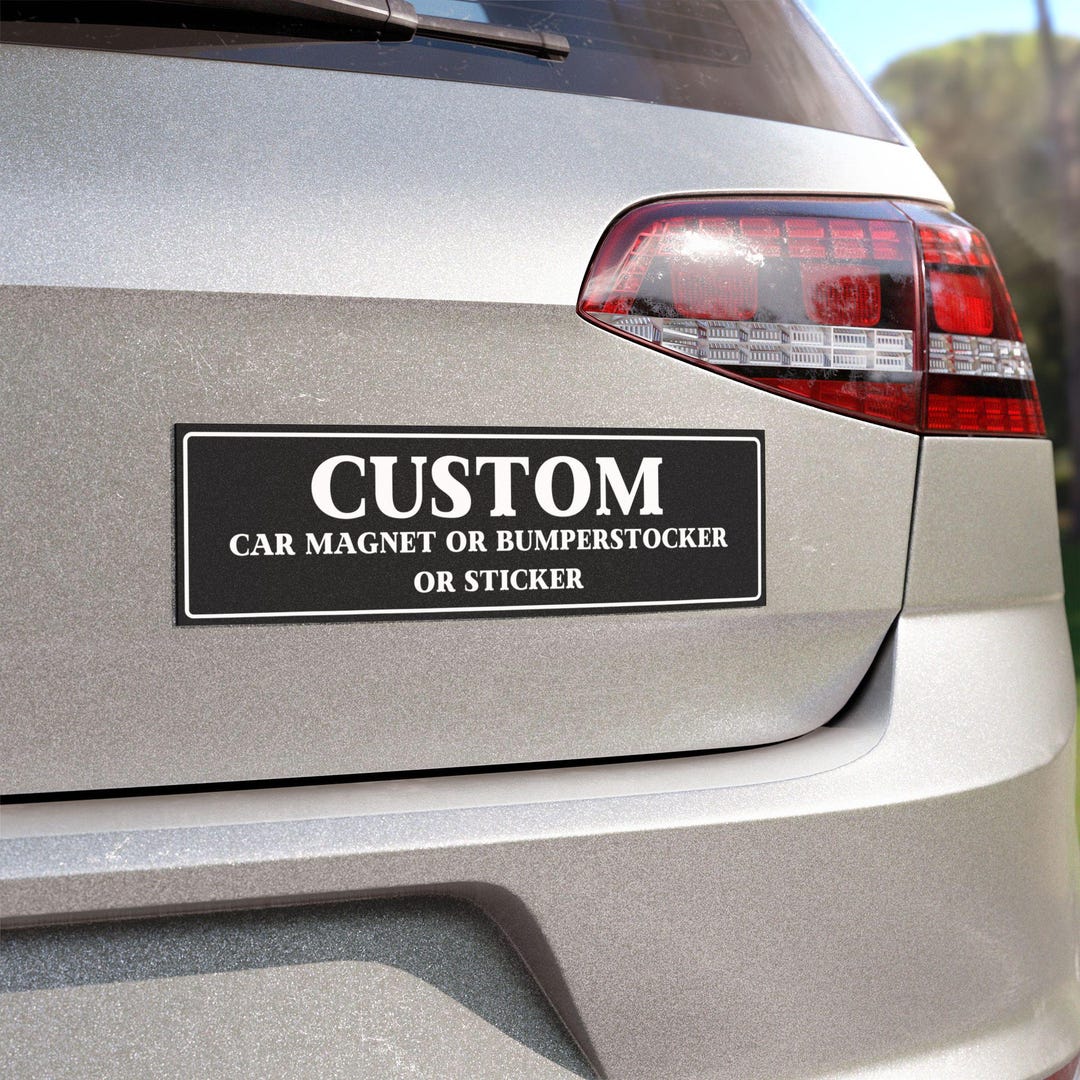
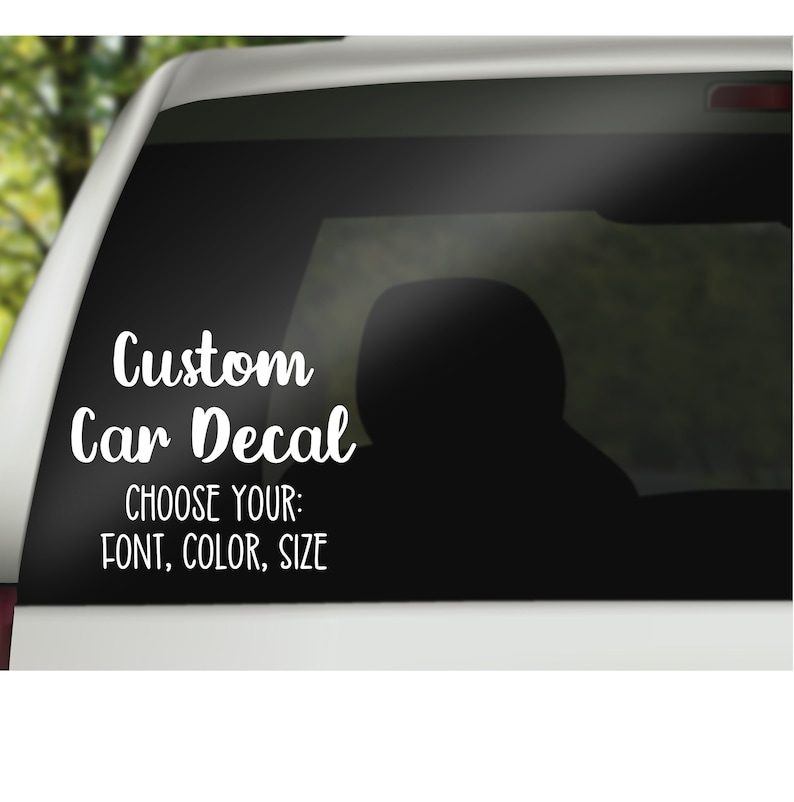
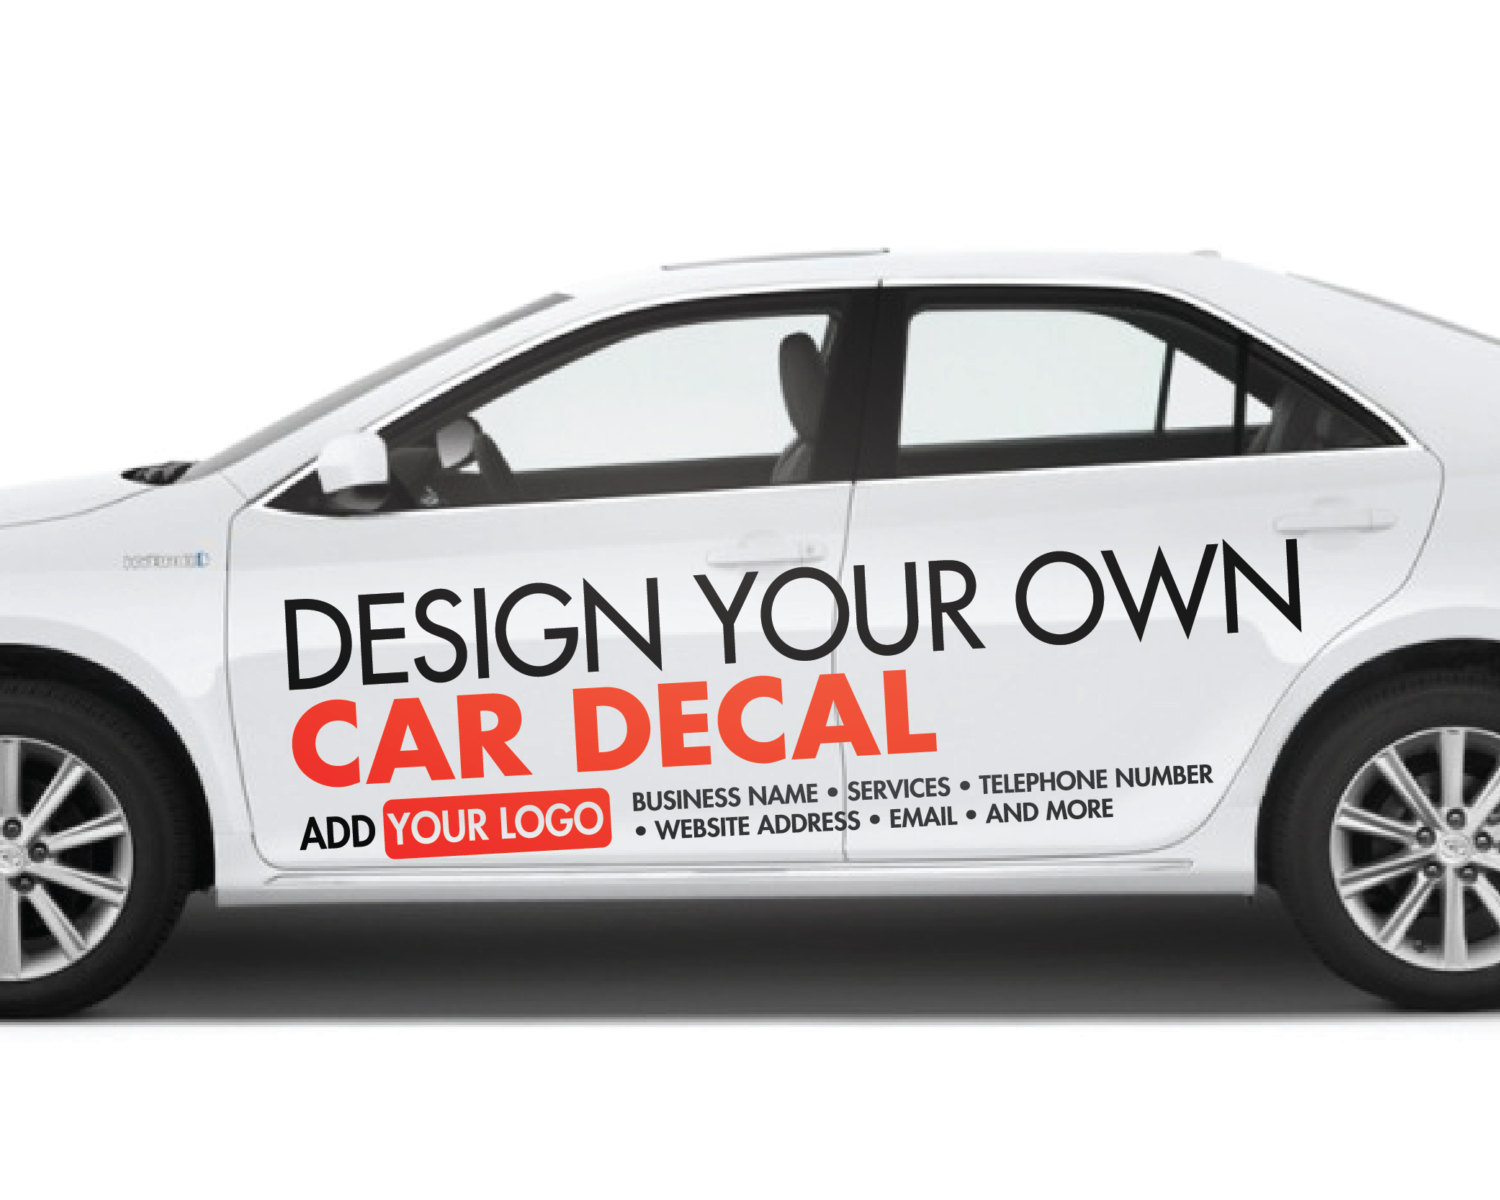
Design Your Own Car Decal
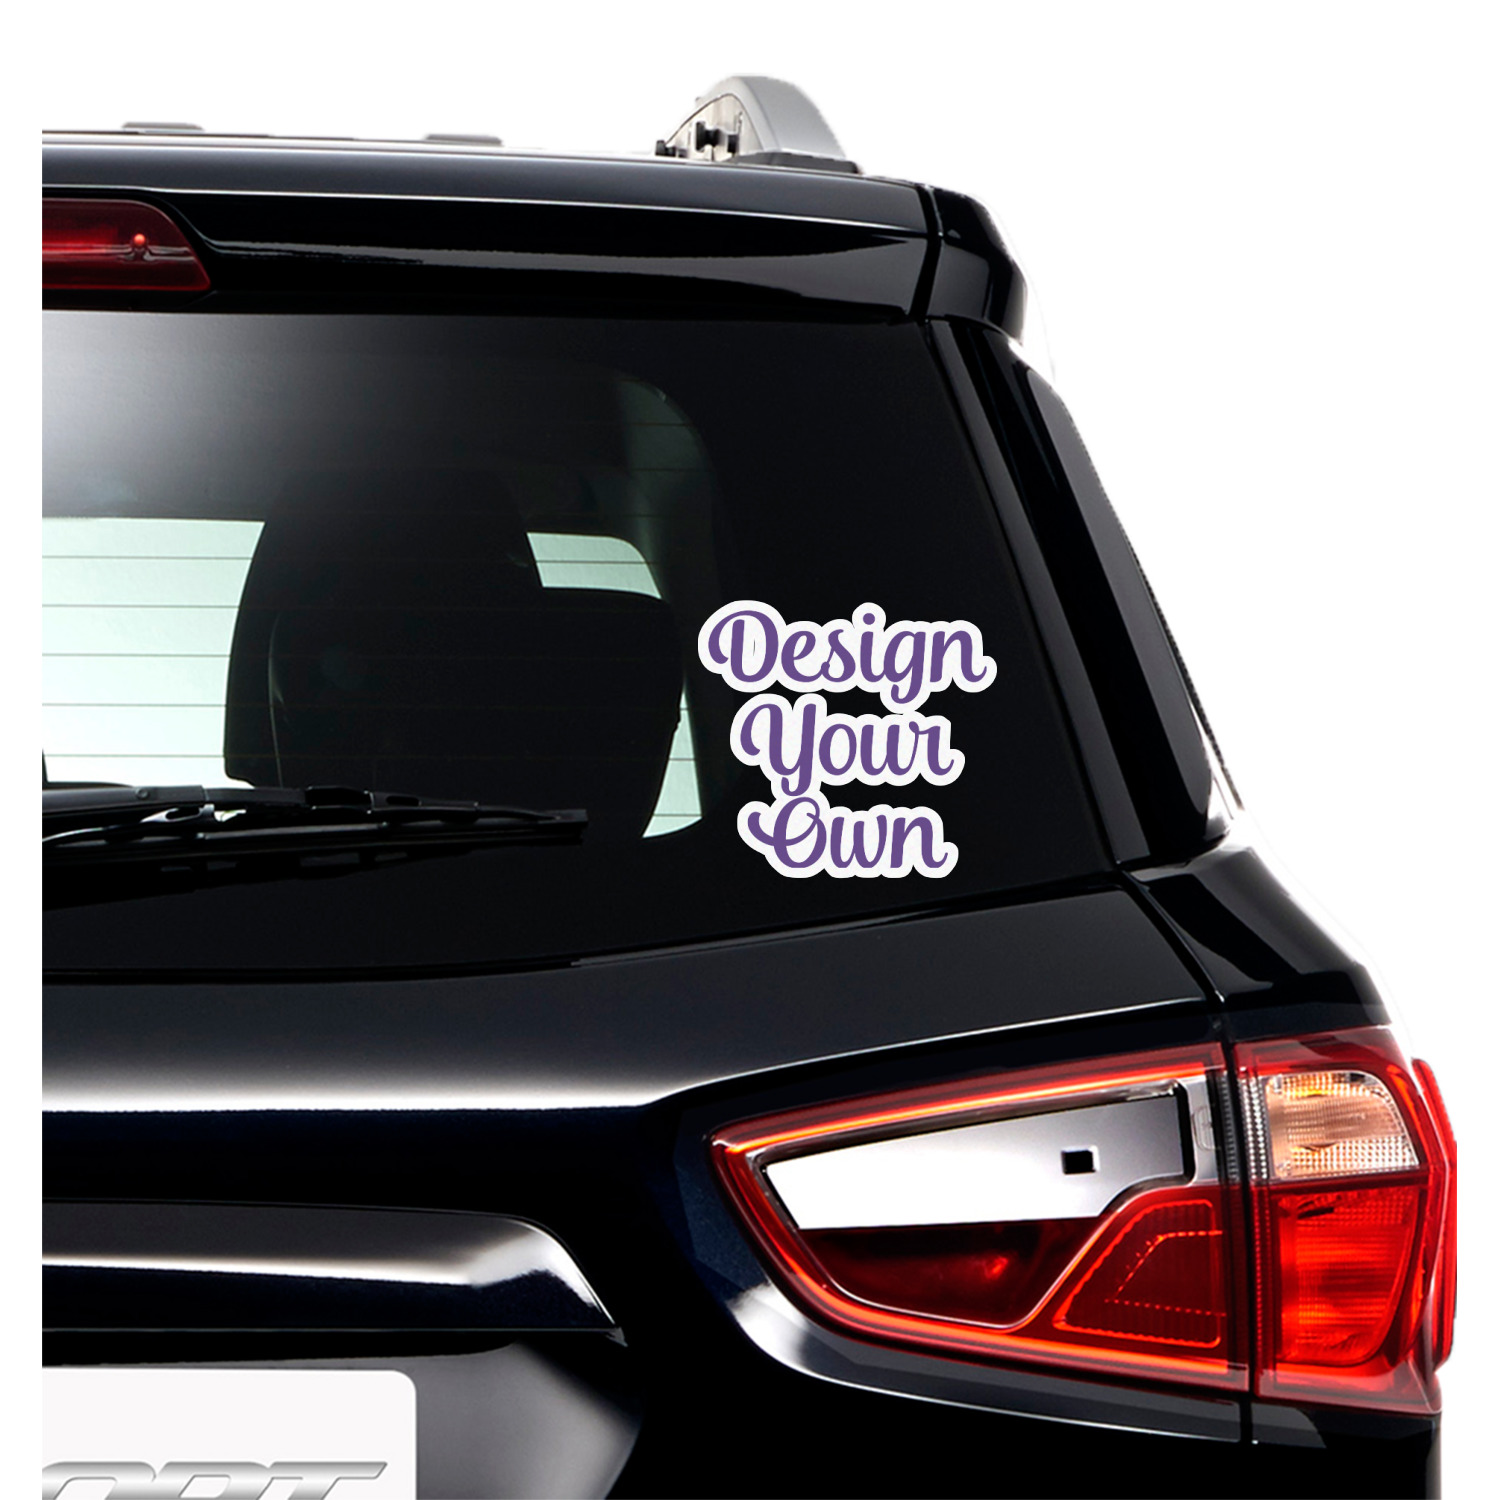
Design your own car decal is a fun way to turn your vehicle into a rolling canvas that reflects your personality, brand, or creative vision.
Start with a Clear Idea and Purpose
Before you open any design software, clarify what you want to communicate with your custom car decal. Are you promoting a business, showcasing a hobby, or expressing art? A clear purpose helps you choose the right size, placement, and visual style so the decal feels intentional rather than cluttered.
Think about where and how people will see your design. A logo on the rear window is read quickly, so simplicity and contrast matter. A full-door wrap can hold more detail, but you still want a strong focal point. Write down a few keywords that capture the message, then sketch rough thumbnails that match that mood.

Choose the Right File Format and Resolution
When you design your own car decal, vector files give the cleanest edges and the most flexibility. Use SVG or AI for logos and text, because they scale without losing sharpness. If your design includes detailed photos or gradients, a high-resolution PNG works best, but avoid low-quality JPEGs that can pixelate when enlarged.
Set your document dimensions to match the final output size, and work at 300 DPI for image elements to ensure crisp printing. Keep text at a minimum size that remains legible from a few feet away, and avoid tiny details that the vinyl cutter might miss. Save a copy in both vector and high-res raster formats so you can tweak colors or swap elements later without starting from scratch.
Pick Colors and Contrast That Pop
Color choice dramatically affects how readable your car decal looks on different surfaces. Light cars suit darker, saturated inks, while dark vehicles often need bright or reflective colors to stand out. Use contrast tools to check your palette, and consider how the design appears in daylight, shade, and at night.
Limit your palette to three or four core colors to keep production simple and costs lower. If you want extra visibility, explore reflective or fluorescent inks, but remember that some finishes can look different in direct sunlight. Test color swatches in the actual environment or ask your printer for a color proof before committing to the final run.
Plan Placement and Vehicle Shape
The curves and panels of your car affect how a decal wraps and stretches. Flat doors and hoods are forgiving, while complex shapes around wheel wells or bumpers require more planning. Sketch the intended area on a photo of your vehicle to anticipate overlaps and gaps.
- Measure the available space and note any obstacles like handles, vents, or seams.
- Consider whether you want a partial wrap that highlights a panel, or a full coverage design that makes a statement.
- Think about removal; simpler shapes with fewer tight corners lift off more cleanly if you ever decide to change the look.
Mock up the decal in the scene using a temporary template or low-opacity overlay to judge scale. This step helps you avoid surprises once the vinyl is cut and applied.
Simplify Details for Vinyl Cutting
What looks great on screen can be tricky to cut and apply if it has too many tiny gaps, thin lines, or intricate textures. Simplify complex illustrations into bold shapes, and avoid ultra-fine details that might tear or detach over time.
Use solid fills instead of gradients when possible, or rely on overlapping color blocks to suggest depth. If you need text, choose clean, sturdy fonts, and make sure letters do not connect in ways that complicate weeding. Ask your printer for a design review; many shops offer free feedback to help your custom car decal go from good to great.
Work With a Trusted Printer or Do It Yourself
Professional print shops handle material selection, color matching, and cutting with precision that is hard to replicate at home. They can recommend vinyl types, adhesives, and laminates that resist UV fading, road debris, and weather changes.
If you prefer a DIY approach, start with a small test piece to practice alignment and bubble removal. Use a measuring tape, level, and soft squeegee to keep the decal smooth. Remember that weather and driving vibrations will test the adhesion, so choose materials and installation techniques designed for automotive use.
Design your own car decal is a blend of strategy, art, and practical craft that turns a simple sticker into a lasting statement on the road.
SILHOUETTE STUDIO: CAR DECAL- ORACAL 651
Have you ever wanted to make a car deal using vinyl? Check out these fun ways to make you decals a little more detailed!
