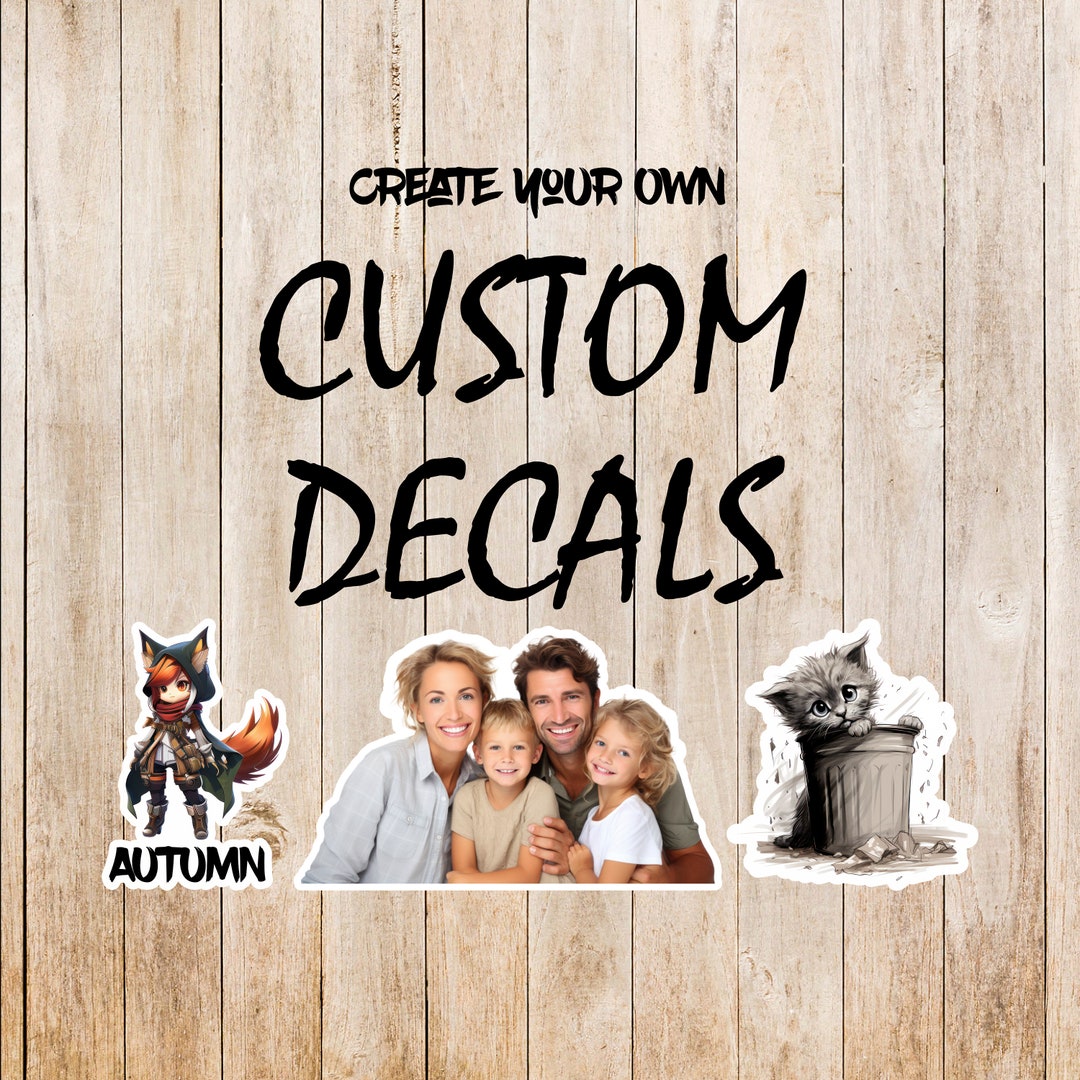
Design My Own Decal
Design my own decal is a powerful way to turn your ideas into durable, high‑quality stickers that reflect your personality or brand. Whether you want a bold logo for your gear, a custom label for your products, or a playful motif for your water bottle, designing your own decal gives you full control over size, shape, colors, and placement.
Understand the basics of custom decal design
When you design my own decal, it helps to know how vector art, resolution, and color profiles affect the final print. A clean vector file ensures crisp edges at any size, while a high‑resolution raster image keeps details sharp on smaller decals. Choosing the right color mode, usually CMYK for printed stickers and RGB for on‑screen design, prevents surprises when the colors appear on the finished product.
Before you start, decide on the decal’s purpose, surface, and viewing distance. A large vehicle decal needs strong contrast and simple shapes, while a small laptop sticker can include finer details. Planning these elements early makes it easier to design my own decal that looks great in its real environment.

Choose the right file format and dimensions
For professional results, save your artwork in a vector format such as SVG, EPS, or AI whenever possible. These formats scale without losing quality and are ideal for cutting precise shapes. If your design relies on photographs or complex textures, a high‑resolution PNG or TIFF works well, as long as the image resolution stays suitable for the decal size.
Set your canvas dimensions to match the intended sticker size, and include a small bleed area if the design reaches the edges. Adding a safety margin around critical elements prevents important details from being cut off during trimming. By preparing your file with these specifications in mind, you reduce the risk of delays and ensure a smoother production process when you design my own decal.
Pick materials and finishes that match your vision
The look and feel of your decal depend heavily on the material and finish you choose. Glossy vinyl delivers vibrant colors and a reflective surface, while matte finishes offer a subtle, modern vibe that hides minor surface imperfections. For outdoor use, durable vinyl with strong adhesive backing resists weather and fading, while paper or thin vinyl suits short‑term indoor applications.

Consider adding textures, metallic inks, or transparent overlays to make your decal stand out. When you clearly define the environment where the decal will live, it becomes easier to select materials that perform well and enhance the design. Balancing aesthetics with functionality is key to a successful custom decal.
Plan your layout, typography, and visual hierarchy
Strong layout decisions guide the viewer’s eye and make your message easy to read at a glance. Use generous spacing, align key elements, and create a clear visual hierarchy so that logos, text, and graphics are instantly understandable. When you design my own decal, simplifying complex ideas into clean shapes often leads to a more memorable result.
Choose typefaces that match the decal’s purpose, whether that is playful, corporate, or artistic. Limit the number of fonts, ensure sufficient contrast between text and background, and test readability at the actual size. These small details add professionalism and make your custom decal more effective.
Test and prepare your file for production
Before sending your file to production, review it carefully on different screens and, if possible, print a small proof to check colors and scaling. Look for low‑resolution areas, overlapping elements, or unintended transparency that could affect the cut. Many providers offer pre‑flight checks or design guidelines, so using them helps you design my own decal without last‑minute revisions.
Double‑check the required file specifications, such as color profile, layer structure, and export settings. Including clear labels, crop marks, and a concise brief with your expectations ensures that the final decal matches your vision. Proper preparation reduces errors and speeds up turnaround time.
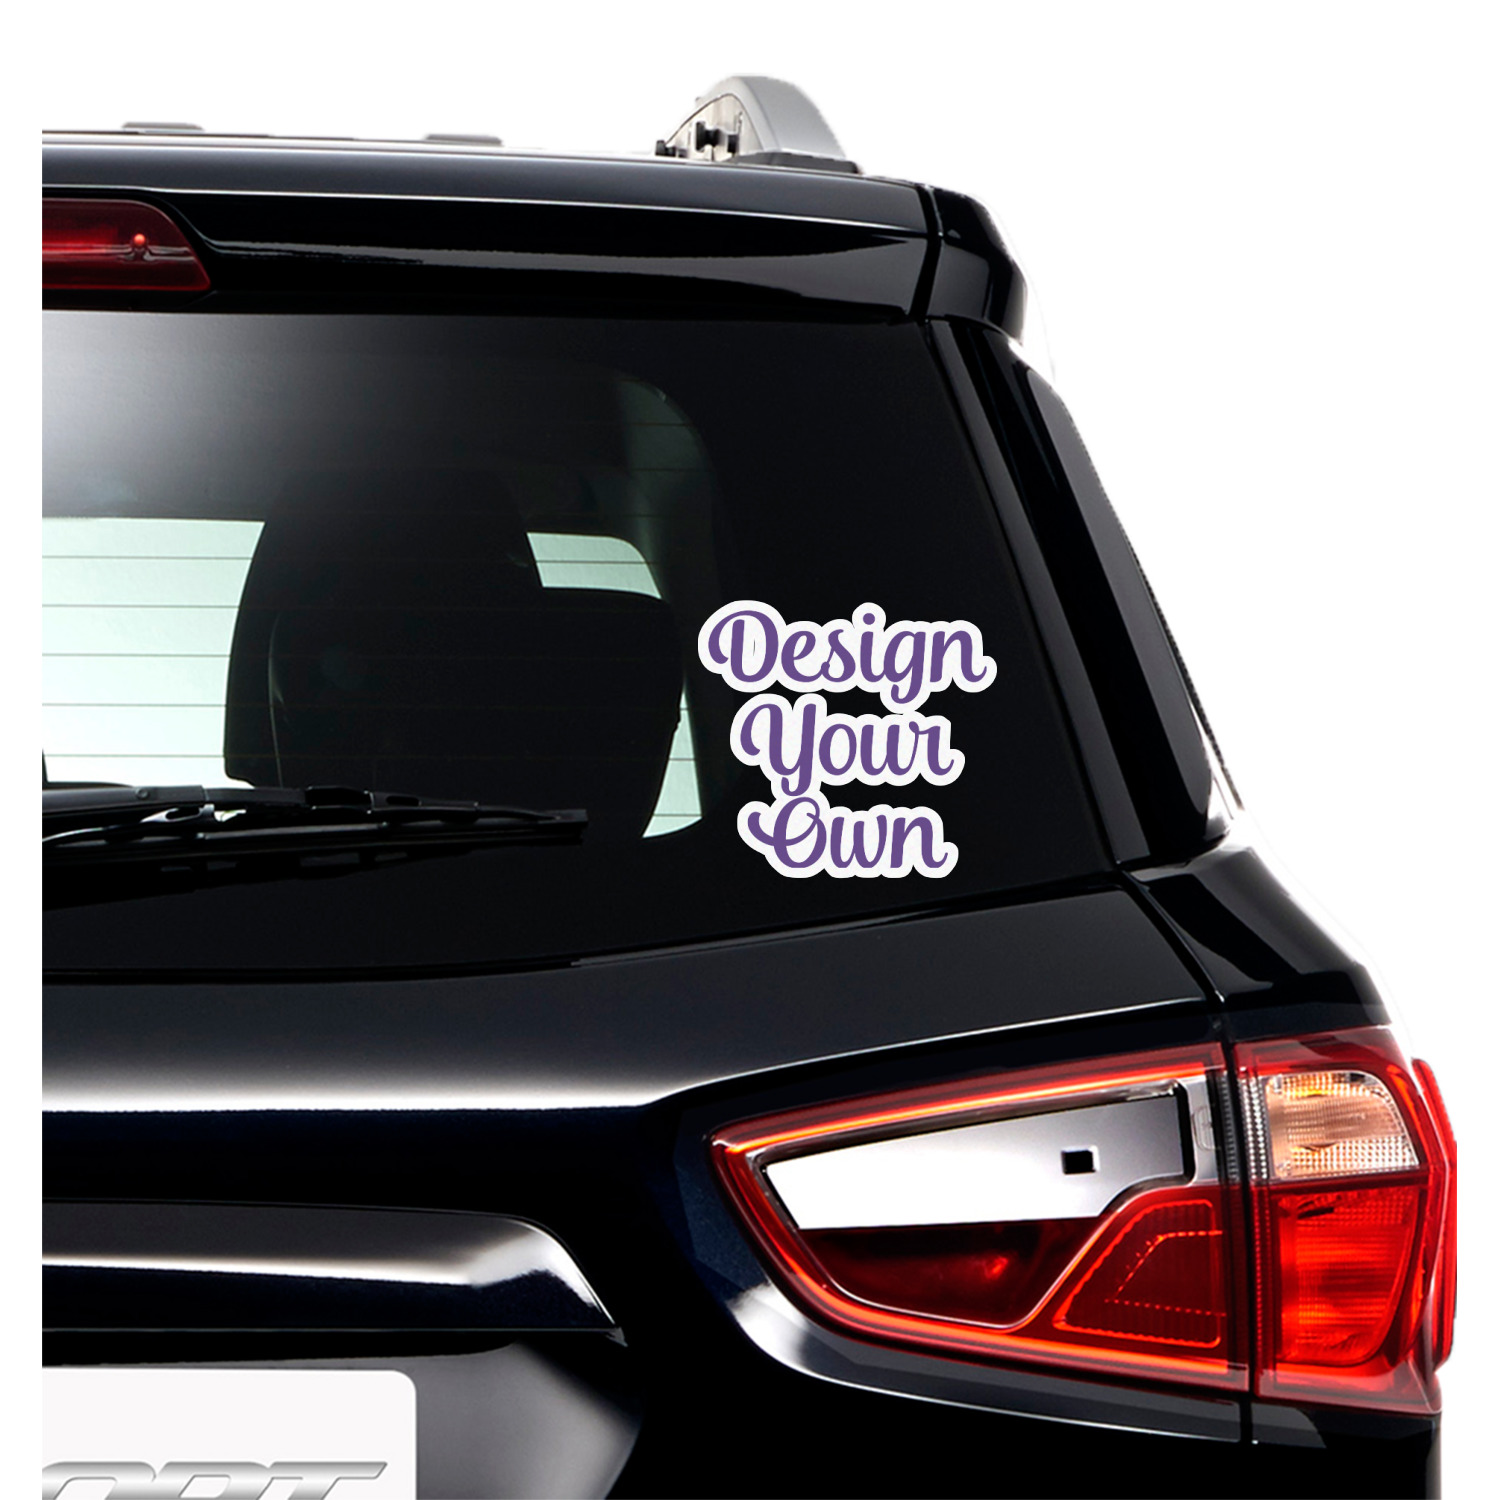
Use your custom decal creatively in real life
Once your decals are printed and cut, you can apply them to vehicles, equipment, packaging, or personal accessories. Clean, smooth surfaces with minimal dust give the best adhesion, and slow, careful placement helps avoid bubbles or misalignment. A few minutes of preparation can make the difference between a flawless finish and a DIY struggle.
Over time, you might discover new ideas for shapes, colors, or messaging each time you design my own decal. Treat each project as an experiment, gather feedback from viewers, and refine your approach. With practice, you will build a library of designs that communicate your message quickly and effectively.
Designing your own decal is an exciting blend of creativity and technical preparation, giving you stickers that look professional and feel personal. By understanding file formats, materials, layout principles, and real‑world usage, you can create decals that stand out and last. Start with a clear idea, plan your details, and enjoy bringing your custom graphics to life.
how I design and make stickers from home! ✿ no cricut, step by step for beginners
In this video I go over my design and production process for making my very own stickers from home! I cover my design tips, my ...
