Design A Decal

Design a decal that turns a simple idea into a bold statement on glass, metal, vehicle, or wall, using shape, color, and texture to communicate your message at a glance.
Clarify the Purpose and Audience of Your Decal
Before you draw a single line, decide why this decal exists and who will see it in the real world. A purpose-driven objective, such as promoting a brand, guiding people, or personalizing a space, shapes every later decision in the design a decal process. Your audience matters just as much, because age, culture, and context influence how colors, symbols, and wording are perceived.
Consider where the decal will live and under what conditions it must perform. Outdoor decals face sun, rain, and temperature swings, so the design a decal concept needs durability and high contrast to stay readable from a distance. Indoor decals can be more intricate, but you still want clear hierarchy so viewers instantly grasp the intended message without confusion.
Research References and Gather Visual Inspiration
Collect examples of great stickers, vehicle wraps, window graphics, and signage to train your eye for what works in design a decal projects. Look at how others use negative space, bold outlines, and limited color palettes to create instant recognition. Notice how logos, icons, and text scale to remain legible when the decal is viewed from afar or up close.
- Save images that show strong composition, clear focal points, and practical mounting considerations.
- Note materials like cast vinyl, calendared vinyl, or specialty films, and how they affect edge crispness and longevity.
- Observe lighting conditions in the inspiration photos to anticipate glare, shadows, and visibility challenges in your own design a decal work.
Define Shape, Silhouette, and Visual Hierarchy
The silhouette is the first thing people notice, so make it memorable and suited to its environment in design a decal concepts. A strong outline remains recognizable even when small or viewed from a distance, which is crucial for vehicles, storefront windows, or outdoor poles. Aim for a balance between detail and simplicity, removing tiny internal shapes that could tear or blur during application.
Establish visual hierarchy by sizing key elements according to importance, not just aesthetics. In design a decal projects meant to be read quickly, place the most critical information largest and highest in the layout. Use weight, contrast, and spacing to guide the eye, and test the composition by squinting or viewing it as a thumbnail to confirm the hierarchy is obvious.
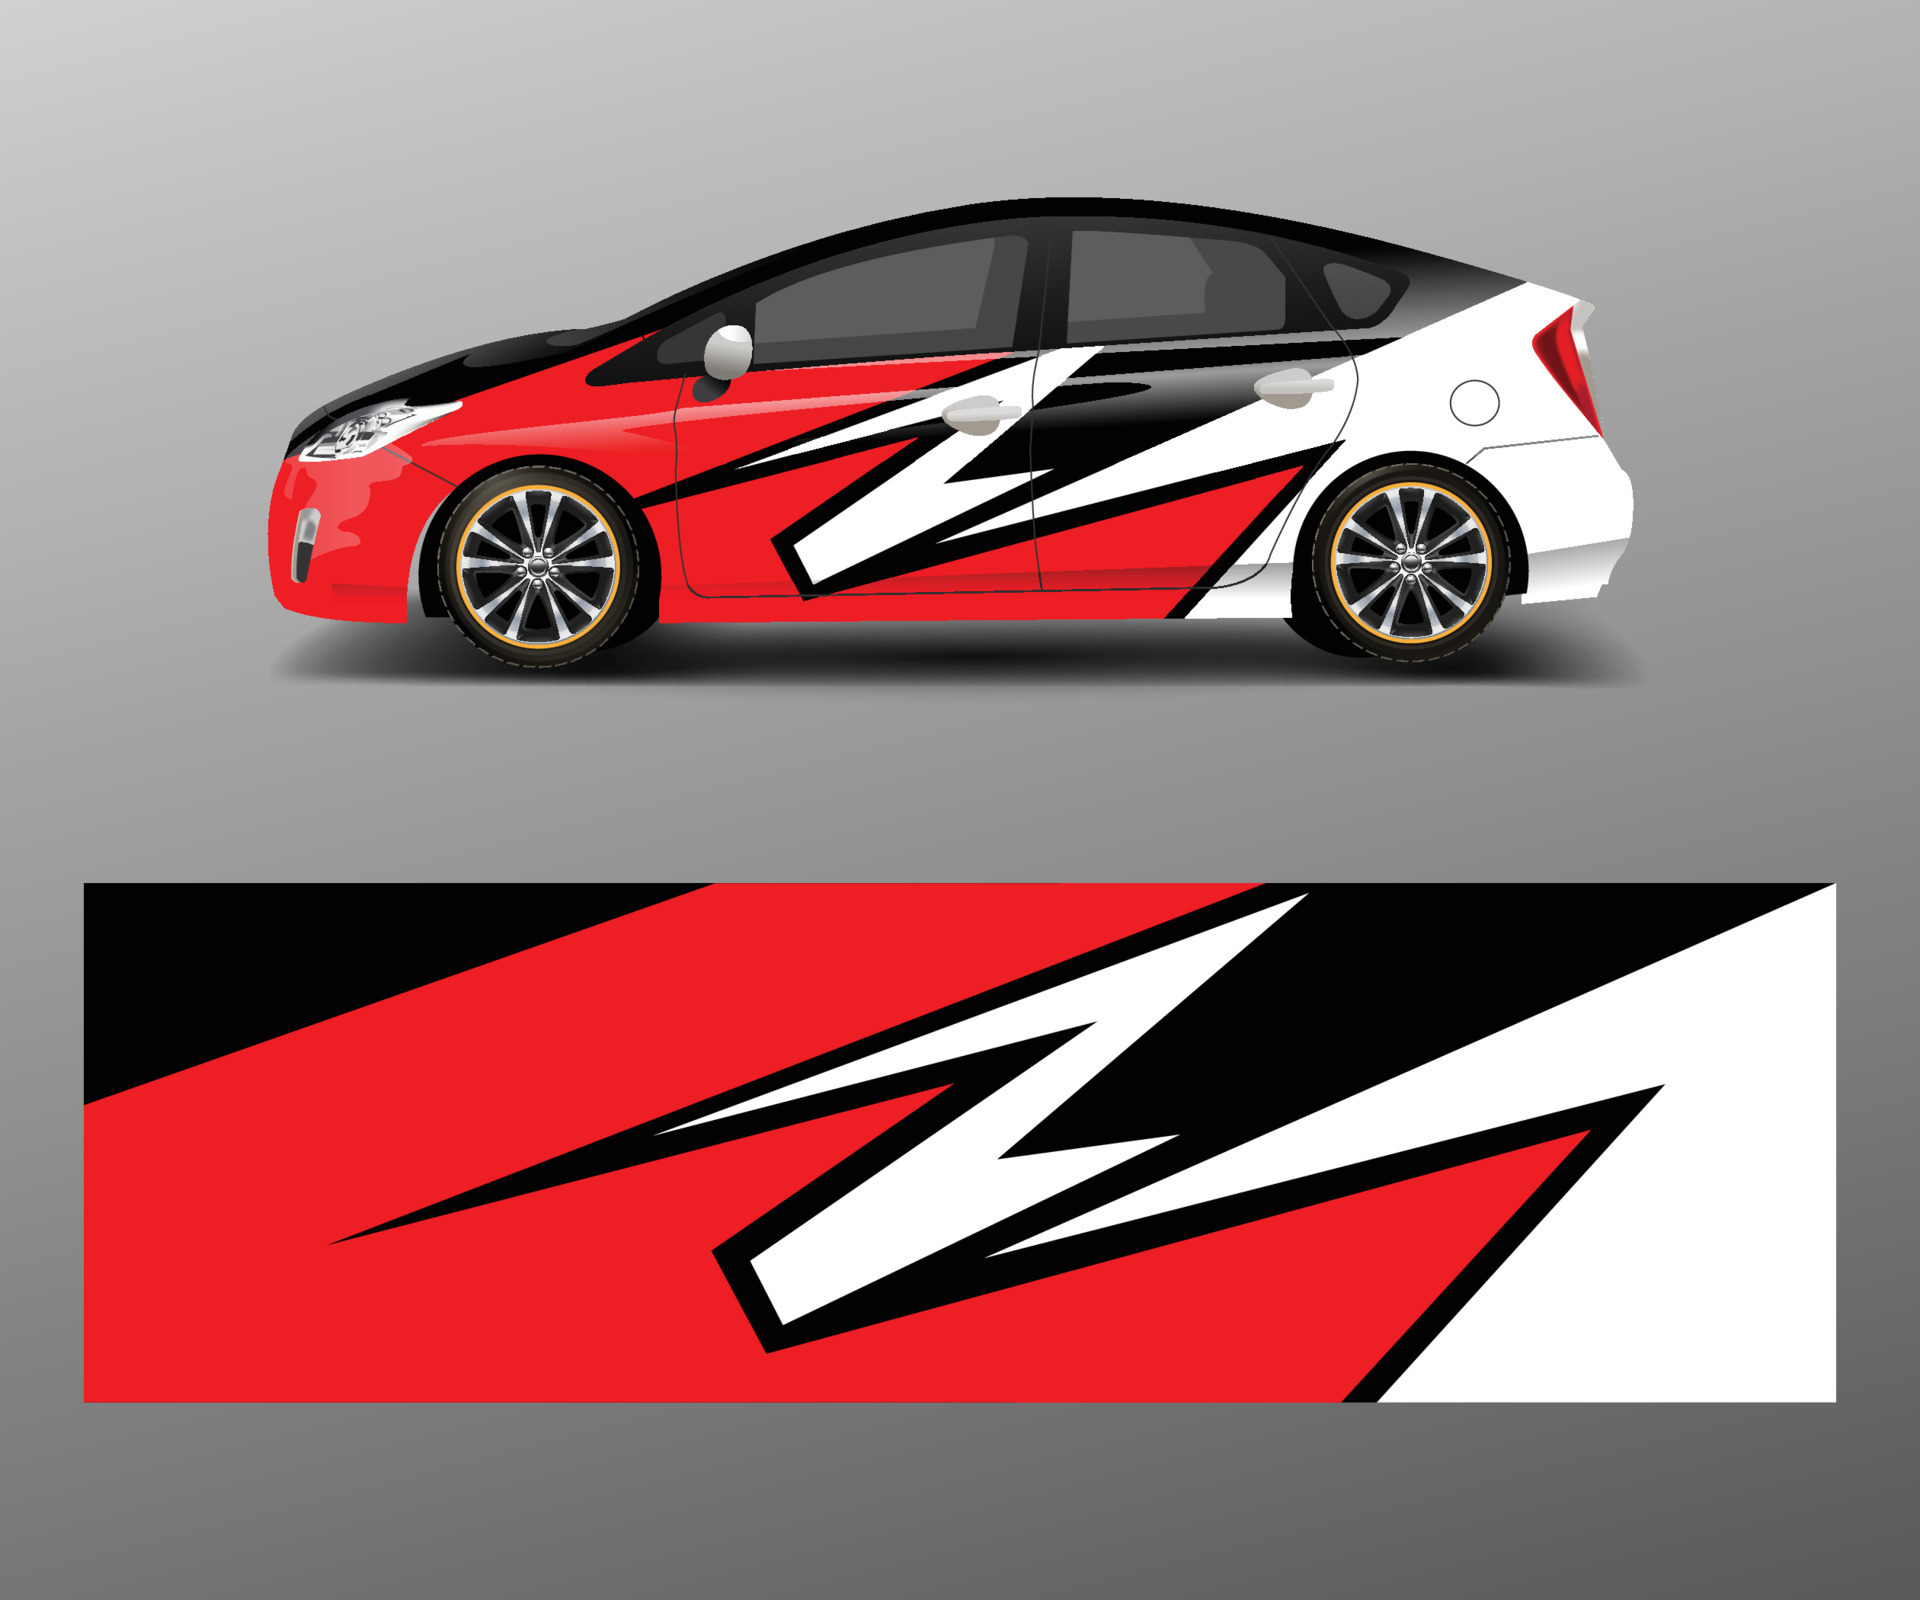
Choose Color, Contrast, and Material Strategy
Color dramatically affects mood and legibility, so align your palette with both brand identity and environmental factors in design a decal planning. High contrast between text and background ensures readability in sunlight, while complementary hues can make details pop without overwhelming the silhouette. Limit your palette to keep production costs down and to strengthen brand or campaign recognition.
Material choice is part of the design phase because it influences how colors appear and how fine details render. Decide early whether you need a matte finish to reduce glare or a glossy surface for vibrant depth, and reflect this in your digital mockups. Consider cut lines and bleed areas so the final cut will align cleanly with shapes and text, avoiding unsightly ragged edges.
Optimize File Preparation and Technical Specs
Translate your artwork into a production-ready file by using vector paths, clean layers, and accurate dimensions that match the intended size of the decal. Export with tight tolerances around the main shapes, and clearly mark safe zones where critical content should never sit too close to the edge. Include a simple color guide or spot-color breakdown if you are using screen printing or specialized finishes.

Test how the design a decal looks at actual scale by printing a small proof or viewing it on a calibrated monitor at 100 percent. Check line thickness, text stroke sizes, and intricate patterns to confirm they will cut cleanly on the chosen material. Once the file is finalized, keep an editable master and a flattened export so you can quickly adjust colors or sizes for future projects.
Plan Application, Placement, and Long-Term Care
Factor in surface texture, cleanliness, and weather exposure when you design a decal, because even the sharpest artwork can fail with poor installation. Provide clear step-by-step guidance for alignment, smoothing, and post-application care so that the end result looks professional. Include subtle registration marks or a recommended order of application for complex multi-part decals to reduce misalignment.
Think about removal and reusability, especially for temporary or rental spaces, and choose adhesives that balance hold and clean removal in your design a decal strategy. Document material recommendations, expected lifespan, and maintenance tips so users understand how to preserve colors and adhesion over time. With a thoughtful approach to purpose, visuals, materials, and application, each decal becomes a durable, attention-grabbing asset that communicates clearly in any setting.

O guia DEFINITIVO para decalques de toboágua || Uma ideia incrível de presente DIY e modelagem de...
Como foi meu primeiro tutorial? Conte-me nos comentários. Estou trabalhando no Hot Wheels RC no momento, então mais vídeos em ...
