Decals Transfer

Decals transfer is a simple yet powerful technique that lets you move designs, logos, and artwork from paper to almost any surface with precision and ease.
What Decals Transfer Is and How It Works
At its core, decals transfer involves applying a printed design onto a surface using water, pressure, or heat, depending on the type of decal you are using. The process relies on a thin film or paper carrier that holds the image in place while you position it, then bonds it securely once the carrier is removed. This method is popular because it delivers professional results without the need for advanced artistic skills or expensive equipment.
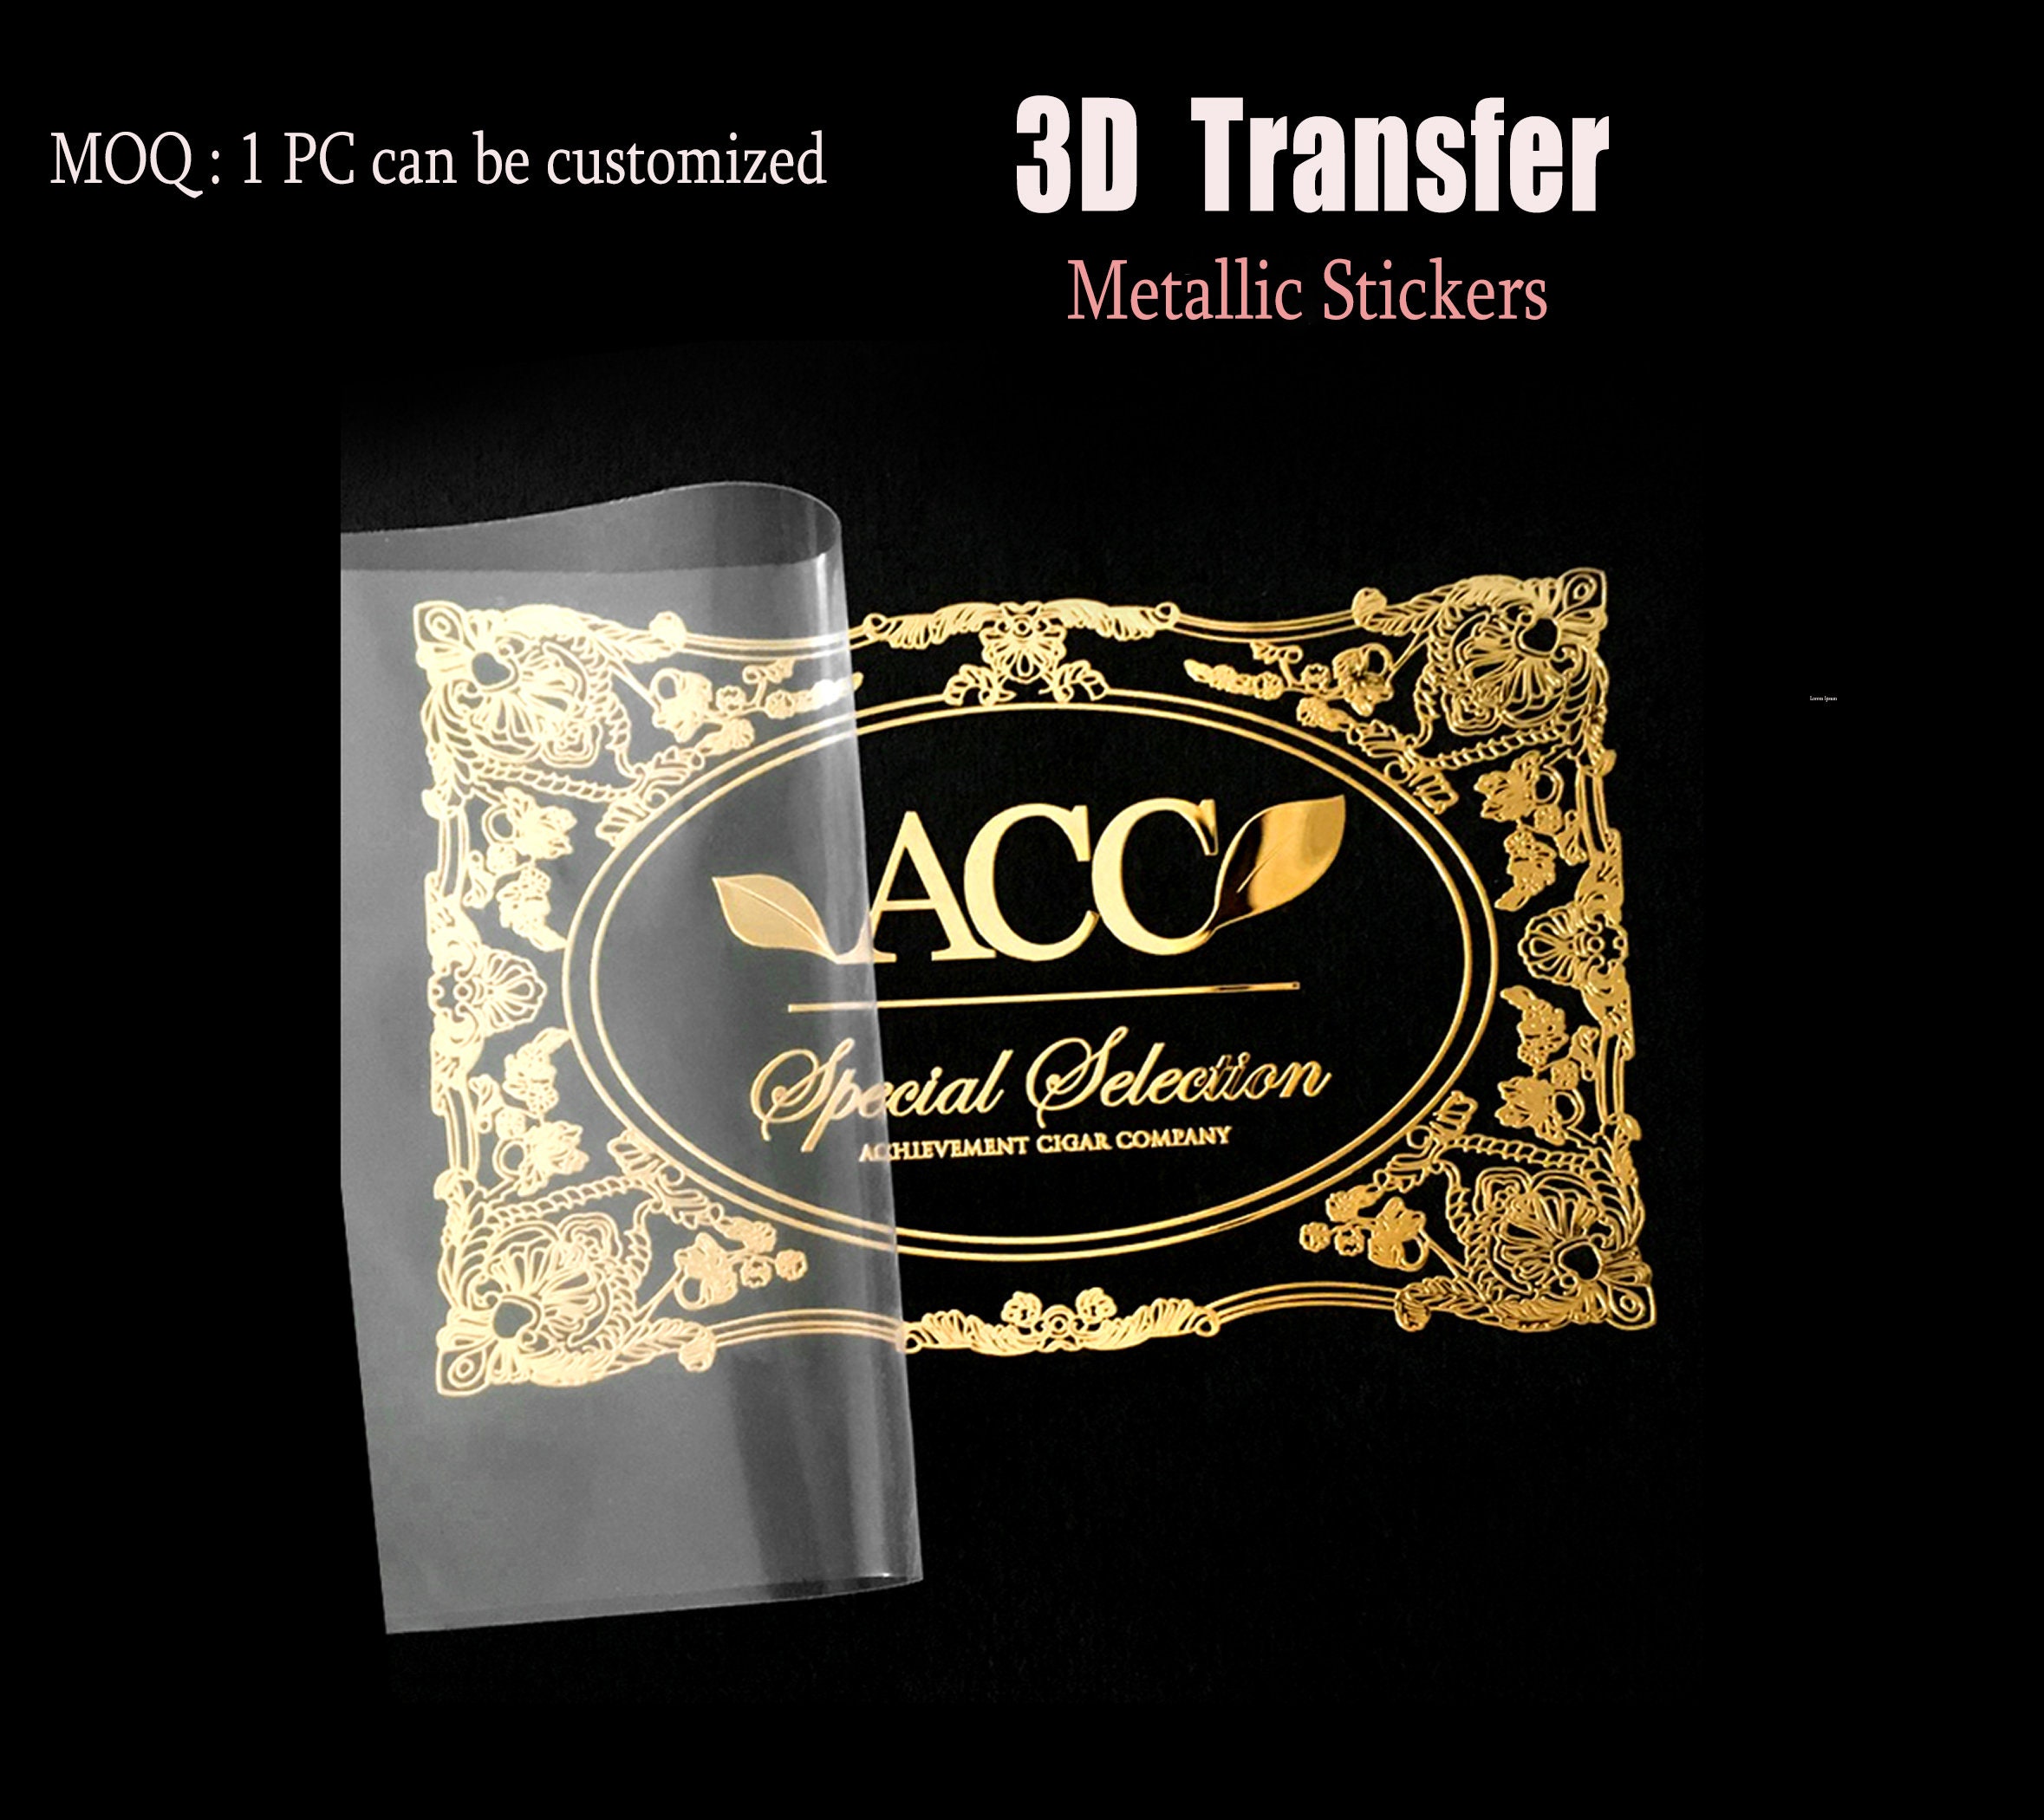
There are several common types of decals transfer, including water slide decals for ceramics and glass, vinyl decals for vehicles and windows, and printable decal sheets for home crafting and small business projects. Each type is designed to adhere well to specific materials, so choosing the right product for your surface is an important first step. Understanding how pressure, temperature, and drying time affect the transfer will help you avoid bubbles, wrinkles, and peeling.
Preparing Your Surface and Decal for Transfer
Good preparation is the key to clean, long-lasting results when you work with decals transfer. Start by cleaning the surface thoroughly to remove dust, oils, and residue that could interfere with adhesion. For non-porous materials like glass, metal, or plastic, a little isopropyl alcohol works well to degrease the area and ensure the decal sticks evenly.
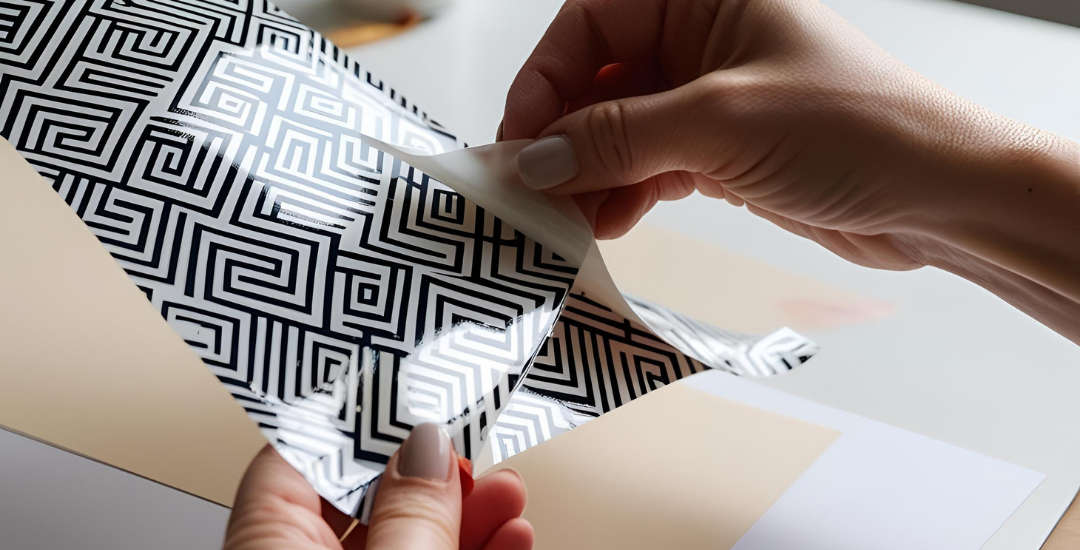
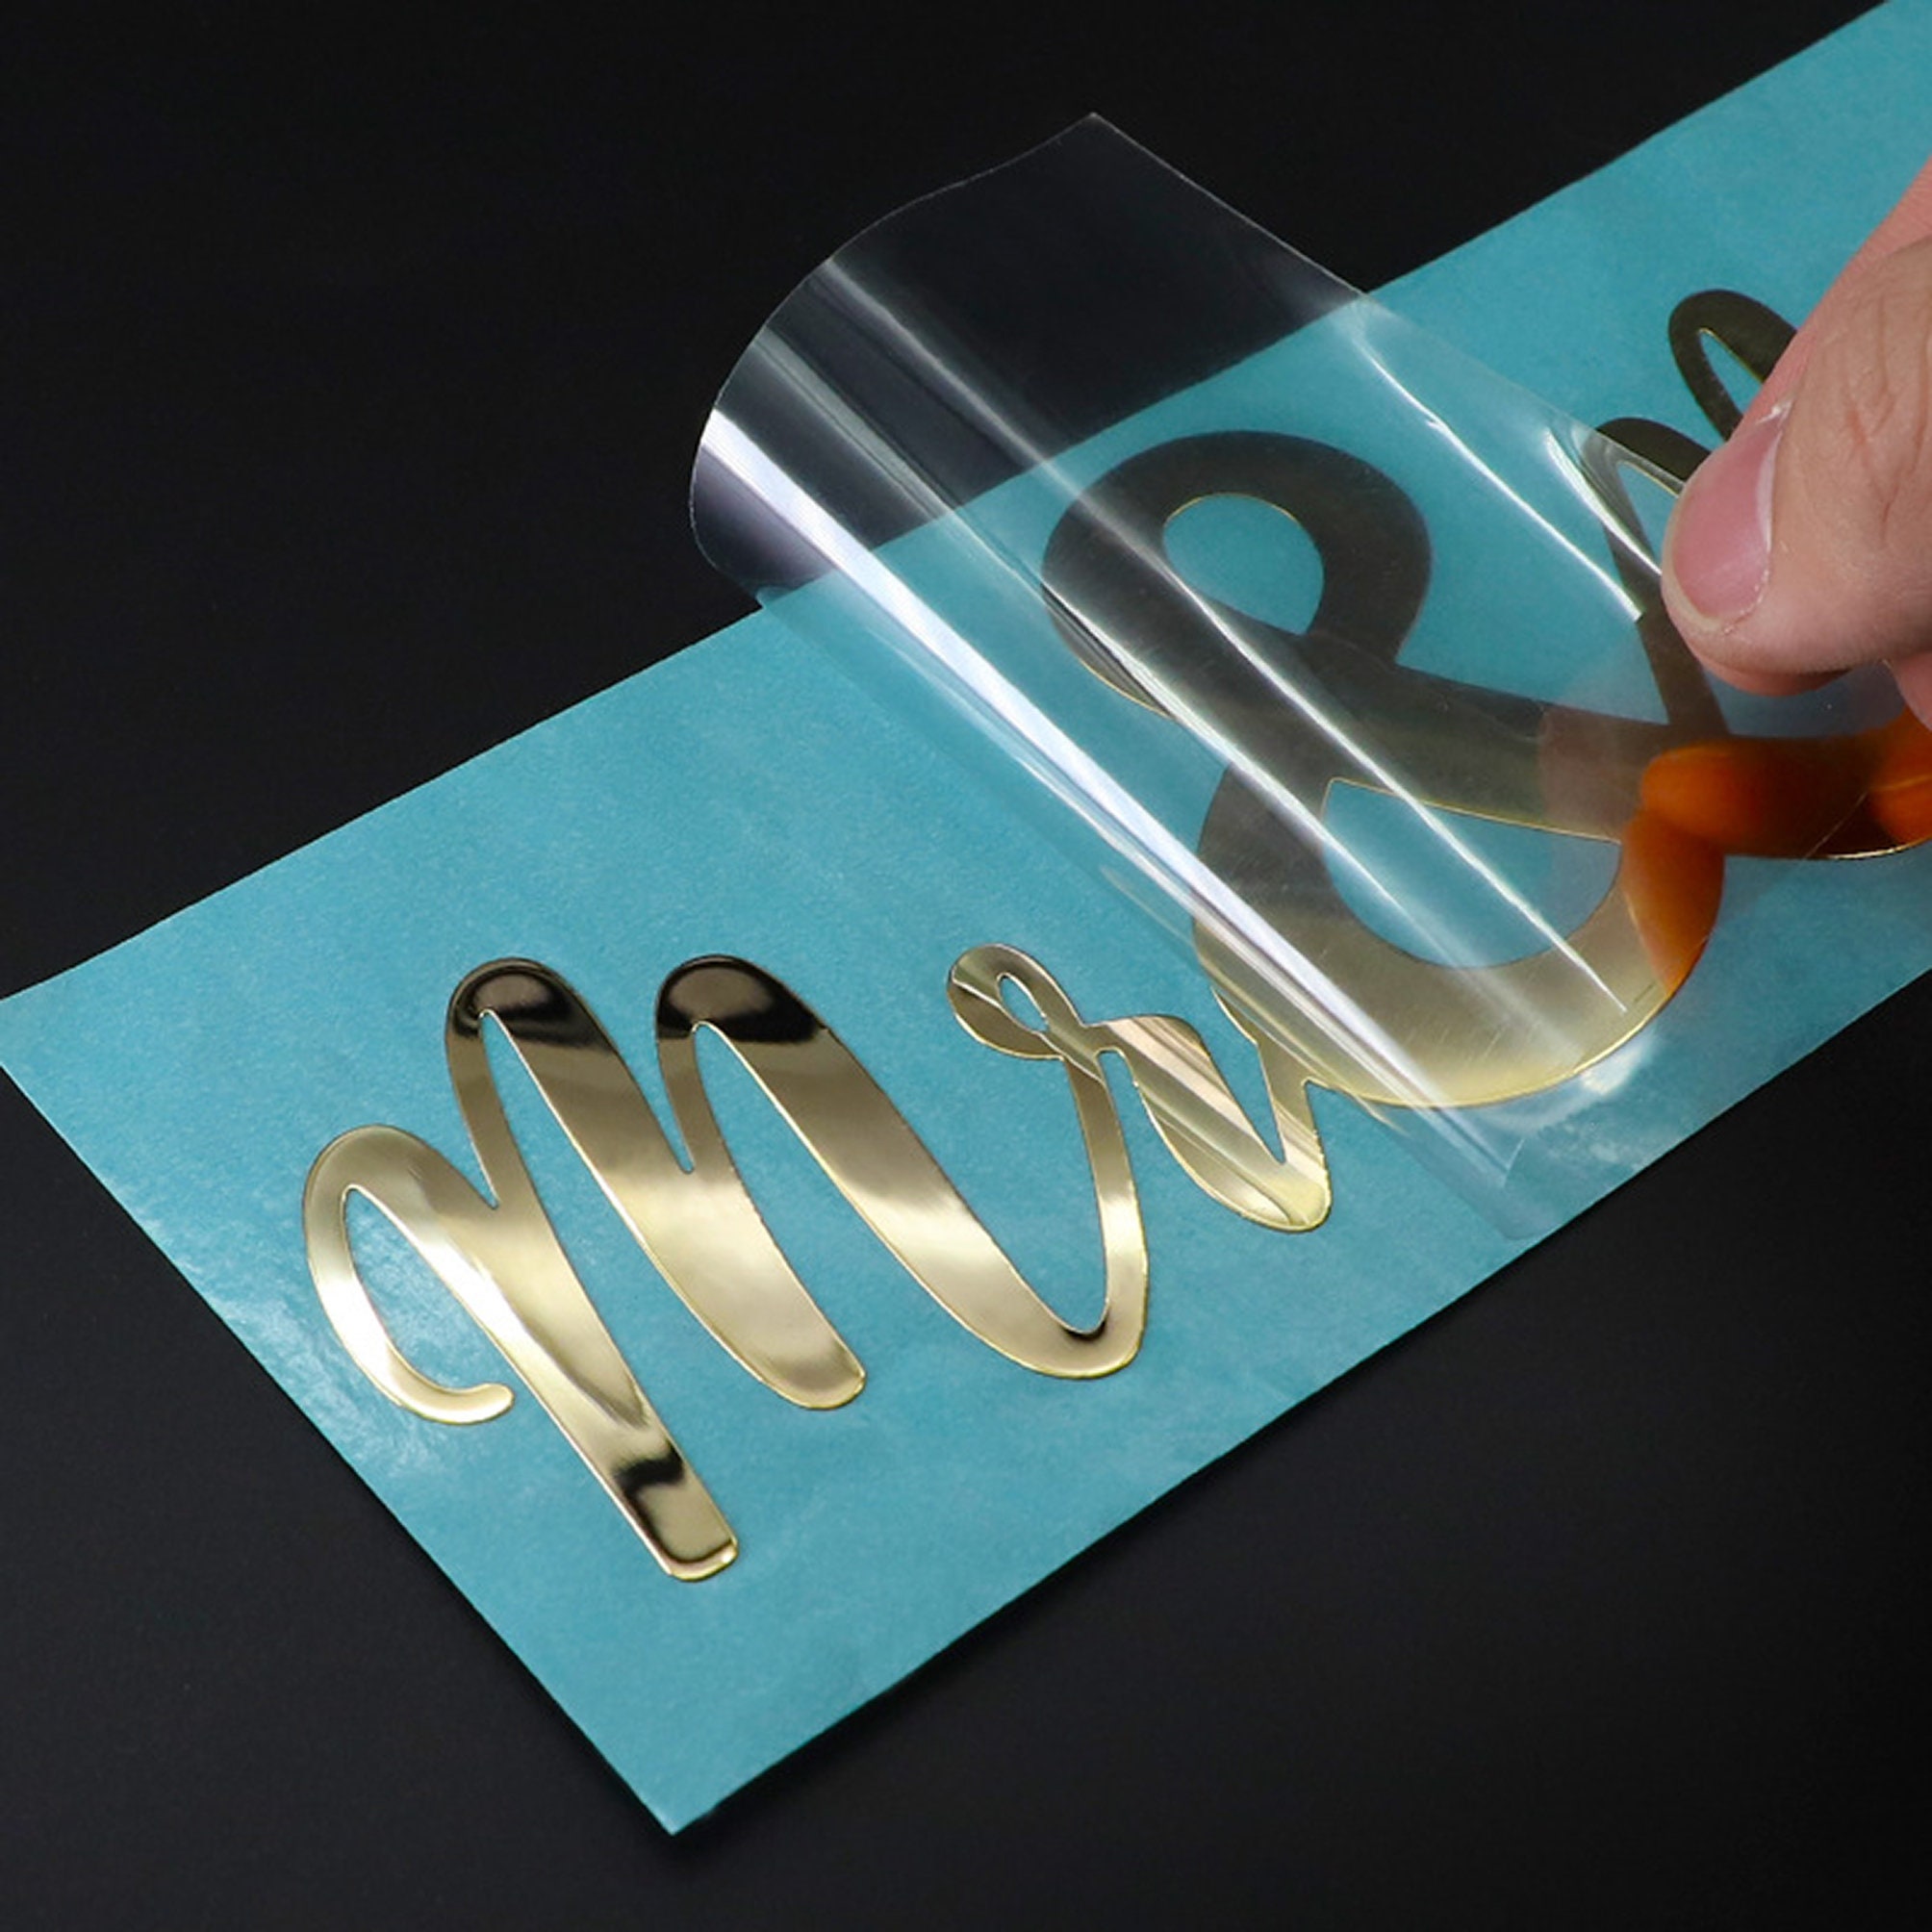
When you are ready to apply the decal, handle it gently to prevent tearing or smudging of the ink. Many water slide and printable decal projects recommend cutting around the design closely before placing it in a bowl of lukewarm water for a few seconds. This softens the backing and makes it easier to slide the image onto the surface in one smooth motion. For vinyl or adhesive decals, you may skip the water step and instead rely on careful positioning and firm pressure to secure the design.
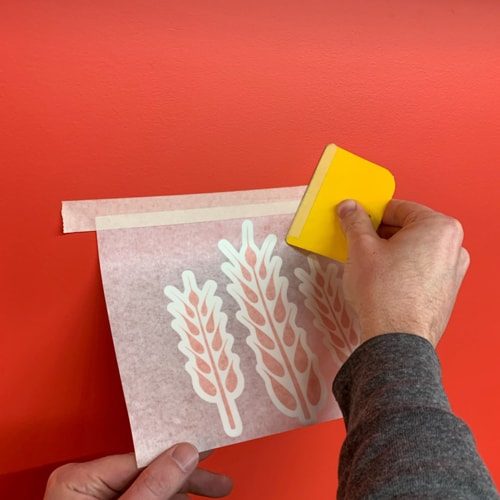
Step-by-Step Application Techniques
Following a clear, repeatable process helps you achieve professional-looking results every time you practice decals transfer. Begin by positioning the decal loosely over the surface, adjusting it until it is perfectly aligned. Then, use a soft squeegee or credit card to press from the center outward, pushing out air bubbles and ensuring good contact between the decal and the substrate.
- Use a spray bottle with clean water for water slide decals to reposition the design gently before it sets.
- Apply firm, even pressure with a tool or your fingers to avoid thin spots or lifted edges.
- Allow the decal to dry according to the manufacturer’s instructions, as this helps the adhesive bond fully.
For more detailed work, such as intricate logos or fine lettering, you might slow down and work in sections. Patience during this stage reduces the risk of tearing and helps the decal settle smoothly into curves or textured surfaces. Remember that practice improves your technique, so treat each project as a learning opportunity.
Choosing the Right Materials and Tools
Using the correct materials can make the difference between a flawless finish and a frustrating redo when you rely on decals transfer. High-quality decal paper, vinyl sheets, or water slide films perform more consistently, especially on challenging surfaces. Investing in a good printer for printable decal paper or sourcing reliable vinyl cutters can also improve accuracy and color vibrancy.
In addition to the decal itself, having the right tools on hand streamlines the process and reduces stress. A soft microfiber cloth, a small squeegee, spray bottles with fine mists, and precision cutting tools are all useful. For projects that involve heat transfer, a heat gun or household iron at a low setting can help activate the adhesive without damaging the design.
Common Challenges and How to Solve Them
Even experienced crafters encounter issues with decals transfer from time to time, but most problems have straightforward solutions. Bubbling often occurs when air is trapped during application, so working slowly and smoothing from the center helps. If the decal does not stick well, check the surface cleanliness and consider using a primer or slightly warmer temperature to improve adhesion.
Fading or cracking can happen if the decal is applied to a surface that flexes constantly or is exposed to harsh conditions. Choosing a flexible vinyl or a UV-resistant finish can protect your design over time. When in doubt, test a small sample first to confirm that the materials and techniques you plan to use work well together before committing to the final piece.
Design Tips and Best Practices for Decals Transfer
Creating a design with decals transfer in mind from the beginning saves time and effort later. Keep lines clean, avoid overly thin elements, and consider how the image will align on the final surface. Mirror text when necessary, especially for vehicle decals or windows, so that it appears correctly once applied. Many beginners find it helpful to create a mockup on paper or use digital design software to visualize the scale and placement.
Color choices and contrast also play a big role in how your decal looks once it is on the surface. Dark backgrounds work well with light-colored decals, while busy patterns can hide imperfections at the edges. By planning your design with these factors in mind, you set yourself up for success and make the most of your decals transfer projects.
Finishing and Caring for Your Transferred Decal
After your decal has dried and set, a few finishing touches can extend its life and keep it looking sharp. For extra durability, you might apply a clear sealant or varnish, especially if the item will be handled frequently or exposed to the elements. Make sure the sealant is compatible with the type of decal you used to avoid cloudiness or peeling.
Proper care also matters when it comes to maintaining decals transfer work over time. Avoid harsh cleaning chemicals, abrasive sponges, and aggressive scrubbing, especially on curved or detailed areas. Instead, use mild soap and water, gentle dabbing motions, and a soft cloth to keep the design vibrant and intact for as long as possible.
In the end, mastering decals transfer opens up countless creative possibilities for personalization, branding, and decoration. With thoughtful preparation, the right tools, and a little patience, you can turn simple designs into lasting, professional-looking results on a wide variety of surfaces.
Como aplicar transferências para Space Marines e outras miniaturas de Warhammer
Este tutorial passo a passo de pintura de Warhammer, fácil de seguir, mostra como aplicar decalques em suas miniaturas ...
