Decals For Vehicle

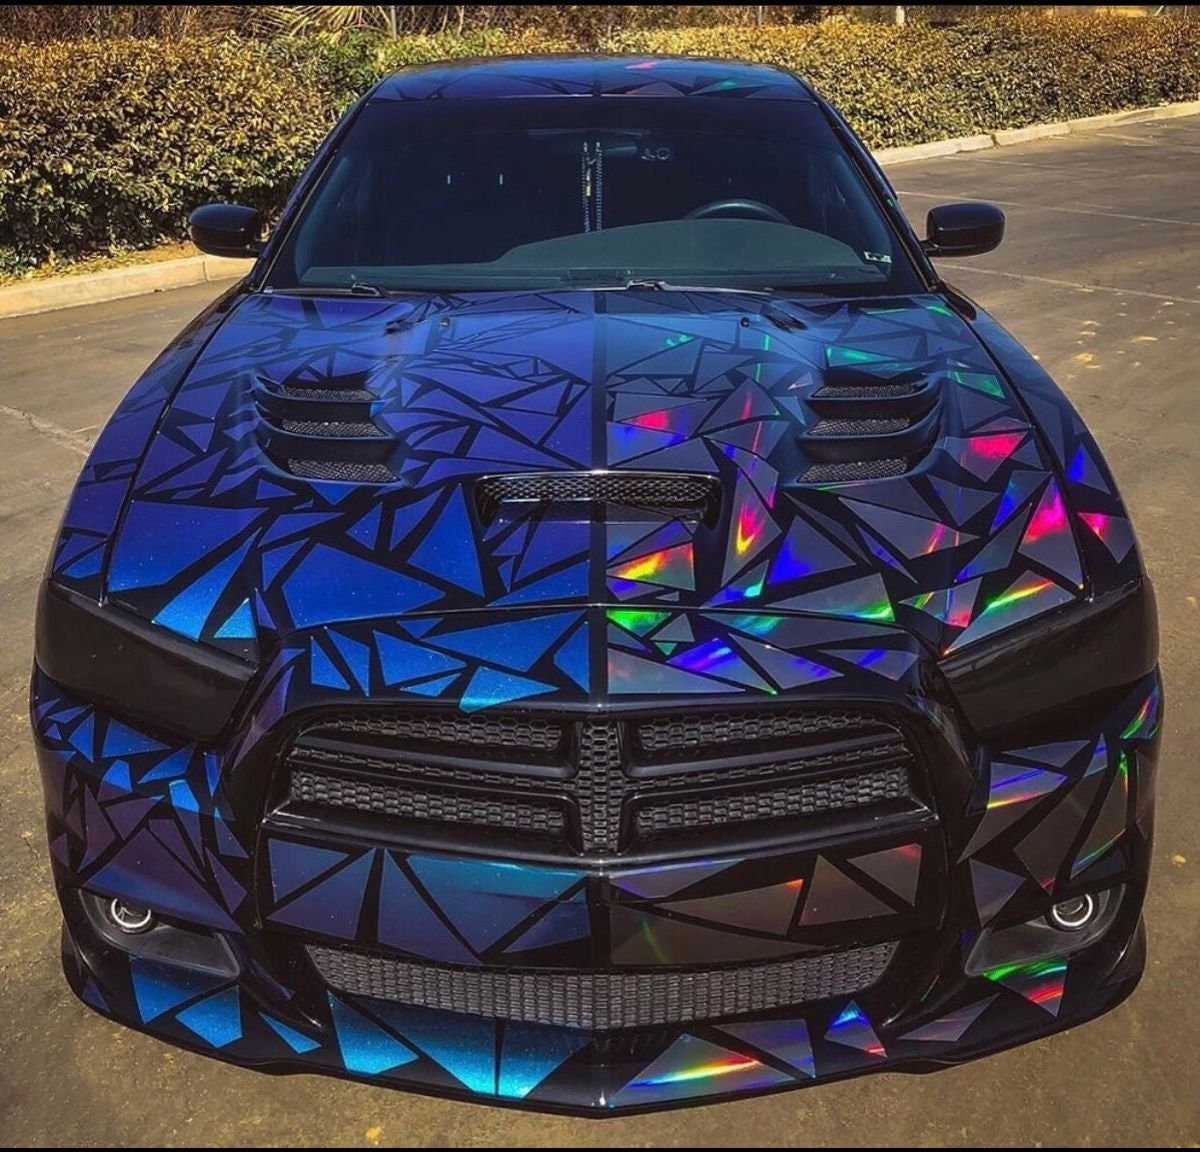
Vehicle decals are a popular way to personalize cars, trucks, and motorcycles with stylish designs, team logos, or informative labels. Whether you want to make a bold statement or add simple identification, choosing the right decal can transform the look of any ride.
Types of Vehicle Decals and Their Uses
There are several types of vehicle decals available, each suited for different purposes and surfaces. You can choose from simple identification labels, bold racing stripes, scenic wraps, or promotional graphics that represent a brand or cause. Understanding the variety helps you select the best option for your style or functional needs.
Common categories include vinyl decals for windows and paint, magnetic signs for doors, and reflective decals for safety. Each type offers different levels of durability, visibility, and ease of application, so it is important to match the decal to its intended location and exposure to weather.

- Vinyl decals for body panels and bumpers
- Window decals for visibility and privacy
- Magnetic signs for temporary branding
- Reflective and safety decals for low-light conditions
Materials and Quality Considerations
The longevity and appearance of vehicle decals depend heavily on the materials used and the quality of production. High-grade vinyl, laminated coatings, and UV-resistant inks help decals withstand sun, rain, and road debris without fading or peeling prematurely.
When shopping for decals, look for products that mention weatherproofing, adhesive strength, and suitability for painted or bare surfaces. Investing in quality materials can save you time and money by reducing the need for frequent replacements.
- Polymeric vinyl for flexibility and long life
- UV-resistant inks to prevent color fading
- Strong yet removable adhesives for clean application
- Anti-graffiti and easy-clean surface options
Design Tips for Eye-Catching Vehicle Decals
Creating a memorable decal starts with thoughtful design choices that align with your personal brand or message. Keep text readable at a distance, use contrasting colors, and simplify complex images so they look sharp from the road.
Consider the placement on the vehicle, as curves, doors, and windows affect how the decal stretches and appears in different lighting. A well-planned layout ensures that graphics flow naturally with the vehicle’s shape without looking distorted or cluttered.
- Use bold outlines and large fonts for visibility
- Limit color palettes to enhance clarity
- Test designs in mockup views before ordering
- Align graphics with vehicle contours for a seamless look
Application and Installation Best Practices
Proper installation is key to achieving a smooth, bubble-free finish that lasts. Start by cleaning the surface thoroughly to remove dust, oil, and wax, which can prevent the adhesive from bonding correctly.
Use a squeegee to press the decal firmly onto the surface, working from the center outward to push out air pockets. If the decal is large or detailed, applying it in sections can help maintain alignment and reduce wrinkles.
- Measure and mark alignment guides before placing the decal
- Use a heat gun or hairdryer on low to soften vinyl for better conformity
- Remove masking tape carefully after application
- Check for loose edges and press them down immediately
Maintenance and Longevity Tips
To keep vehicle decals looking vibrant, regular cleaning and careful maintenance are essential. Use mild soap and soft cloths, avoiding harsh abrasives or strong chemicals that can degrade the adhesive or printed surface.
Inspect edges periodically and address any lifting areas before they grow larger. With proper care, many high-quality decals can remain attractive and functional for several years, even under demanding driving conditions.
- Wash the vehicle by hand when possible
- Avoid automatic car washes with stiff brushes
- Park in shaded areas to reduce UV exposure
- Remove ice and snow gently to prevent edge damage
Removing Decals Without Damaging the Paint
When it is time to change the look or sell the vehicle, removing decals should be done carefully to protect the underlying paint. Slow, steady peeling combined with the right tools helps avoid residue and surface scratches.

If adhesive remains after removal, use a dedicated adhesive remover or a gentle homemade solution, followed by thorough washing and waxing. Taking your time during removal preserves the finish and keeps the vehicle ready for new decals in the future.
- Peel slowly at a low angle to reduce stress on the paint
- Use plastic scrapers instead of metal tools
- Apply heat cautiously to soften stubborn adhesive
- Clean and polish the area after residue is gone
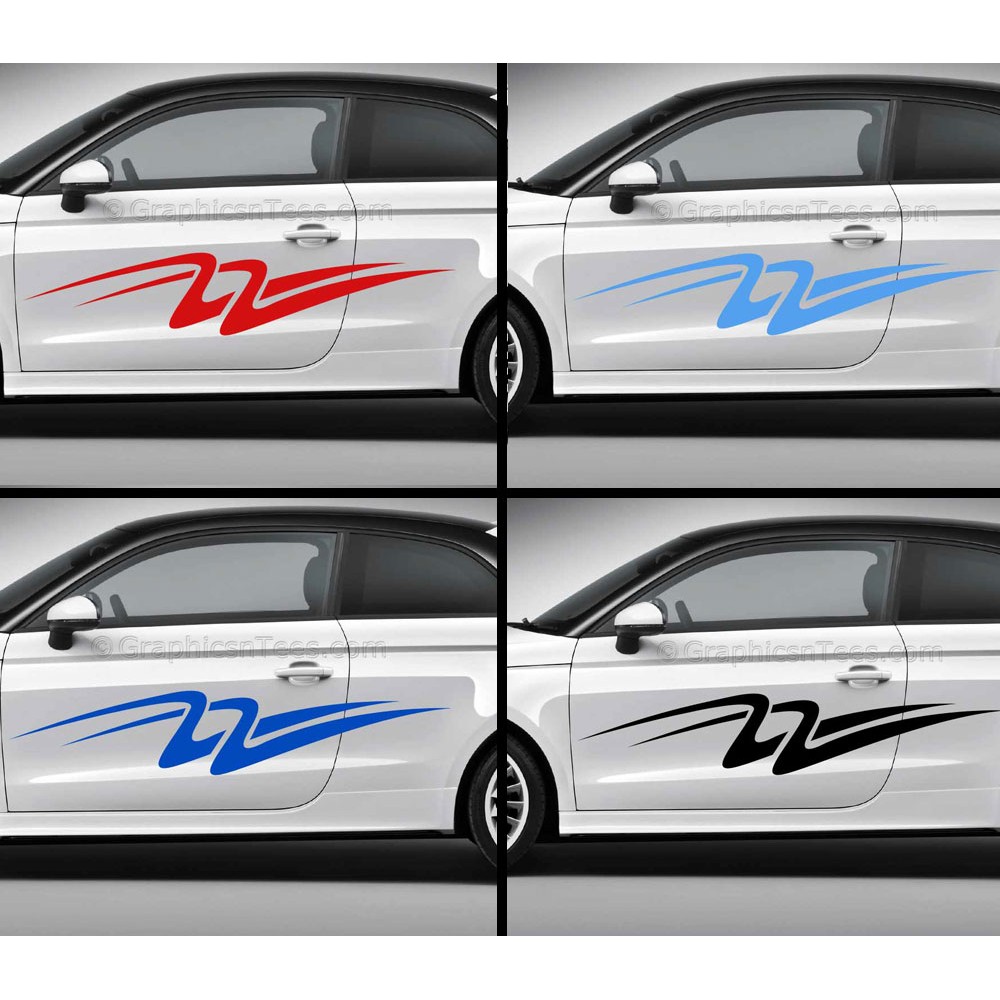
Vehicle decals offer a flexible and stylish way to customize any ride, from subtle badges to full side graphics. By choosing quality materials, smart designs, and careful installation, you can enjoy a personalized look that stands out on the road and stays vibrant over time.
How to Install Car Window Vinyl Decals
Learn how to install a car vinyl decal for window step-by-step in this short instructional video. We show the full process — from ...
