Decals For Rv Trailers

Adding stylish decals for rv trailers is one of the easiest ways to personalize your mobile home on the road while protecting the paint and expressing your personality.
What Are RV Decals and Why Use Them
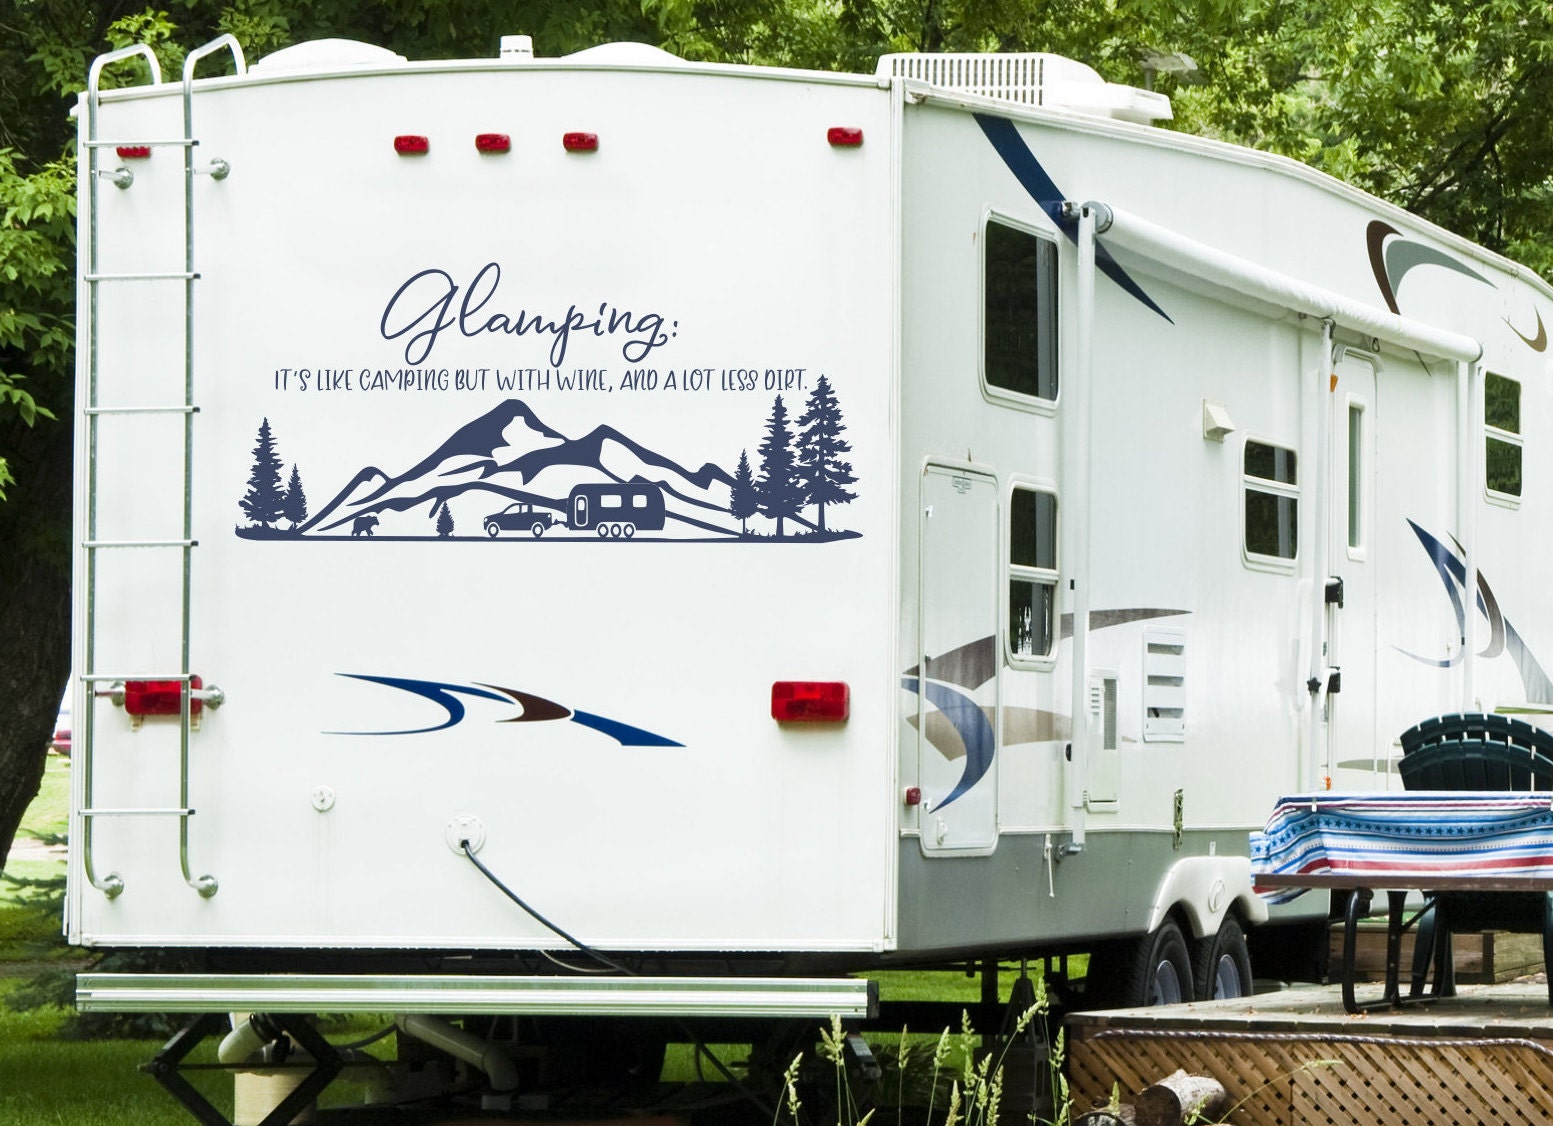
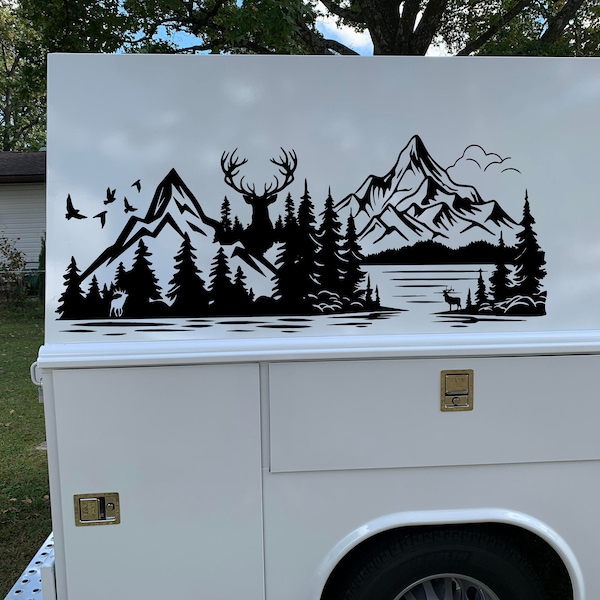
RV decals are adhesive graphics designed specifically for motorhomes, camper trailers, and fifth wheels, and they can include anything from simple stripes and logos to full custom artwork. Unlike paint, high quality vinyl decals for rv trailers provide a removable layer that shields your surface from minor scratches, UV fading, and road debris. Many owners choose outdoor decals for rv trailers because they are waterproof, weather resistant, and easy to clean with a gentle soap and water routine. With a wide range of sizes, colors, and finishes, you can match your vehicle’s design language while adding practical protection.
Another benefit of rv decals is how quickly they transform the look of an older rig without the cost and commitment of a full wrap. You can highlight wheel wells, add safety graphics, or create a cohesive brand image if you rent out your fleet. Because modern adhesive technology has improved so much, you can enjoy bold designs without worrying about bubbles, premature peeling, or damage when you eventually decide to remove them. Choosing the right materials and installation approach ensures that your investment looks sharp for years, whether you are camping locally or hitting the highway for long distance adventures.
Types of Decals and Materials to Consider
When shopping for decals for rv trailers, you will encounter several material options, each suited to different aesthetics and durability needs. Cast vinyl is a premium choice that conforms well to curves and edges, resists cracking, and maintains vibrant colors under intense sun exposure. Calendered vinyl tends to be more budget friendly while still offering solid performance for flat panels and less complex shapes. For those who want extra visibility at night, reflective decals for rv trailers provide added safety by bouncing back headlight beams, which is especially useful for long distance travel.
- Standard matte or glossy vinyl for a classic look
- High conformability cast vinyl for complex curves
- Reflective or fluorescent options for enhanced safety
- Die cut letters and shapes for a clean, branded appearance
Beyond basic vinyl, you can also explore printed decals with intricate artwork, textured finishes that mimic metal or carbon fiber, and even eco friendly materials for the environmentally conscious traveler. The key is to match the surface of your trailer, your climate, and your personal style to the right product so that your investment stands up to heat, cold, humidity, and constant vibration without losing adhesion or clarity.
Planning Your Design and Placement
Before applying any decals for rv trailers, take time to sketch a layout on paper or use digital design tools to visualize how stripes, graphics, and text will flow across your vehicle. Consider the natural break lines of your body panels, and avoid placing detailed artwork where doors, hinges, or storage compartments will constantly open and close. A common strategy is to use larger accent decals along the lower sides and smaller logos toward the rear, creating a balanced look that guides the eye smoothly along the length of the trailer. You should also think about visibility from a distance, ensuring key elements remain clear when viewed from highway speeds.
Color choice plays a huge role in how your decals integrate with the factory paint, so test combinations in different lighting before committing. Darker bases often benefit from lighter graphic elements, while lighter bases can support deeper, richer tones without losing contrast. If you plan to change your design over time, start with a modular approach that lets you add or remove pieces without repainting or causing adhesive residue. This flexibility is especially helpful if you use your rv for business purposes and want to update branding as your company evolves.
Step by Step Installation Tips
Proper surface preparation is essential for long lasting results, so begin by thoroughly cleaning the area where you will place the decals for rv trailers using mild soap and rinsing away all dust and grease. Dry the surface completely, and if possible work in a shaded area with low wind to prevent debris from getting trapped under the adhesive. Most installers recommend applying a few drops of soapy water to the surface and the back of the decal so you can reposition it easily before pressing it into final position. Using a soft squeegee, work from the center outward to push out air bubbles and ensure intimate contact with the paint, which reduces the chance of lifting edges over time.
- Clean and dry the application area
- Position the decal using a soapy water slip solution
- Smooth out bubbles with a firm squeegee
- Trim excess material with a sharp hobby knife
- Allow the adhesive to set according to the manufacturer’s guidance
For larger projects, you may choose to apply one or two main pieces first and then add smaller details, which can make alignment more predictable. If your trailer has rounded corners or compound curves, consider using a heat gun on a low setting to gently soften the vinyl so it stretches and conforms without cracking. Remember that while many decals for rv trailers are removable, repeated installations and removals can gradually weaken the paint or leave residue, so gentle cleaning methods are always the safest approach.

Maintenance and Long Term Care
To keep your decals looking fresh, wash your rv regularly with a gentle automotive soap, avoiding harsh chemicals that can degrade the adhesive or cause colors to fade. When you clean around edges, use a soft brush or microfiber cloth instead of abrasive sponges that might lift the corners and encourage water intrusion. If you live in an area with frequent temperature swings, inspect the graphics periodically, especially after extreme heat or cold, and address small lifting spots before they grow larger. For stubborn road tar or bug residue, choose products that are safe for vinyl and avoid picking at the edges with your nails, which can create tiny rips in the material.
Over time, even the best outdoor decals for rv trailers will show some wear, but knowing when to repair or replace them helps you maintain a polished appearance. Small chips or faded sections can often be touched up with matching paint pens or replaced individually, while more extensive damage may call for a full graphic refresh. By combining smart design, careful installation, and routine care, your decals will continue to protect your trailer’s finish and turn heads at every campground or rest stop, making every trip a true reflection of your style.
Conclusion
Whether you want subtle accent lines, bold branding, or protective overlays, decals for rv trailers offer a versatile, cost effective solution that enhances both aesthetics and durability. By choosing the right materials, planning your layout thoughtfully, and following careful installation and maintenance practices, you can enjoy a customized look that stands up to the demands of the road. With so many design possibilities and practical benefits, it is no wonder that more travelers are using decals to protect and personalize their rigs, turning every journey into a moving expression of style.

Custom Decals for your RV, Car, and more!
Looking to spruce up your boat, RV, car, or truck? Custom decals from Steele Creek Printing and Design are the way to go.
