Decals For Rv
Decals for RV give you an easy way to refresh your motorhome, camper, or travel trailer with new style, personality, and clear identification.
What Are RV Decals and How Are They Used
RV decals are vinyl graphics applied to the exterior or interior surfaces of a motorhome, camper, or trailer to add branding, safety information, decorative elements, or wayfinding details. These graphics can include lettering for names or brands, fleet numbers, safety symbols, or artistic designs that transform the look of your rig. Many owners choose decals for RV as a low-cost update that feels almost like a customization without a full repaint. Whether you want subtle side stripes, bold logo panels, or informative symbols near entry doors, there is a decal style to suit your vision.
Because decals stick directly to cleaned and prepared surfaces, they create a relatively quick transformation compared with painting or mechanical modifications. You can cover large panels or just add small touches around windows, entry steps, or the rear entry door. Modern materials are designed to handle UV exposure, temperature swings, and frequent cleaning, so many high-quality decals for RV remain vibrant for years. This combination of impact, affordability, and durability explains why so many owners rely on decals to refresh their rigs between major renovations.
Common Types of RV Graphics and Decals
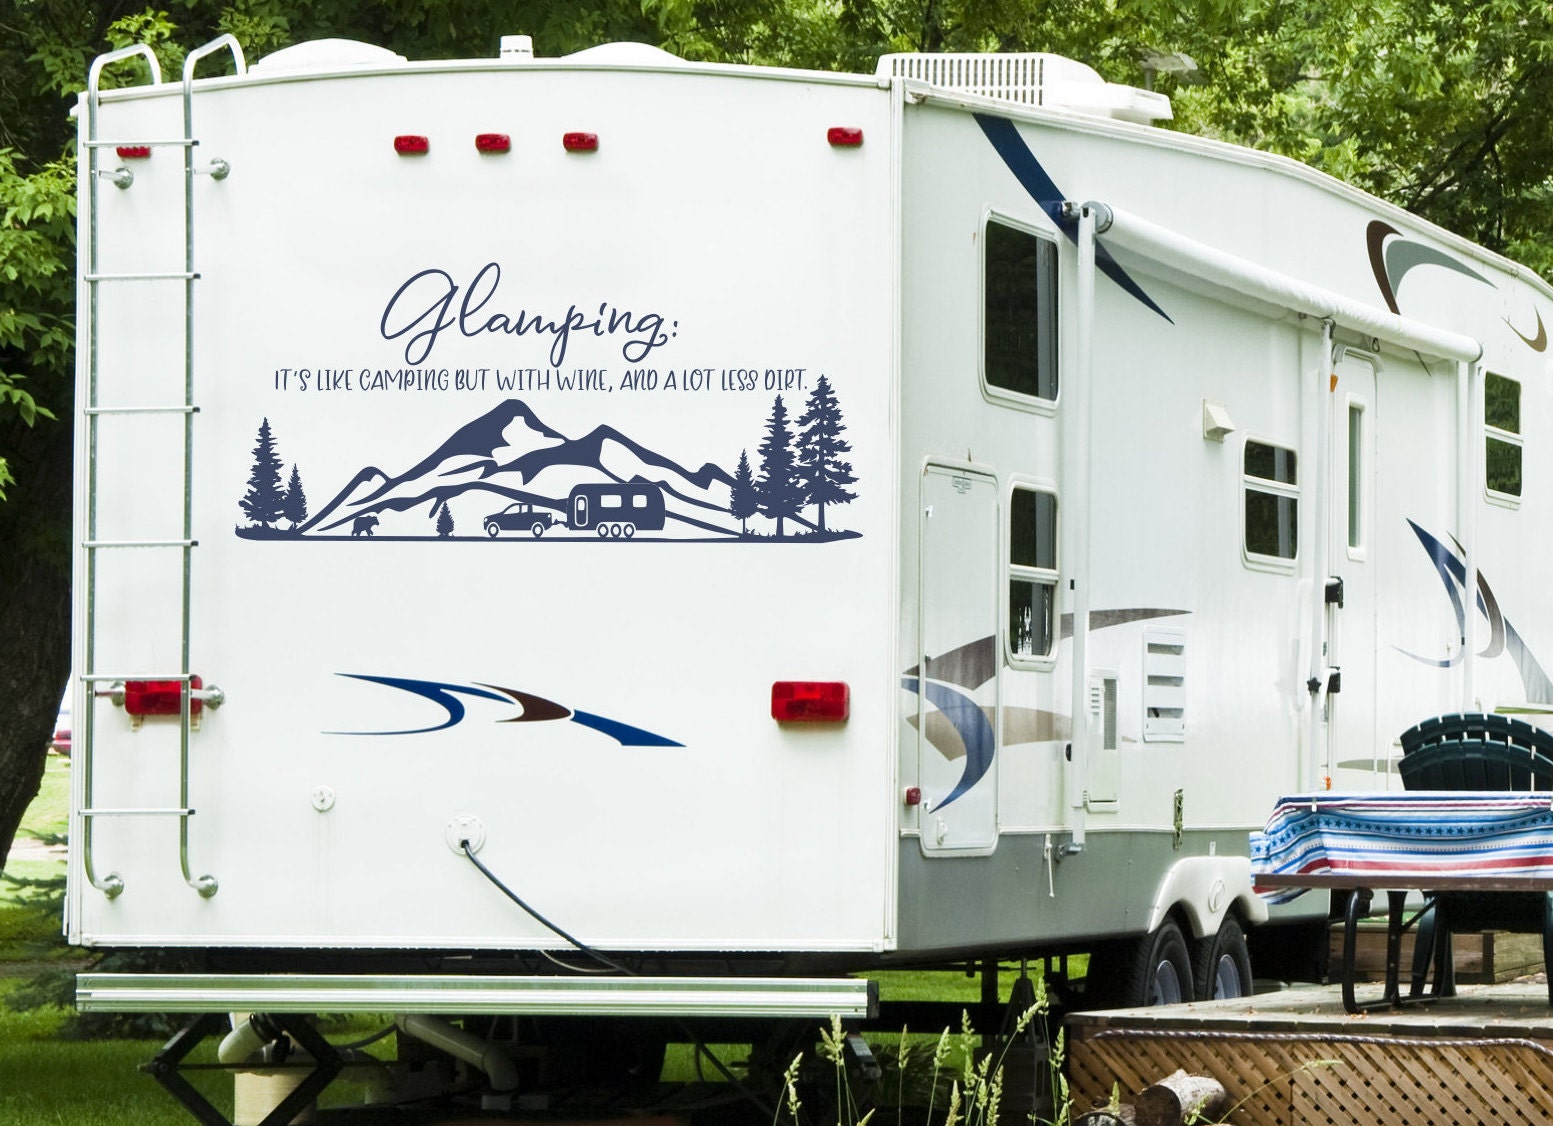
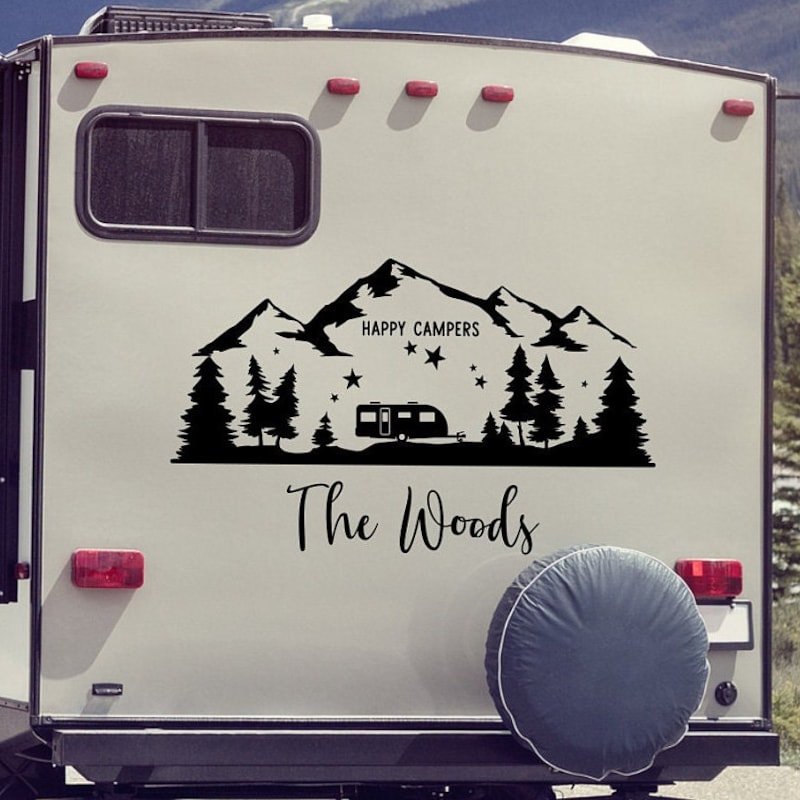
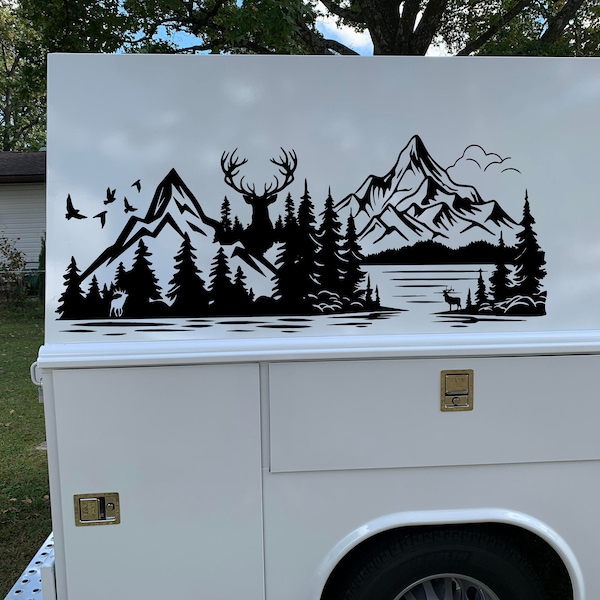
Among the most popular options are vinyl lettering for names and contact information, which makes it simple for fellow travelers or service providers to identify your unit at campgrounds or repair shops. Fleet decals, including company logos, numbers, and color bands, are common on rental and commercial RVs, but they also work well for personal rigs that want a coordinated look. You will also find decorative elements such as stripes, flames, abstract shapes, and themed artwork that add motion and personality to otherwise plain panels.
- Name and contact decals for easy recognition and recovery if separated from your property.
- Safety and regulatory decals, such as propane or awning warnings, that meet campground or road requirements.
- Branding and sponsor graphics that highlight affiliations, sponsors, or personal brands without a full wrap.
- Decorative motifs like tribal patterns, nature scenes, or geometric designs that turn your rig into a rolling canvas.
Each category can be produced in different finishes, from matte to gloss, so you can coordinate with your existing paint and hardware. Reflective options are available for safety symbols, while perforated window decals allow visibility from inside while obscuring the view from outside. Exploring these choices helps you narrow the best decals for RV based on function, placement, and visual style.
Planning Your Decal Layout and Design
Before ordering, think about how your decals will work together in terms of scale, color, and placement. A common approach is to anchor the design along roof edges, beltlines, or just below windows, creating a cohesive look that frames your vehicle. Sketching a simple layout on paper or using digital mockups can help you visualize how stripes, text, and icons will flow across curves and corners.

- Measure key sections of your RV so decals fit without awkward gaps or overlapping panels.
- Choose a color palette that either contrasts with your paint for emphasis or complements it for a subtle effect.
- Consider negative space, as a few bold elements often read better than a cluttered arrangement of small graphics.
- Test readability from a distance, especially for names, phone numbers, or emergency information.
Working with a designer or using template tools from decal suppliers can simplify this process. When you plan the arrangement carefully, the result is a balanced look that feels intentional rather than improvised. Good planning also reduces the need for repositioning, which can risk surface damage or wasted material.
Preparing and Applying Decals to Your RV
Proper surface preparation is one of the most important steps for long-lasting results, because dirt, dust, or old wax can prevent adhesive from bonding correctly. Clean the area with mild soap, rinse thoroughly, and let it dry, then use rubbing alcohol to remove any remaining residue if needed. For best results, choose a calm, shaded surface to work in so the decal does not dry too quickly or shift during installation.
Most decals come with transfer tape that holds the individual pieces together while you position them. After aligning the design, you smooth the decal from the center outward to push out air bubbles, then remove the transfer tape carefully. Some installers prefer a soapy water application method, which allows them to adjust the position before the adhesive sets. Once the decal is secure, a gentle pass with a soft squeegee or a firm rub with a soft cloth helps ensure full contact with the surface.
Maintenance and Longevity Tips
To keep your decals looking sharp, rinse your RV regularly with clean water, especially after exposure to road salt, tree sap, or insect residue. Use a soft sponge or microfiber cloth and avoid harsh abrasive cleaners that can wear the edges or cause premature fading. When you wash, direct the water flow along the surface rather than straight at the edges, which helps prevent lifting around the borders.
- Inspect the edges periodically and gently press down any lifting corners before small gaps allow water intrusion.
- Park in shaded areas when possible to reduce UV exposure that can cause colors to fade over time.
- If you apply wax to the painted areas, choose products that are safe for vinyl to avoid weakening the adhesive.
- For winter storage, consider covering the RV or removing delicate decals if you expect extreme conditions.
With these habits, many high-quality decals for RV can last several seasons while retaining their vivid appearance. When replacement becomes necessary, removing an old decal carefully and cleaning the surface thoroughly makes installing a fresh set much easier.
Choosing the Right Supplier and Material
Not all vinyl is the same, so selecting a reputable supplier matters for durability, color accuracy, and ease of installation. Look for options that mention outdoor-grade adhesive, UV-resistant inks, and flexible materials that move with your panels. Reading reviews from other RV owners can reveal how well a product holds up on curved surfaces and in varying climates.

Some suppliers offer custom cutting, perforation for window use, or printed options with detailed imagery, which expands the possibilities beyond simple text and shapes. When you compare quotes and product specs, pay attention to warranty terms and recommended care instructions. Choosing the right combination of material, design, and professional installation gives you decals for RV that enhance both function and style for years to come.
In short, thoughtful decal choices, careful planning, and basic maintenance can turn your camper into a personalized expression of style while communicating the information you need on the road.
Custom Decals for your RV, Car, and more!
Looking to spruce up your boat, RV, car, or truck? Custom decals from Steele Creek Printing and Design are the way to go.
