Decals For Atv

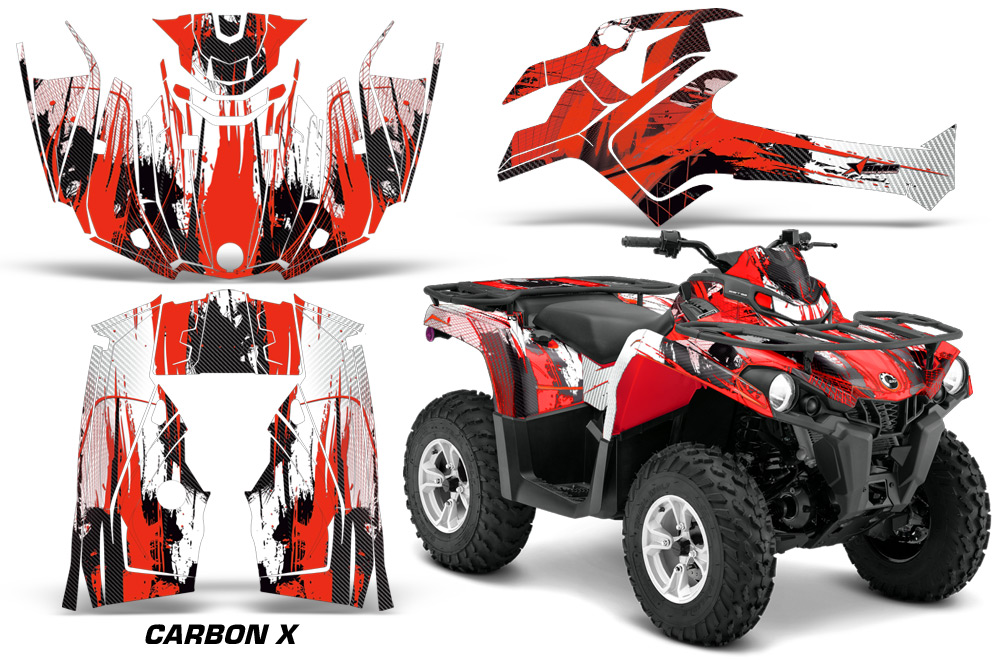
Adding durable decals for atv bodies is one of the fastest ways to personalize your machine and make it stand out on the trail.
What Are ATV Decals and Why They Matter
ATV decals are adhesive graphics designed specifically for all-terrain vehicles, combining tough materials with weather-resistant inks. Unlike simple stickers, these graphics are built to handle mud, dust, UV exposure, and vibration without peeling or fading quickly. A well-chosen set of decals can protect vulnerable panels while giving your machine a cohesive, professional look that reflects your personality.
From subtle logos to bold racing stripes, decals let you define the visual identity of your ATV without permanent modifications. They are popular among recreational riders and competitors alike because they offer instant customization that can be changed over time. Choosing high-quality vinyl or polyester ensures that the graphics stay intact even during aggressive trail riding or muddy adventures.

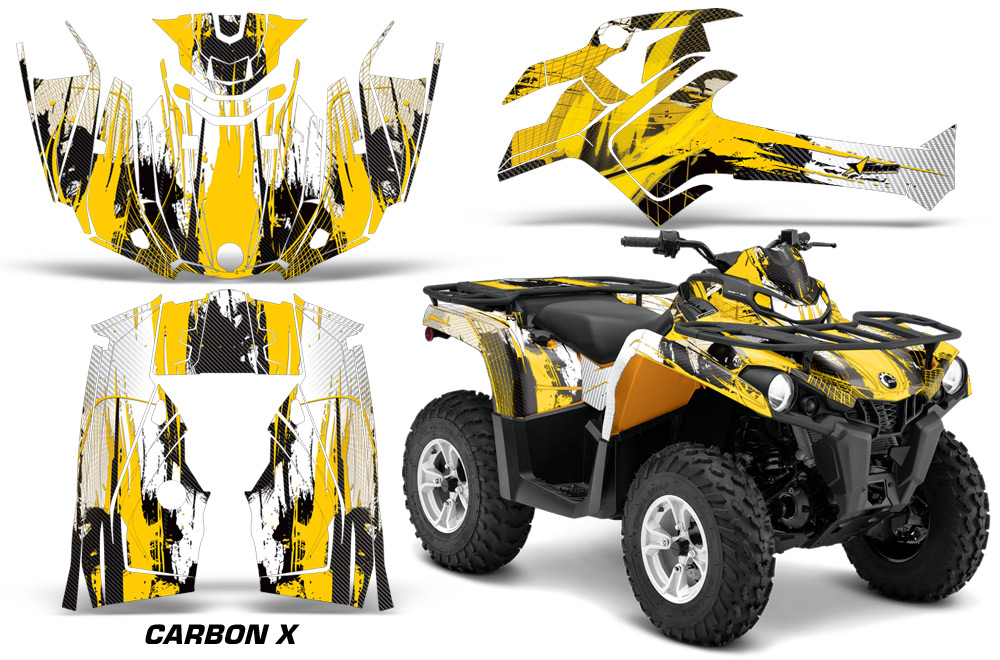
Types of ATV Decals You Can Choose
The market offers several types of decals for atv applications, each suited to different needs and aesthetics. You can find simple brand logos, performance badges, warning labels, and full-coverage graphic kits that wrap around panels. Reflective options are available for riders who want extra visibility during early morning or night rides, enhancing safety without sacrificing style.
- Standard adhesive vinyl decals for everyday personalization.
- Die-cut lettering for clean, professional name or model badges.
- Cast vinyl graphics for complex designs that conform to curves.
- Reflective and glow-in-the-dark options for low-light visibility.
- Clear protective decals that shield vulnerable areas while showing off color.
Before buying, consider the surface of your ATV, the climate you ride in, and whether you want removable or permanent adhesion. Matching the decal material to your usage ensures long-lasting results and reduces the risk of bubbling or edge lifting.
How to Measure and Plan Your Decal Layout
Planning is essential when applying decals for atv bodies, because measuring carefully prevents misalignment and wasted materials. Start by cleaning the target area and sketching a layout on paper, marking where each decal will sit relative to panels, roll cages, and other fixed components. Use masking tape as a temporary guide to visualize the final look before committing with adhesive.
Take note of curves, vents, and crevices, and choose decals that can flex or be trimmed to fit those contours. For a cohesive design, maintain consistent spacing and orientation between graphics, and consider symmetry or asymmetrical balance depending on your style. A little planning goes a long way in achieving a polished result that looks intentional rather than accidental.
Application Tips for Long-Lasting Results
Applying decals for atv panels correctly requires patience, a clean environment, and the right tools like a squeegee and microfiber cloth. Work in a shaded area, apply the graphics slowly from one edge to the other, and push out air bubbles with firm, even strokes. If your ATV sees heavy impact or stress, consider reinforcing the edges with extra adhesive or protective tape to prevent lifting.
- Wash and dry the surface thoroughly before installation.
- Use a mild soap solution to position the decal before it bonds permanently.
- Dry the area completely to avoid trapped moisture under the graphic.
- Apply firm pressure with a soft squeegee to ensure full contact.
- Allow the adhesive to cure for 24 hours before aggressive riding.
Following these steps increases the lifespan of your decals and keeps them looking sharp through mud, rain, and sunlight.
Maintenance and Removal Best Practices
To keep your decals for atv looking fresh, rinse off dirt regularly and avoid harsh chemicals that can degrade the adhesive or ink. Use a soft brush and mild soap, then dry gently to prevent water spots and edge curling. If you plan to remove them, slow peeling after warming the surface with a hairdryer reduces residue and protects the factory finish.
When it is time for a redesign, removing old graphics carefully gives you a clean canvas for the next set of atv decals. Residual glue can be treated with specialized removers or isopropyl alcohol, followed by a light polish to restore the surface. With proper care, you can refresh your ATV’s appearance multiple times without causing damage or losing resale value.
Choosing the Right Brand and Style for Your Ride
Not all decals are created equal, so comparing brands, reviews, and material warranties helps you invest in long-term quality. Look for sellers who provide detailed specifications about adhesion, UV resistance, and expected outdoor lifespan. Matching the decal style to your riding discipline—whether trail riding, competition, or casual cruising—ensures the design supports your identity on and off the machine.
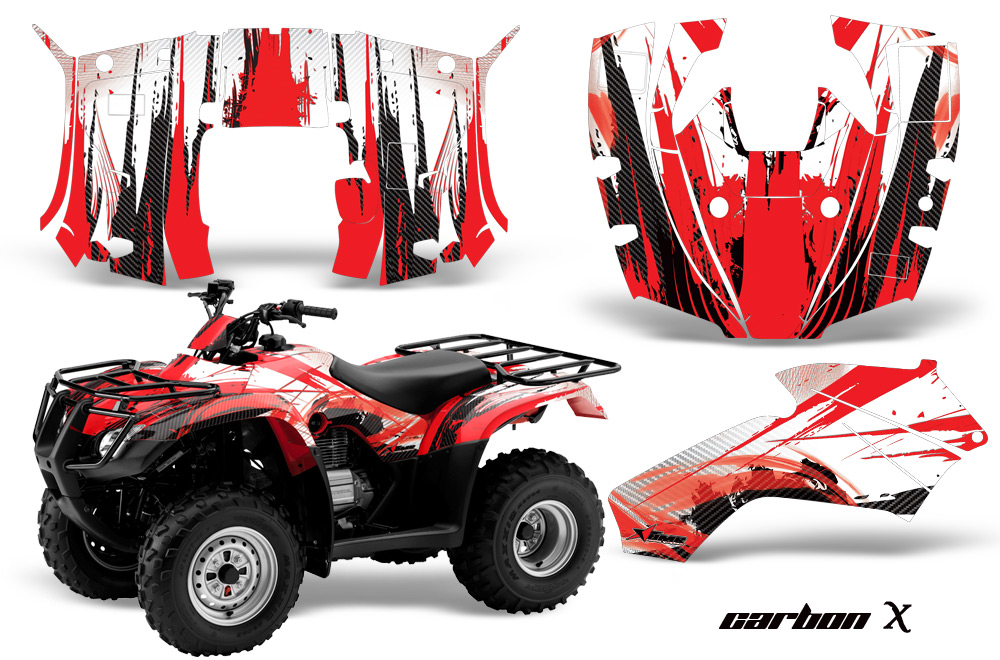
By combining durable materials, thoughtful layout design, and careful installation, decals for atv become more than accessories; they turn your vehicle into a signature expression of skill and style. Enjoy the process of customization, ride safely, and let your graphics tell your story every time you hit the trail.
ATV Graphics 101: From Design to Install
725 Designs has offered their support for my 23' race season! I had the chance to design my own kit and share the step by step ...
