Decal For Wood

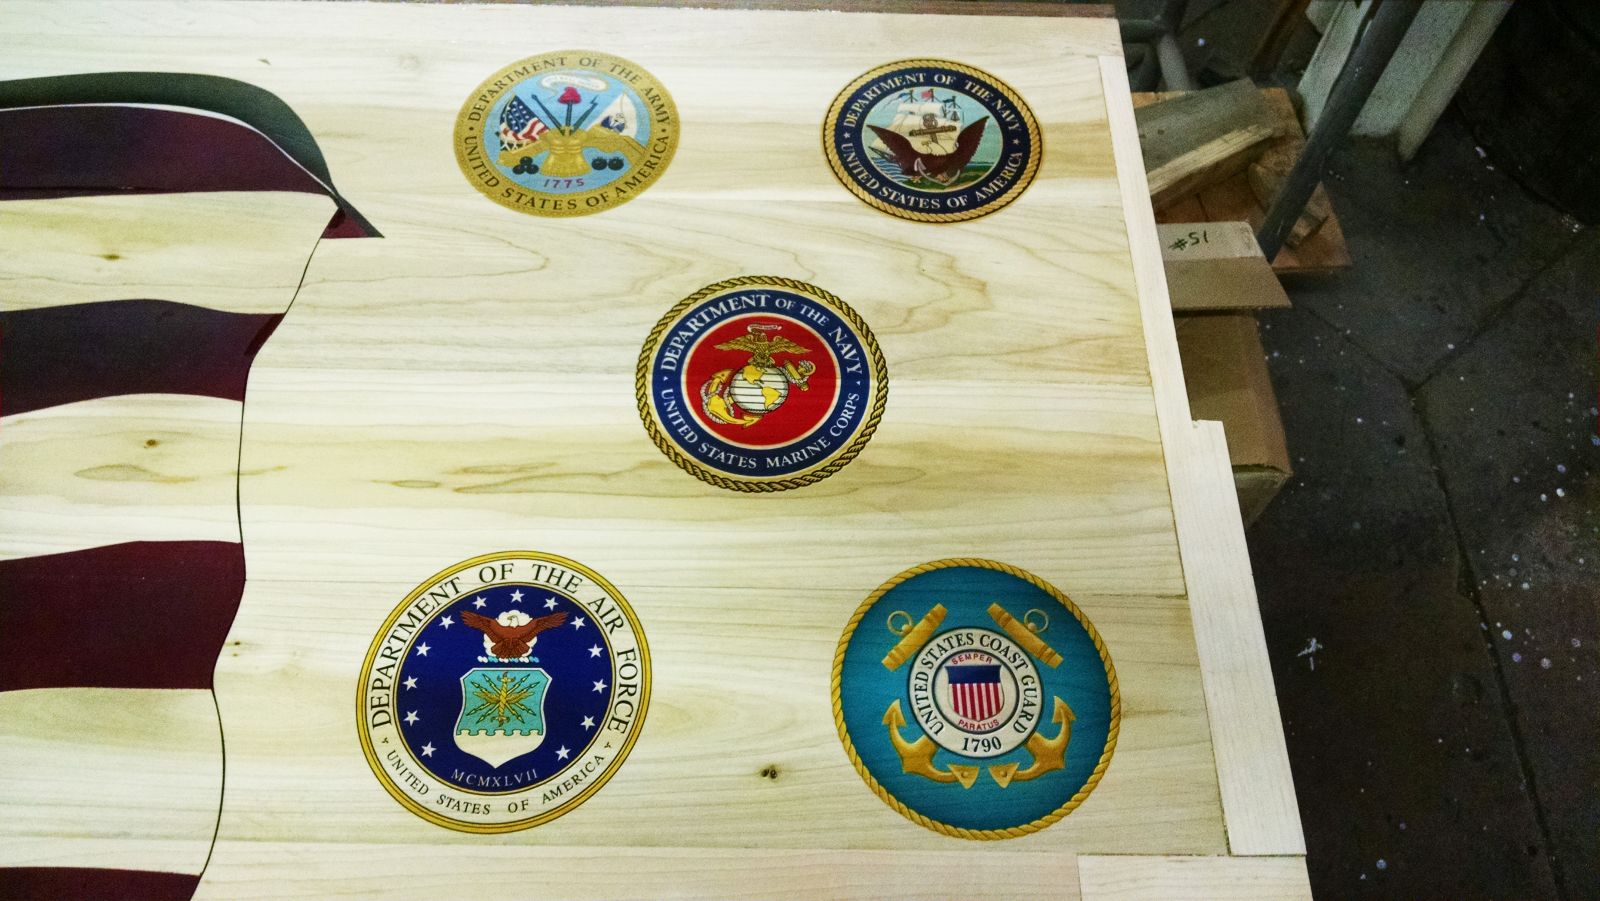
A decal for wood is a simple and stylish way to personalize tables, cabinets, shelves, and other wooden surfaces without heavy renovation.
What is a Decal for Wood and How Does it Work
A decal for wood is a thin, adhesive design that sticks to wood smoothly, giving the look of painted graphics without the effort of freehand work. These transfers are usually printed on special paper or film, then applied with water or pressure so the image or text lines up cleanly on the surface. Because they are lightweight and flexible, they can follow subtle curves and detailed edges better than stickers or vinyl cutouts meant for flat walls. Many people use a decal for wood to add a logo, a quote, a floral pattern, or a decorative motif that feels intentional and polished.
Behind the scenes, a decal for wood often uses either water-slide technology or removable adhesives so you can reposition the design gently before it locks into place. The material is designed to resist small amounts of moisture and daily handling, which means it can survive light cleaning and occasional touching without peeling right away. When you plan a project around a decal for wood, it helps to think about the final look you want, because the same transfer can create a bold focal point or a quiet, hidden detail depending on placement and size.
Choosing the Right Decal Material and Finish
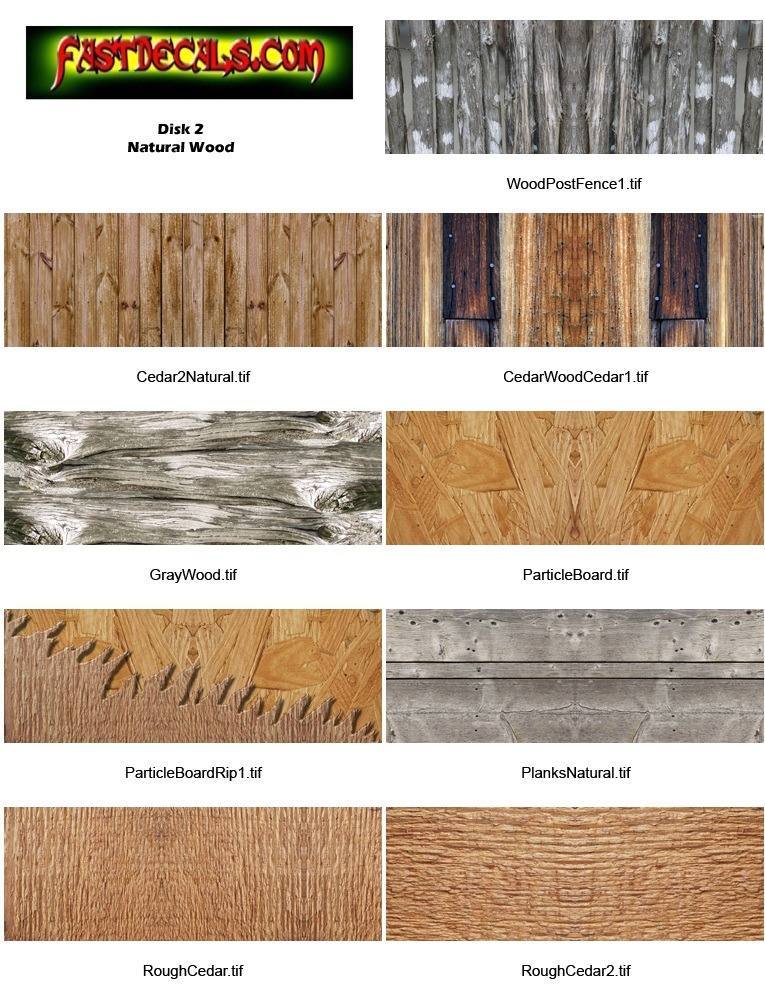
Not every decal behaves the same on wood, so it helps to compare options such as printable vinyl, clear adhesive films, and perforated paper designed for temporary indoor use. A high-quality decal for wood should keep its colors vivid and resist fading when placed near windows or under indoor lighting. Matte finishes reduce glare and blend with natural wood textures, while gloss finishes can make graphics pop and feel more like a painted emblem.
- Water-slide decals that you soak and slide off the backing paper tend to give a seamless, professional look on smooth surfaces.
- Removable vinyl decals are easier for beginners because you can lift and reapply them carefully if the alignment is off at first.
- Textured or soft-touch films can add a subtle tactile layer while still protecting the raw wood from light scratches.
When you test a decal for wood, check how it reacts to the actual wood tone, because a warm oak background may change the perceived contrast compared to a pale birch or a dark stained finish. If the surface will be touched often, look for a decal that mentions durability against friction so your design stays intact through daily use.
Preparing the Wood Surface for a Decal
For a decal for wood to last, the surface should be clean, dry, and free of dust, grease, or old finishes that could prevent proper adhesion. Lightly sanding the area with fine-grit paper and then wiping it with a tack cloth can create a slightly textured grip that helps the transfer bond evenly. If the wood is porous or very absorbent, a thin sealant layer can reduce blotchy absorption and keep the colors of the decal from sinking into the grain.
Before committing the whole design, you might try positioning a test piece or a small section of the decal for wood to see how it interacts with the grain and existing color. Pay attention to edges, because a smooth application with a squeegee or a soft cloth can push out air bubbles and ensure the transfer sticks from corner to corner. When the surface is prepared thoughtfully, the decal aligns better, and the final result looks intentional rather than patched together.
Design Ideas and Creative Placement Tips
A decal for wood can turn a plain cabinet into a statement piece, so think about where the eye will land first when planning your layout. Consider placing a decal at eye level on a dining sideboard, inside a cabinet door for a hidden message, or along the lower edge of a headboard to create a subtle border. Mixing a small decal with open shelving, framed art, and natural textures allows the transfer to complement the room instead of overwhelming it.
- Quote decals placed above a console table can set the tone for the entire room.
- Botanical or geometric patterns can echo wallpaper, rugs, or curtains, tying the space together.
- Monograms or family names work well on the inside of bedroom doors or the front of a keepsake box made of wood.
When you design or choose a decal for wood, try to match the style of your existing decor, whether it is rustic farmhouse, sleek mid-century, or cozy Scandinavian. A cohesive look makes the transfer feel like a deliberate design choice rather than a quick fix, and it encourages you to keep the surrounding elements simple so the decal remains the hero.

Application, Care, and Long-Term Maintenance
Applying a decal for wood usually involves peeling the backing, aligning the design, and pressing it from the center outward to avoid trapped air, but every product can have slightly different instructions. After the transfer is in place, giving it time to cure according to the manufacturer’s guidance helps the adhesive set and reduces the chance of lifting at the edges. Avoid cleaning the newly applied area for at least a day, or you might disturb the bond before it has fully settled into the wood texture.
Over time, a well-cared-for decal for wood can stay vibrant, especially when you dust it regularly and wipe spills gently with a soft, damp cloth. If the surface will be exposed to heavy moisture, such as in a bathroom or kitchen behind the sink, check whether the decal is rated for humidity or consider reinforcing it with a suitable topcoat designed for transfers. With mindful placement and basic care, a decal can remain a charming, personalized detail that you enjoy for years without demanding major renovation.
Wood Laminate Sticker: A Versatile & Instant Home Makeover
Let's makeover your home all at once only with one thing: wood laminate sticker! Also known as interior film, wrap sticker, ...
