Customize Decals

Customizing your own decals is a simple and creative way to add personality to almost any surface.
What Are Decals and Why Customize Them
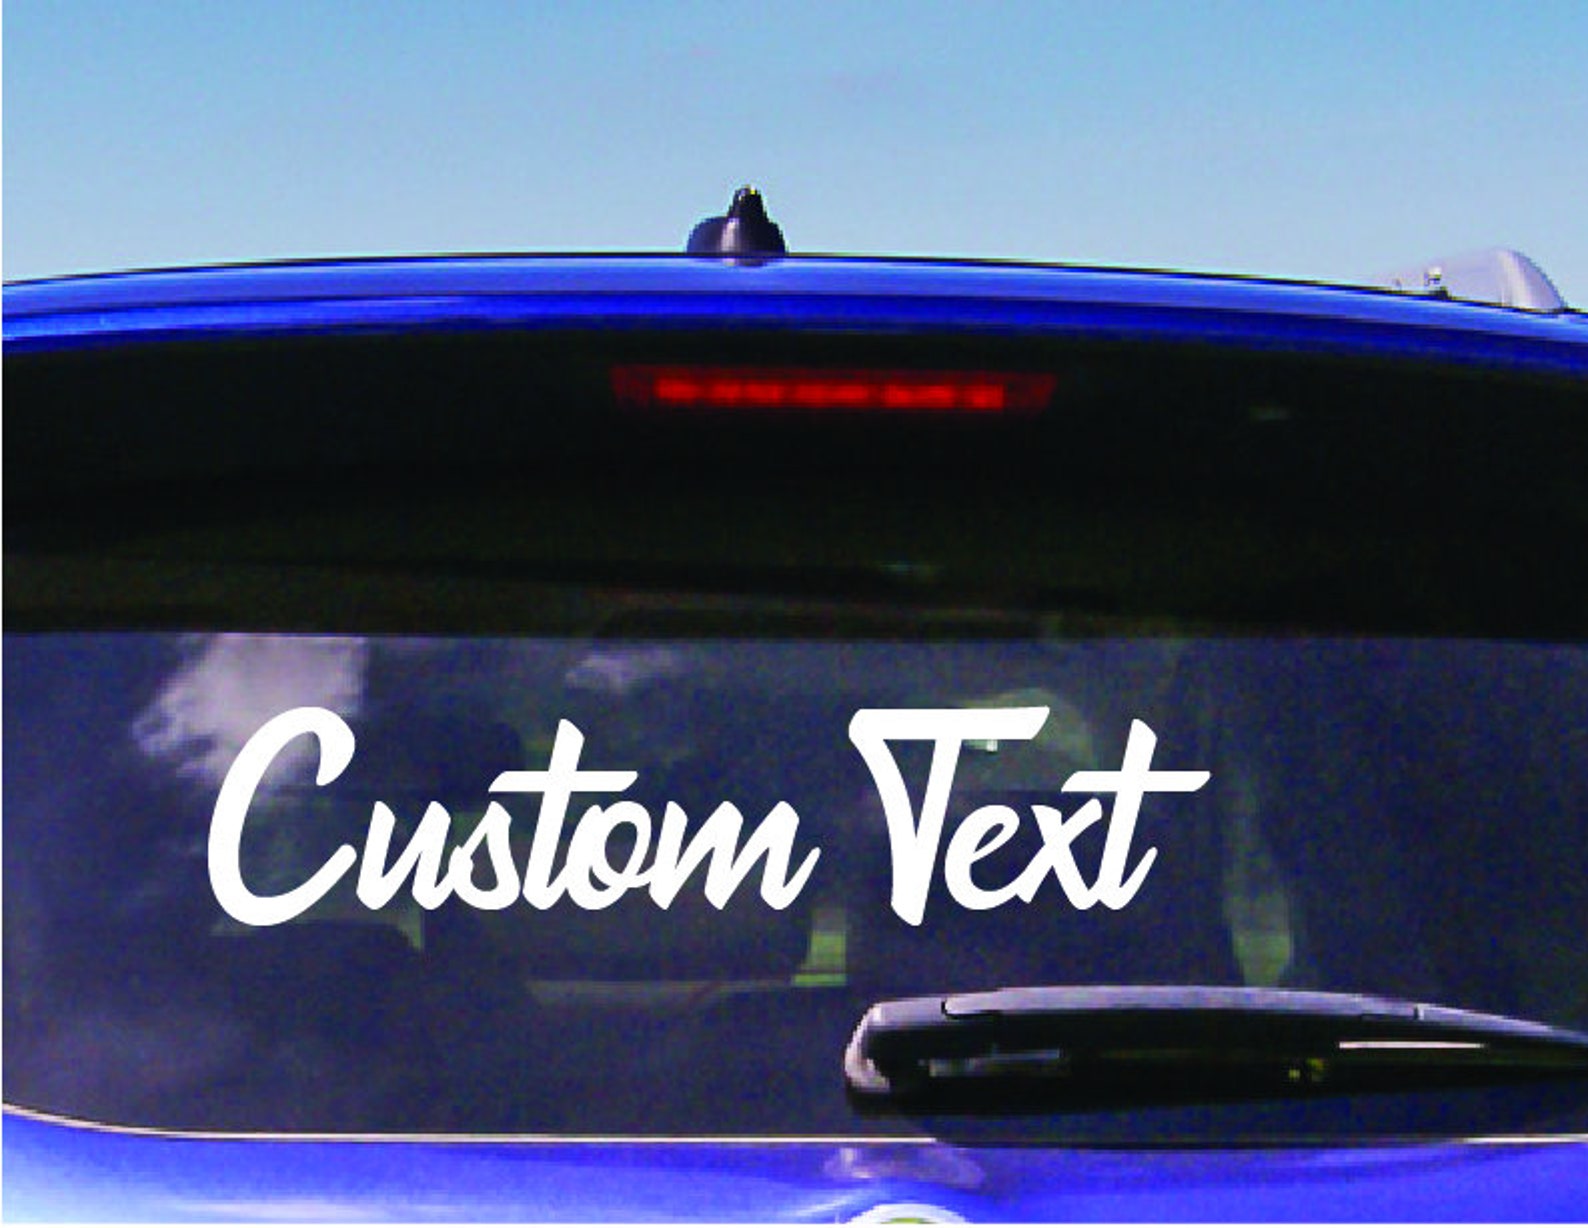
Decals are essentially stickers or transfers that use adhesive backing to stick to surfaces like glass, metal, plastic, or painted walls. They have evolved from simple identification labels into popular design tools for both personal and commercial use. When you choose to customize decals, you move from generic designs to unique expressions that reflect your specific style, brand, or message. This flexibility makes them appealing for everything from car windows and laptop skins to event signage and retail branding.
Customization can include changing colors, adding text, resizing, or combining multiple graphics into one cohesive decal. The process often starts with a concept, which is then turned into a digital file that a cutter or printer can understand. Because the technology is accessible, you do not need to be a professional designer to create high-quality results. Whether you want a subtle logo on equipment or a bold statement on your storefront, tailored decals give you control over every detail.

Common Materials and Their Uses
One of the first decisions when you customize decals is choosing the right material, as this affects durability, appearance, and application. For indoor use, standard vinyl is often sufficient, offering good adhesion and a range of finishes from matte to glossy. Outdoor applications usually require thicker, weather-resistant vinyl or cast materials that can withstand UV exposure, rain, and temperature fluctuations. Understanding where the decal will live helps you select a material that lasts and maintains its look over time.
Specialty options are also available if your project has specific demands. Consider the following when evaluating materials:
- Vinyl for long-lasting indoor and outdoor graphics.
- Removable adhesives for temporary displays that should not leave residue.
- Frosted or perforated materials for window graphics that need visibility through the surface.
- Reflective or metallic finishes for enhanced visibility and style.
The Design Process from Concept to File
Creating custom decals starts with a clear idea, whether it is a logo, slogan, pattern, or combination of shapes. Sketching on paper can help you visualize composition, but moving to digital design software is essential for precision. Programs like Adobe Illustrator, CorelDRAW, or free alternatives allow you to build clean vector paths that produce sharp edges at any size. Pay attention to details like line thickness, color separation, and negative space, since these elements impact how the final cut will look when applied.
Color choices and typography should align with your brand or personal aesthetic while remaining readable at the intended size. When you prepare the artwork, remember to:
- Use vector formats to maintain quality when scaling.
- Limit gradients and fine details that might not translate well to cut vinyl.
- Confirm the final dimensions and how the decal will be installed.
Cutting, Printing, and Weeding Techniques
Once your design file is ready, the physical production phase begins with cutting or printing, depending on the type of decal you want. Cut vinyl decals are created using a blade that precisely slices through colored vinyl to reveal the design, while printed decals apply ink directly onto the material and then cut around the shape. Both methods can produce vibrant results, but the choice depends on factors like complexity, quantity, and desired texture. Knowing the production method helps you make informed decisions about color limits, sizing, and finishing options.
Weeding is the process of removing excess material around your design so that only the parts you want to transfer remain. This step requires patience and a steady hand, especially for intricate logos or detailed patterns. Professionals often use tools like hooks, tweezers, and soft picks to lift away unwanted vinyl without damaging the delicate pieces. If you are producing a small number of decals, doing this by hand can be satisfying, while larger runs might benefit from semi-automated or fully automated processes. Proper weeding leads to clean lines and a professional finish when the decal is applied.
Application Tips for a Clean, Long-Lasting Finish
Applying your custom decals correctly is just as important as designing them, because even the best artwork can look uneven if it is not installed properly. Start by cleaning the surface thoroughly to remove dust, oil, and debris that could interfere with adhesion. Measure and align the decal using a level or masking tape as guides, then apply it slowly from one side to the other to push out air bubbles. Using a squeegee or a soft cloth, press the decal firmly onto the surface, working outward to ensure full contact.
To increase longevity, avoid installing decals in extreme heat or direct, harsh weather when possible, and clean them gently with mild soap and water. For removable types, carefully lift a corner and peel back at a shallow angle to reduce the risk of tearing or leaving adhesive residue. If you are applying multiple layers or overlapping elements, plan the sequence in advance to achieve the desired visual depth. With thoughtful preparation and careful installation, your customized decals will maintain their appearance and continue to express your unique style for a long time.
How to make custom decals for less than $50.
I've designed many decals for my scale models and printed them on ink jet printers. I recently saw ink jet printers advertised for ...
