Customizable Decal

A customizable decal is the easiest way to add personality to almost any surface without the commitment of paint or permanent artwork. Whether you want to brand a vehicle, personalize a laptop, or liven up your living room wall, a tailored decal gives you professional results with a simple peel-and-stick application. Because modern printing and cutting technologies are so advanced, you can turn a rough sketch or a detailed vector file into a precise, durable graphic that fits exactly where you want it. This guide explores how design choices, materials, and placement strategies come together to create a high impact, low effort solution for personal projects and business marketing.
Designing Your Custom Decal for Maximum Impact
The first step in a successful custom decal project is thoughtful design, because the final look depends on how well the artwork translates into a single color or a limited palette. Start by defining the message and the mood, whether that is bold and playful for a child’s room or clean and corporate for a service vehicle. Use strong contrast between the graphic and the background color so the decal remains legible from a distance and in different lighting conditions. Keep fine details to a minimum if you expect the surface to move or flex, and test your design on a mockup to see how it will wrap around curves or edges before you order production.
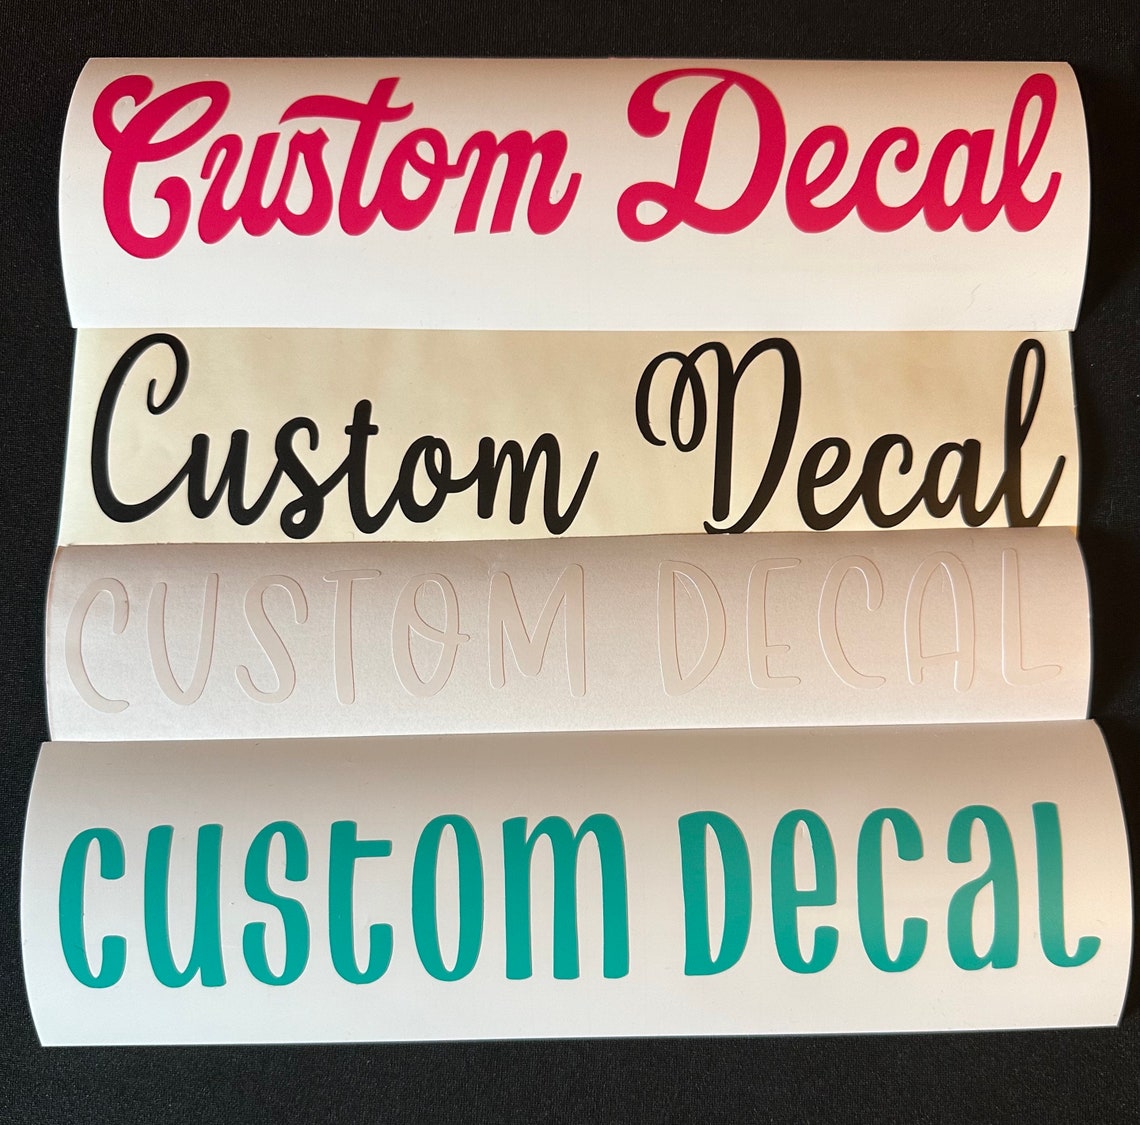
When you prepare files for a custom decal, vector formats such as SVG or AI are ideal because they scale cleanly without losing sharpness. Raster images can work if they are high resolution, but you may need to simplify complex gradients or fine textures so that the cut lines stay manageable for the cutting machine. Many makers offer pre design templates for common shapes like ovals, rectangles, or vehicle silhouettes, which can speed up the layout process and reduce wasted material. If you are unsure about typography, stick to legible, medium weight fonts and avoid scripts that have very thin strokes, especially for outdoor applications where the lettering must stay readable over time.
Choosing the Right Material and Finish
The material you select for your custom decal determines how it will look, how long it lasts, and which surfaces it can safely cover. For indoor use on smooth surfaces such as glass, metal, or painted walls, a standard vinyl with a matte or gloss finish is usually sufficient and easy to install. If the decal will live outdoors on cars, equipment, or storefront signs, you need a thicker vinyl with strong adhesive and UV inhibitors to prevent fading and peeling. Some materials also offer a perforated or cast option, where the vinyl is engineered to stretch slightly without distorting the image, which is useful for wrapping vehicles with complex panel lines.
Beyond basic vinyl, you can explore specialty finishes to make your custom decal stand out in a crowded space. Metallic or holographic films add shimmer and depth without the need for additional painting, while frosted or privacy films can provide diffused transparency for windows in offices or retail spaces. Textured finishes, such as brushed metal or wood grain effects, are also possible in decal form, allowing you to mimic more expensive materials at a fraction of the cost and with none of the permanent commitment.
Measuring, Cutting, and Weeding Like a Pro
Once your design is finalized, the production workflow for a custom decal moves from digital artwork to precise cutting, often using a vinyl cutter or laser system. The artwork is mirrored so that the adhesive backing remains on the outside during installation, and the machine cuts along the outline of each shape while leaving the intended areas untouched. Weeding is the delicate process of removing the excess vinyl around your design, and it requires patience and a gentle touch to avoid pulling up fine details or overlapping pieces. Using a weeding tool, a soft hook, or even the tip of a hobby knife can help you lift small parts, especially when you are working with intricate lettering or tight corners.
After weeding, most decals are covered with a transfer tape that holds all the pieces in place until they meet the final surface. The quality of the transfer tape matters because it must be strong enough to pull the entire design off the backing paper without leaving bits of vinyl behind. When you order a custom decal, you can often choose standard or premium transfer options, and premium tapes are especially helpful for larger projects or designs with many small elements. Proper alignment guides, sometimes printed on the backing paper or supplied as separate registration marks, make it much easier to position the decal accurately the first time.
Surface Preparation and Installation Tips
Even the best custom decal will fail quickly if it is applied to a dirty, dusty, or uneven surface. Before installation, clean the area with a mild soap or isopropyl alcohol to remove oils, residue, and loose particles, and let it dry completely. For outdoor applications, choose a calm, dry day with moderate temperature so the adhesive can bond smoothly without rushing due to heat or freezing slowly in cold conditions. If you are applying the decal to a textured wall, test a small section first, because deep textures can create air pockets that lift the edges over time.
To install, start from one edge and press the decal down gradually while sliding the squeegee or a soft card across the surface to push out air bubbles. Work from the center toward the edges to avoid trapping bubbles that are difficult to remove after the adhesive sets. If bubbles do appear, gently lift the edge of the decal, smooth the area, and reapply, being careful not to stretch the vinyl too much on flexible surfaces. For large or complex wraps, it can help to reposition the decal a few times before final placement, using registration marks or a temporary boundary to keep everything aligned.

Maintenance, Lifespan, and Removal
A well installed custom decal can last for years, but proper care will extend that lifespan and keep the colors looking fresh. For outdoor decals, occasional rinsing with water and a soft cloth prevents dirt buildup that can dull the finish, while avoiding harsh chemicals protects the vinyl and adhesive. When washing a vehicle with a decal, use gentle soap, avoid high pressure washers directly on the edges, and dry the area to reduce the risk of lifting. Indoor decals on walls or furniture are usually safe to wipe lightly with a dry or slightly damp cloth, depending on the finish and the wall material.
When the time comes to remove a custom decal, doing it carefully minimizes the risk of leaving sticky residue or damaging the underlying surface. Heat from a hair dryer or a warm cloth softens the adhesive, making it easier to peel the decal off without tearing. Slow, steady peeling, combined with gentle wiping and, if needed, a mild adhesive remover, usually clears away any leftover residue without harming most paints or finishes. Because the process is reversible, a custom decal remains a low risk way to test bold graphics, seasonal themes, or promotional messages before committing to a permanent change.
A customizable decal turns ordinary objects into personalized statements, blending flexible design, durable materials, and straightforward installation into one practical solution. By focusing on clear visuals, the right material for the environment, careful cutting and weeding, and thoughtful surface preparation, you can achieve results that look professional and last as long as you need them to. With proper care and an easy removal process, a custom decal remains a versatile tool for expression, branding, and creative experimentation in both personal and commercial settings.

Imprima seus próprios decalques personalizados para modelos de plástico em escala! Guia passo a p...
Não consegue encontrar os decalques certos para o seu projeto de modelo em escala? Imprima os seus próprios! Neste vídeo ...
