Custom Vinyl Transfers

Custom vinyl transfers let you add bold, professional graphics to almost any surface without the permanence of a direct paint job.
What Are Custom Vinyl Transfers
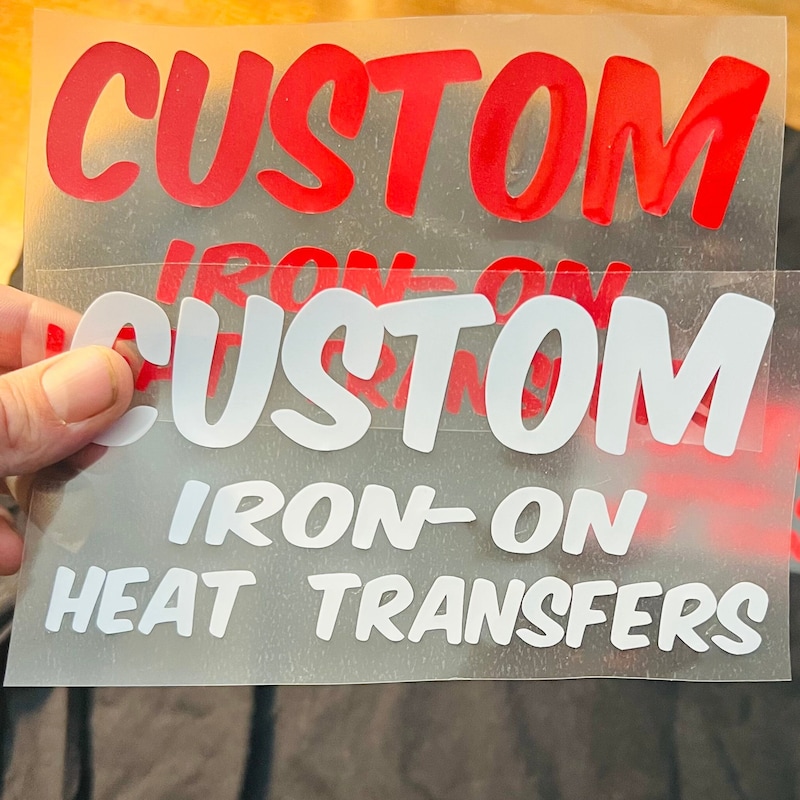
Custom vinyl transfers are cut or printed designs that are placed on a surface using a adhesive carrier, creating a clean, removable finish that looks like a direct application. Unlike stickers with exposed adhesive edges, these transfers have a backing that keeps everything aligned and bubble free during installation. They are popular for branding, personalization, and short term decoration because they offer high impact with relatively low commitment.
In practice, a custom vinyl transfer starts as a vector file, is cut or printed on specialized vinyl, and is then layered with transfer tape so that every line, letter, and detail stays perfectly aligned when it moves from the shop to the final surface. This process gives you the appearance of a painted graphic or a molded emblem without the cost and time of traditional manufacturing.
How Custom Vinyl Transfers Are Made
The production of custom vinyl transfers begins with design, where vector files ensure clean edges and scalability to any size. Designers choose colors, line weights, and text styles that match brand guidelines, then the file is sent to a cutting plotter or a digital printer depending on whether the design is solid or photographic.
- Cutting: The vinyl is cut with precise blade depths, producing the desired shapes while leaving the surrounding material intact.
- Weeding: The excess vinyl is removed, leaving only the parts that will become the final graphic.
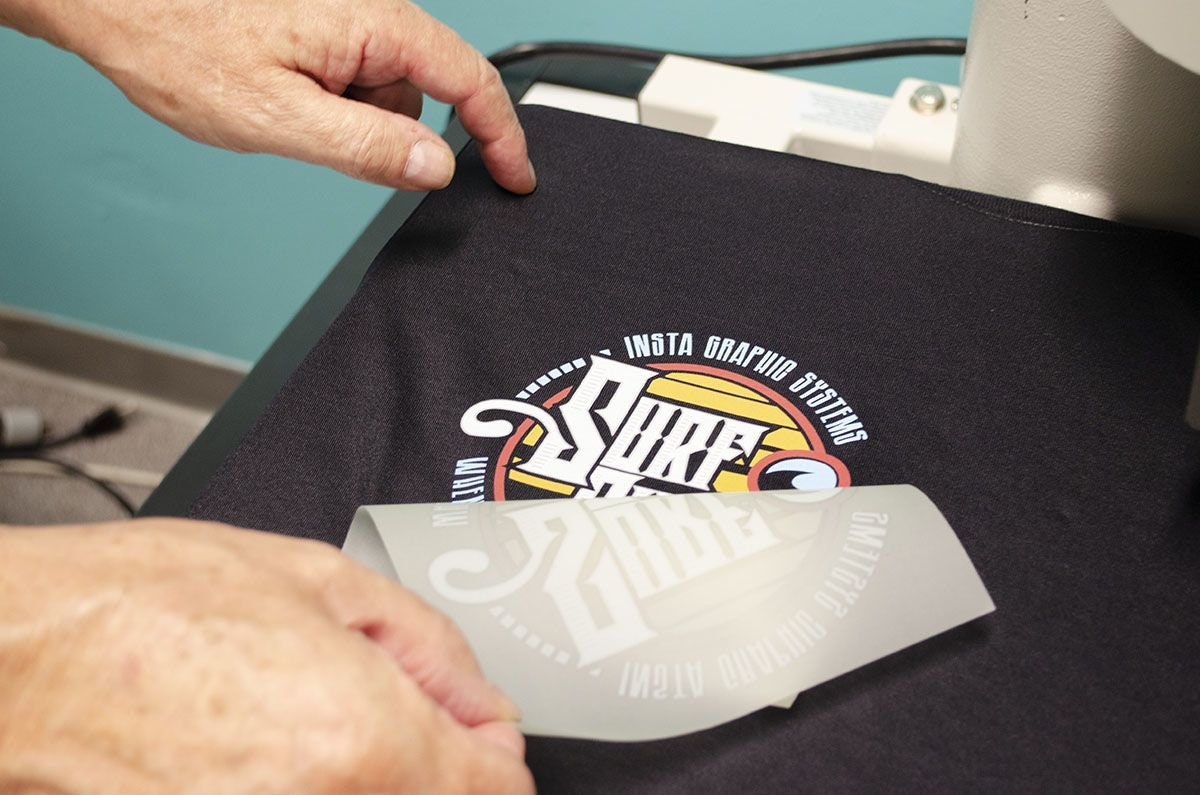
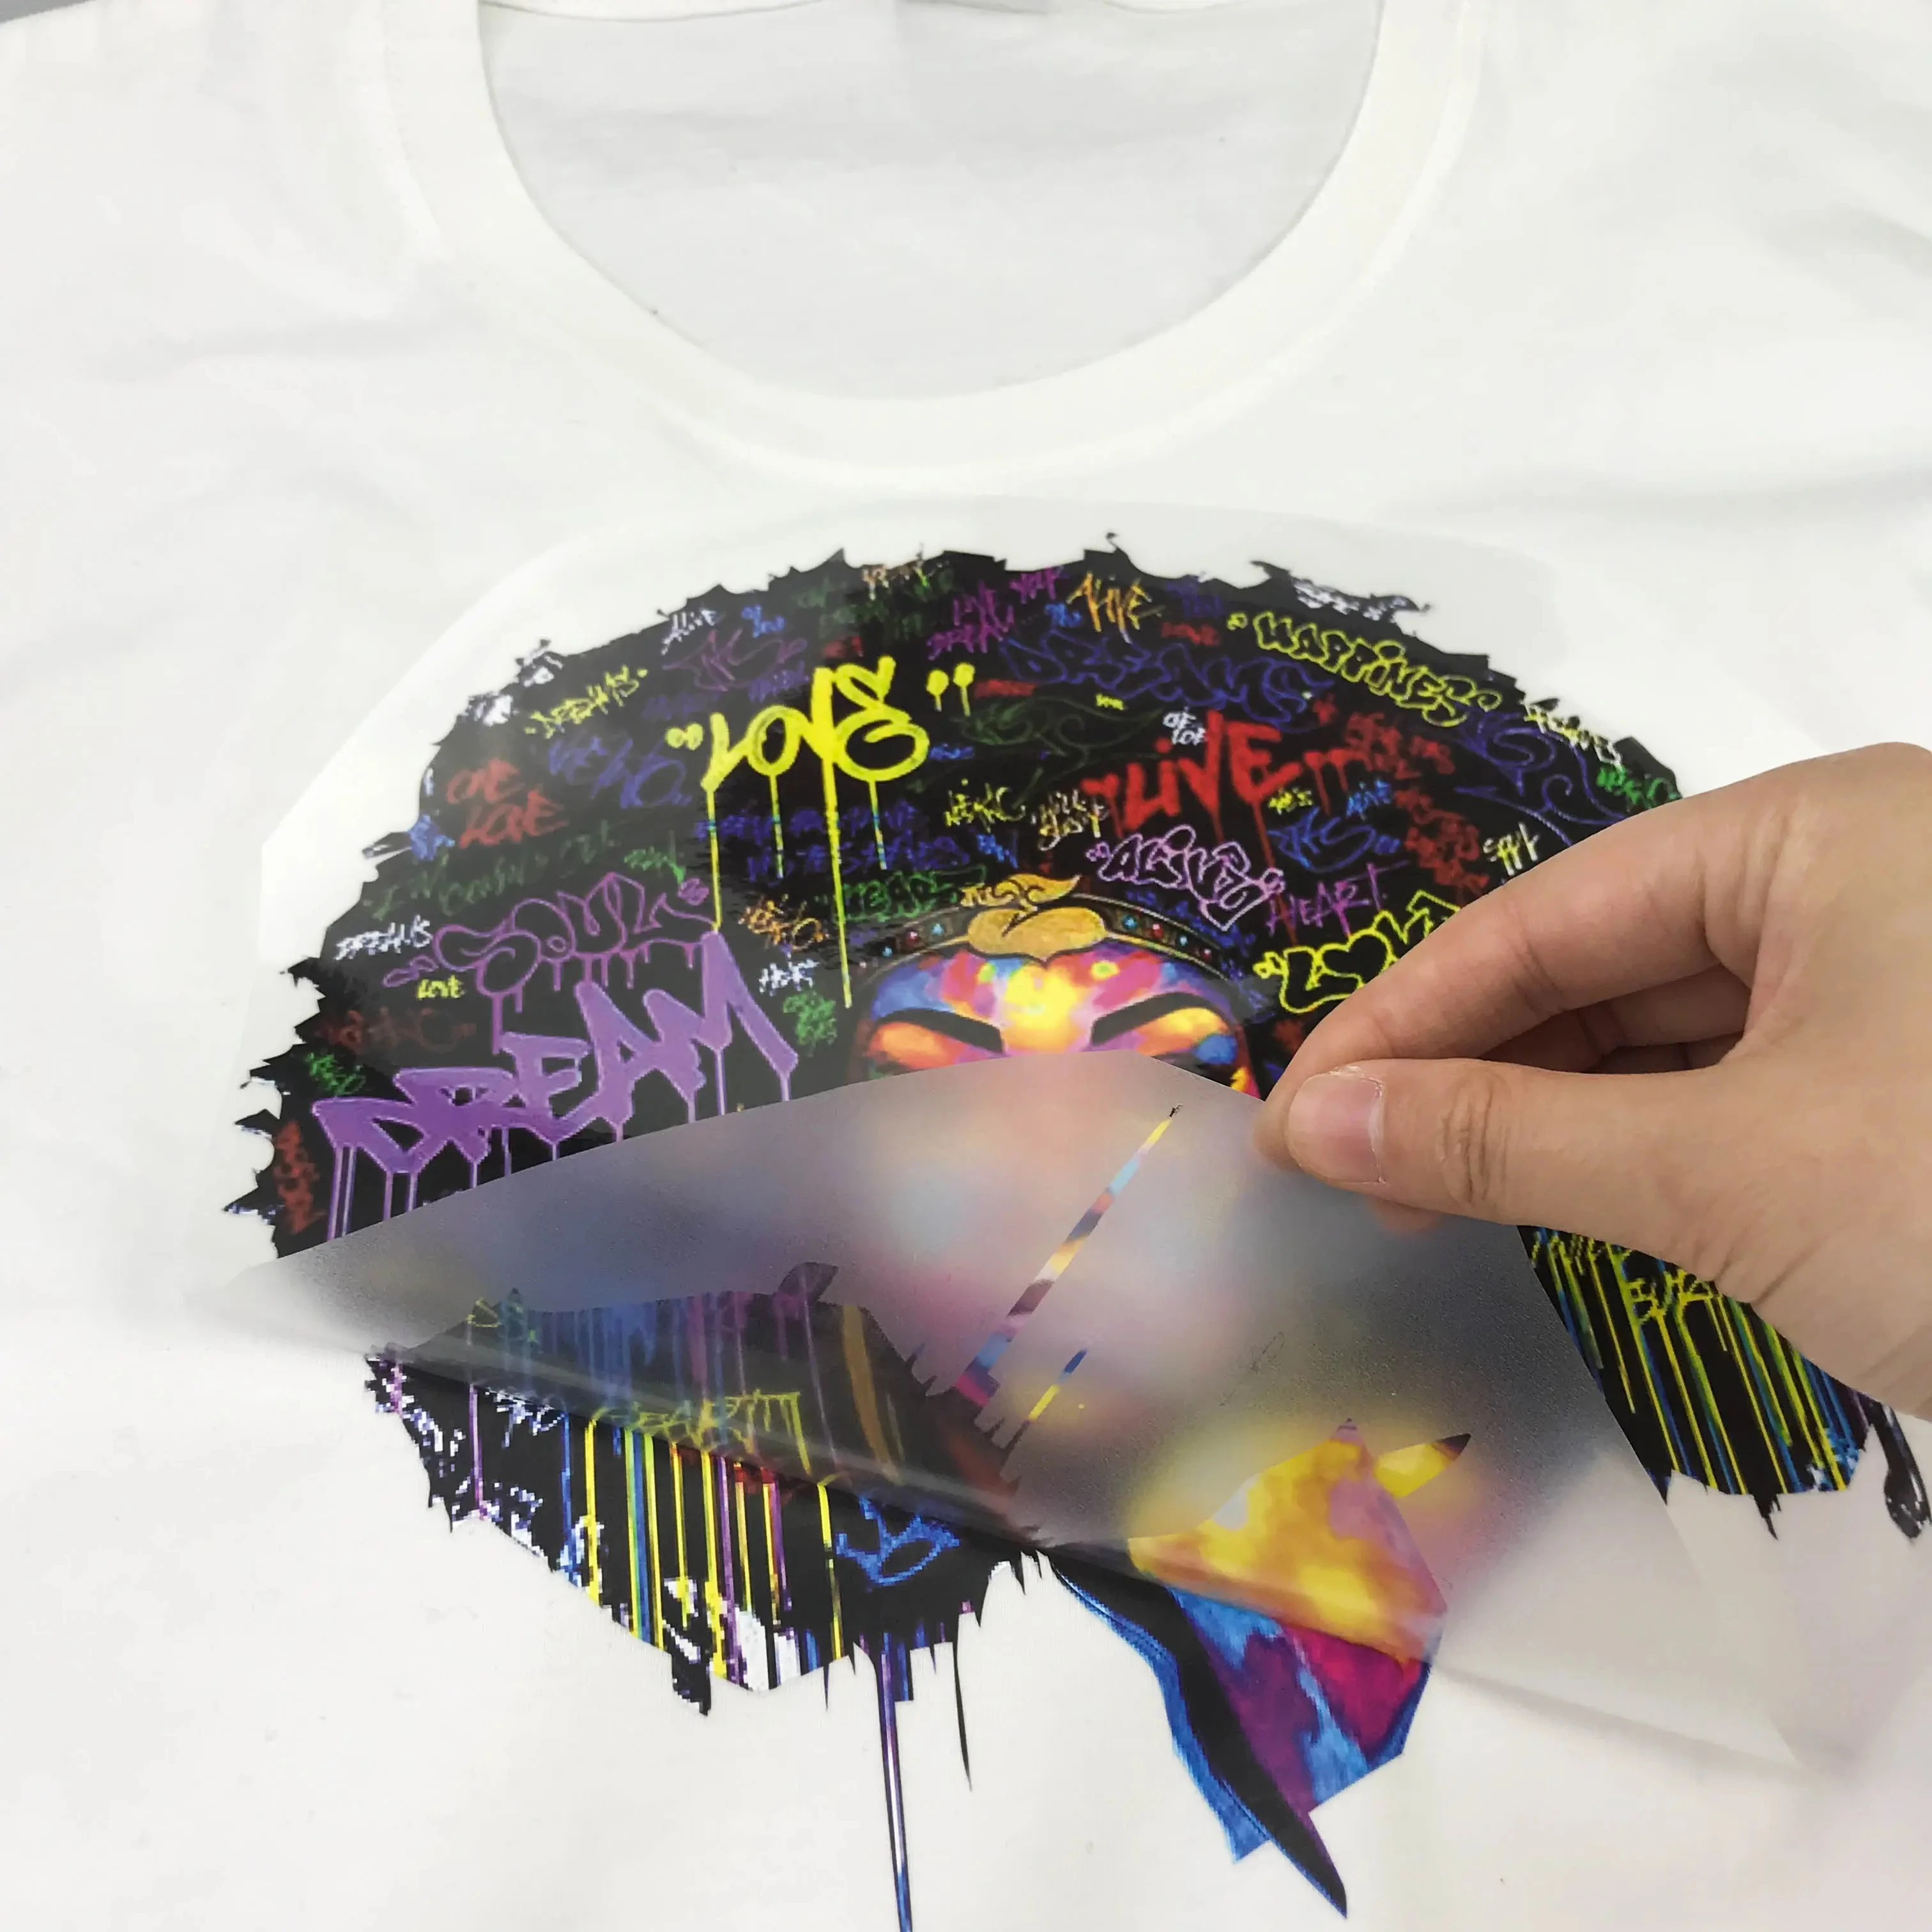
- Layering: A layer of transfer tape is applied over the cut vinyl, and a squeegee smooths out any air bubbles.
- Finishing: The transfer is trimmed, inspected, and packaged so that it arrives ready for installation.
Because every step is controlled, you can order one custom vinyl transfer or thousands with consistent quality, making this method ideal for campaigns that roll out across multiple locations.
Best Surfaces for Applying Vinyl Transfers
Custom vinyl transfers work well on smooth, clean, and non porous surfaces where the transfer tape can make full contact. Common materials include coated automotive paint, powder coated metal, finished wood, glass, and high quality plastic.
Before applying a transfer, the surface should be washed, dried, and wiped with a light solvent to remove any dust or oils. On painted panels, it is wise to confirm that the paint is fully cured so that the removal of the transfer later does not take layers with it. When in doubt, test the edge of a scrap transfer in an inconspicuous spot to verify adhesion and removal characteristics.
For textured walls or fabrics, specialty vinyls and adhesives exist, but results can vary. In those cases, a professional installer can evaluate the surface and recommend the right combination of vinyl thickness, adhesive strength, and installation technique for a durable finish.
Design Tips for Eye Catching Results
Strong design is what turns a simple custom vinyl transfer into a memorable brand element. Keep line art bold, text legible at a distance, and color contrasts high so the graphic reads quickly in real world conditions.
- Use vector formats to maintain sharp edges at any size.
- Limit gradients and fine details if the surface is viewed from a distance.
- Consider negative space, as it helps the transfer stand out against complex backgrounds.
- Test how the colors appear in the actual lighting where the transfer will be installed.
Working with a designer experienced in vinyl and large format printing helps you avoid issues like overly thin lines, tight corners that lift, or color shifts that are visible up close but not from the street. A few minutes of design refinement can save hours of installation adjustments later.
Care, Longevity, and Removal
With proper care, a well applied custom vinyl transfer can last several years outdoors and even longer indoors. Washing with mild soap, avoiding abrasive cleaners, and using soft tools for drying will protect both the vinyl and the underlying surface.
UV exposure, temperature swings, and mechanical abrasion all influence the lifespan of the transfer. Choosing a suitable overlaminate or UV resistant vinyl can extend the life of outdoor graphics. When the time comes to remove a custom vinyl transfer, slow, steady pulling at a low angle usually leaves the surface clean, with only minimal residue that can be cleaned with isopropyl alcohol.

If the transfer was applied to a delicate surface, it is better to let a professional handle removal. They can use low temperature methods and targeted solvents to reduce the risk of staining or texture changes that would otherwise require repainting or refinishing.
Why Businesses and Makers Choose Vinyl Transfers
Custom vinyl transfers bridge the gap between do it yourself appeal and professional finish, which explains their popularity among small businesses, racing teams, artists, and vehicle wraps. They are more affordable than painted graphics, faster to produce than embroidered patches, and far more versatile than die cut stickers with exposed adhesive.
- Brand consistency across vehicles, storefronts, and merchandise.
- Fast turnaround times that support event launches and seasonal campaigns.
- Low surface damage risk compared to some permanent signage methods.
- Easy updates, such as changing names, dates, or slogans without repainting.
Whether you are labeling equipment, reinforcing your shop identity, or creating limited edition merchandise, custom vinyl transfers give you a polished look with practical flexibility that many other finishing methods cannot match.
In short, custom vinyl transfers are a reliable, attractive, and cost effective way to add detailed graphics to a wide range of surfaces while keeping your options open for changes and removal.
HOW TO APPLY HEAT TRANSFER VINYL TO SATIN RIBBON - PERSONALIZED BOWS || Lucykiins
Today's tutorial shows how to apply heat transfer vinyl to satin ribbon. I made centerpieces for my niece's baptism and wanted to ...
