Custom Transfer Stickers For Glass
Custom transfer stickers for glass let you add bold, precise graphics to windows, mirrors, and drinkware without the hassle of freehand painting.
What Are Custom Transfer Stickers for Glass
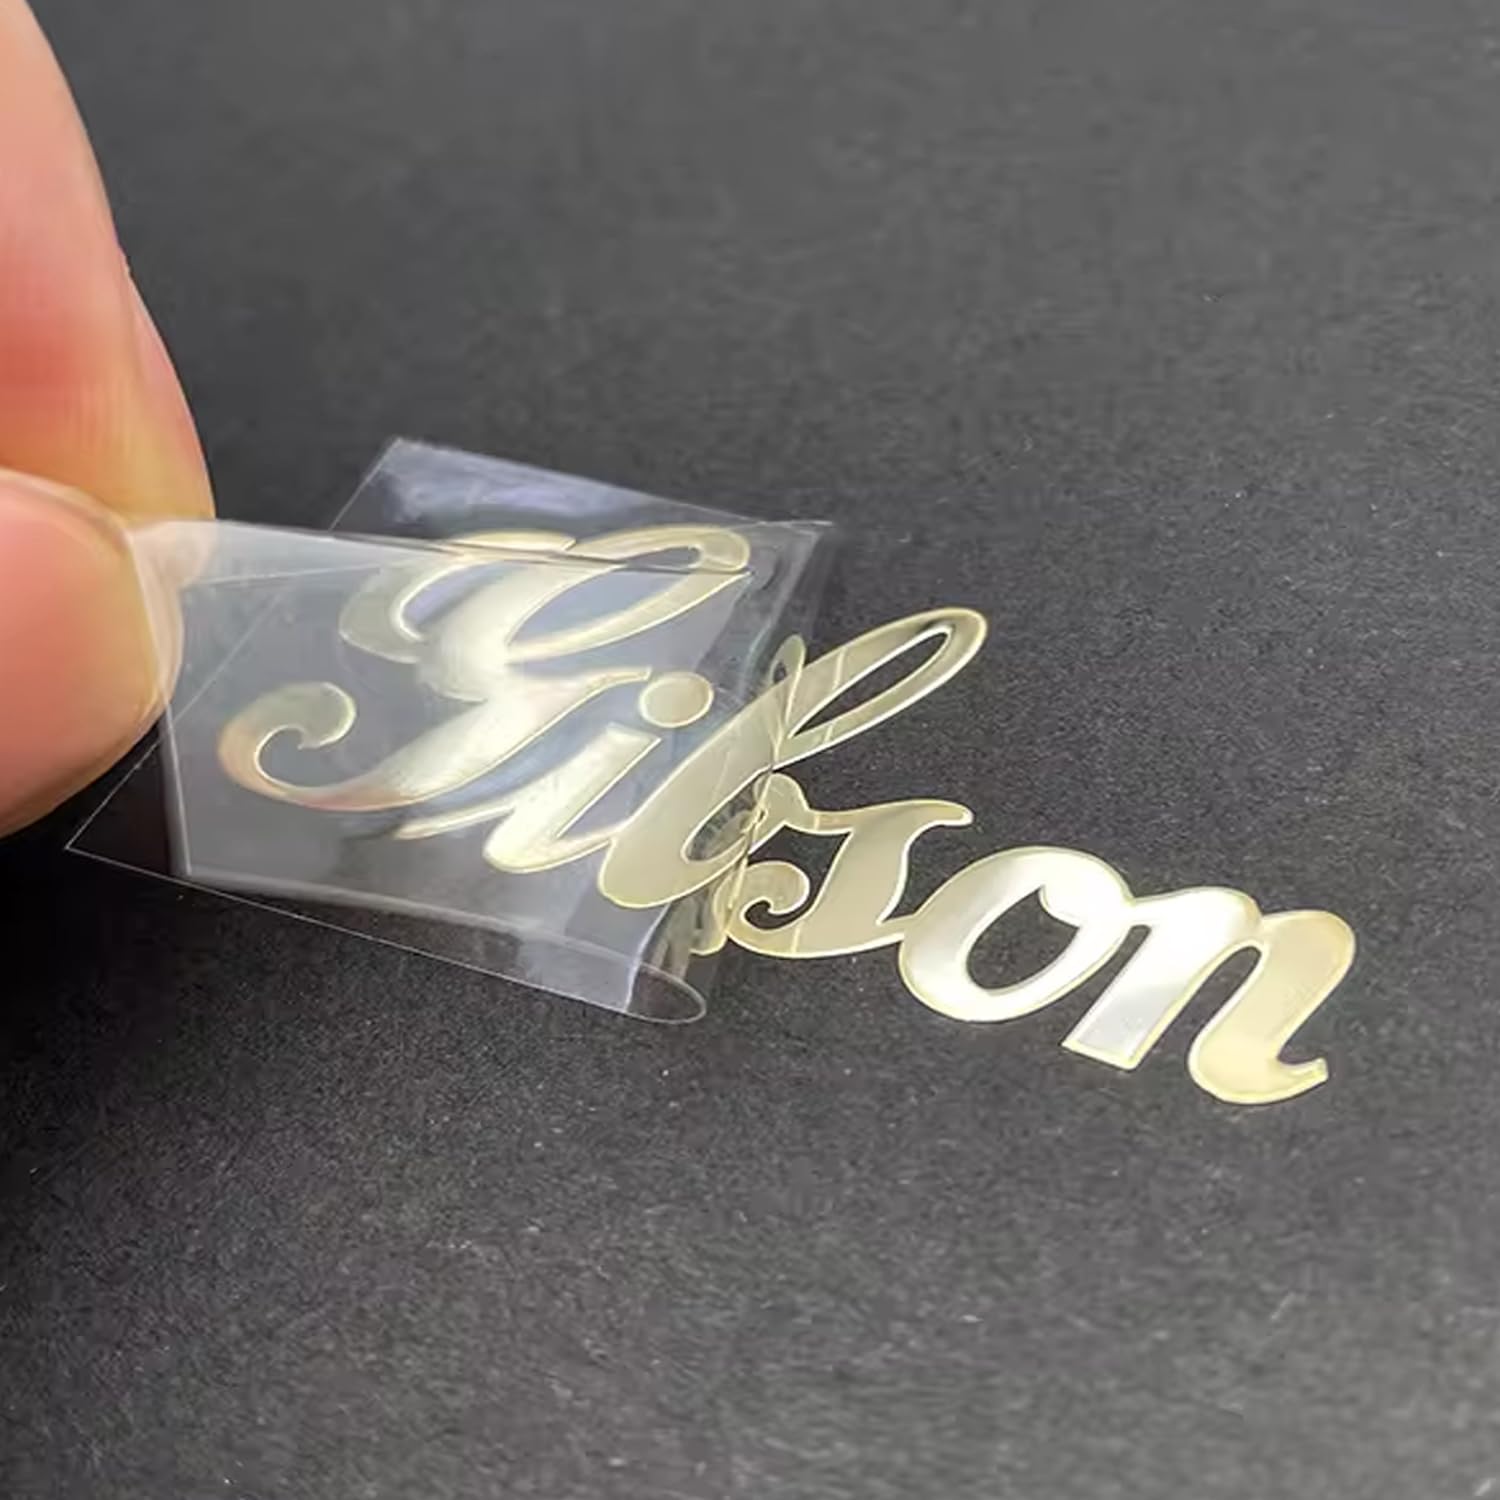
Custom transfer stickers for glass are adhesive graphics printed on a special carrier sheet, then applied with water or pressure so the design transfers cleanly to the surface. Unlike direct-cut vinyl, these stickers include a removable or repositionable adhesive layer that lets you align the artwork before locking it in place. They work on smooth glass, frosted panels, mirrors, and even tempered drinkware, giving you a crisp, professional look without the need for screen printing.
Because they are designed specifically for non-porous surfaces, these transfers resist moisture, smudges, and light abrasion, making them ideal for both indoor and outdoor displays. You can choose from matte or glossy finishes, and many suppliers offer eco-friendly materials for brands that care about sustainability. Whether you are decorating a café window, labeling product jars, or personalizing a home bar, custom transfer stickers for glass deliver a polished result that feels tailor-made.

How the Application Process Works
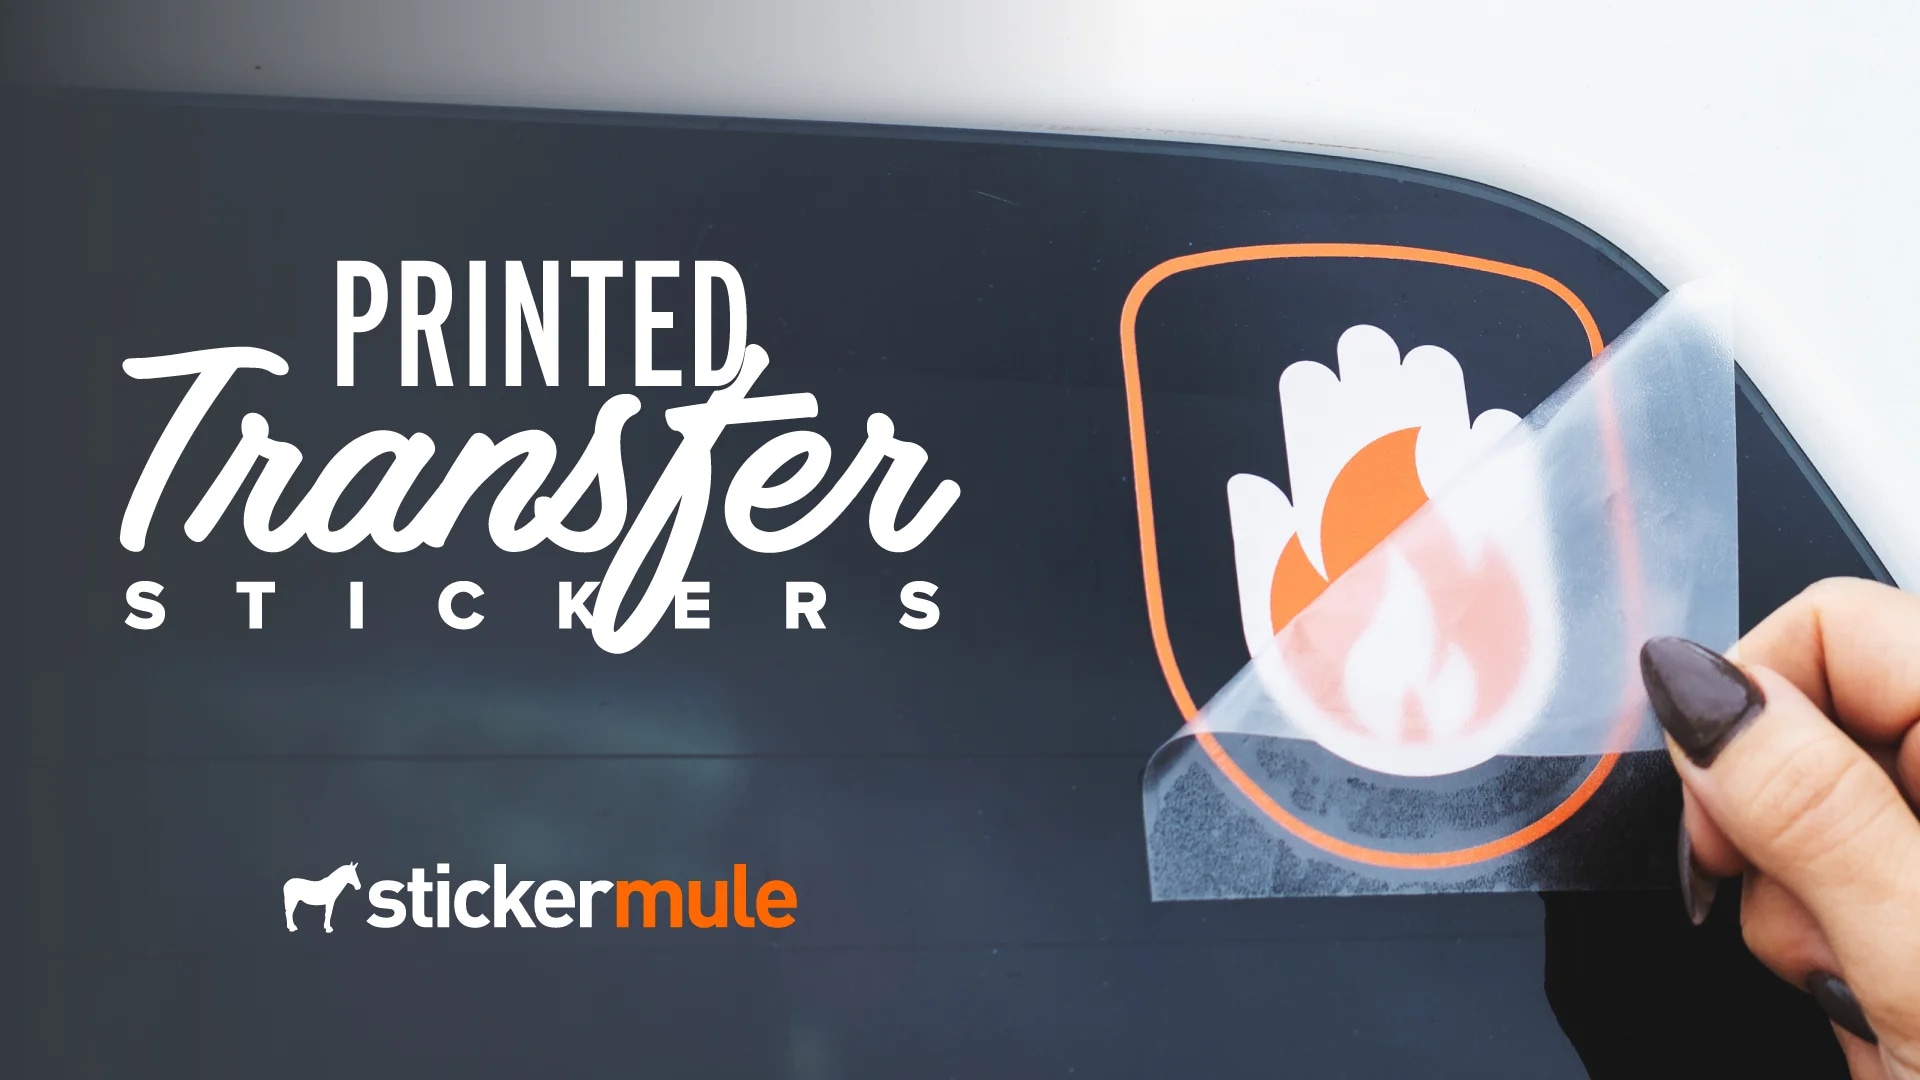
The key to a flawless result lies in the application process, which usually starts with cleaning the glass thoroughly to remove dust, oils, and residues. After positioning the transfer where you want it, you smooth it down with a squeegee or credit card, pressing out air bubbles and ensuring every detail adheres evenly. A light mist of water can help you slide the carrier sheet away, leaving only the ink and adhesive behind.
For best results, follow these steps:
- Clean the glass with a mild detergent and dry it completely.
- Place the transfer and use a soft tool to press from the center outward.
- Peel away the carrier sheet slowly at a low angle to avoid lifting edges.
- Let the adhesive cure for a few hours before wiping or exposing to water.
When done carefully, the final look is sharp, bubble-free, and durable enough to survive regular handling.
Design Tips That Make Your Graphics Pop
To get the most impact from custom transfer stickers for glass, keep your design simple enough to read from a distance but detailed enough to feel distinctive. High-contrast color pairings, clean lines, and strategic negative space help the graphics stand out against reflective surfaces. If your glass is tinted or frosted, test how the design appears in different lighting before committing to a final print run.
- Use bold typography that remains legible when viewed from across the room.
- Limit gradients and fine halftones, since they can appear softer on smooth glass.
- Consider a slight outline or shadow behind text to improve contrast.
- Align key elements with the edges or curves of the surface for a cohesive look.
Working with your printer’s proofing options and requesting a small test sticker can save time and money, ensuring the colors and placement match your vision.
Best Uses Across Home, Business, and Events
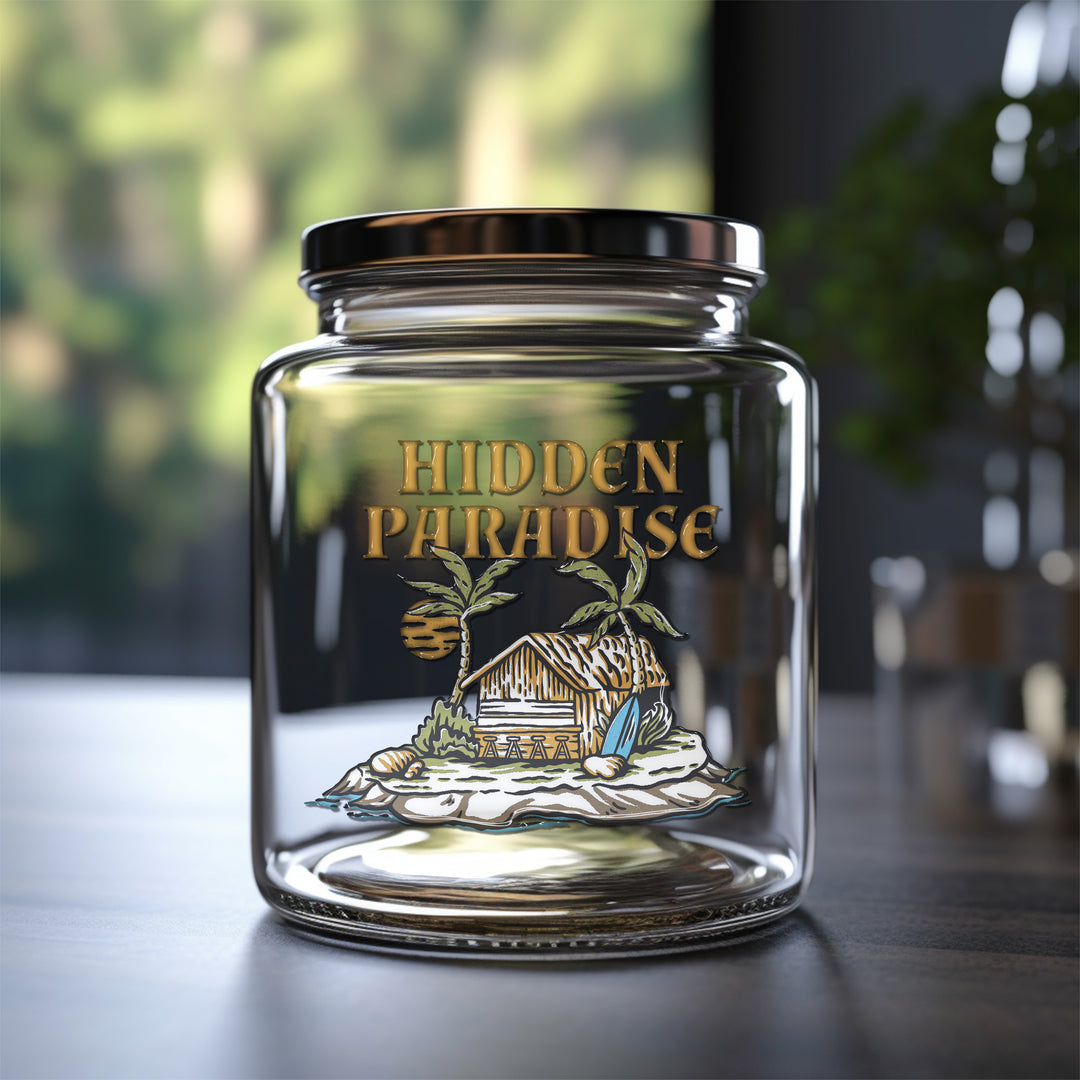
Custom transfer stickers for glass shine in settings where you need a temporary but polished statement. Retailers use them to highlight promotions on storefront windows, while cafés and bars apply them to brand glassware and menu boards. At weddings and festivals, organizers rely on them to create themed signage, table markers, and photo backdrops that peel off cleanly after the event.

Home users also benefit from the versatility of these transfers, using them to label pantry jars, mark glassware for guests, or add decorative motifs to bathroom mirrors. Because they are removable and repositionable, they are a low-commitment way to refresh a space seasonally or for special occasions. With a bit of planning, one well-designed transfer can serve multiple campaigns and settings.
Material Choices and Longevity
Choosing the right material is crucial when ordering custom transfer stickers for glass. Cast vinyl offers a premium, flexible print that conforms to curves and resists shrinking, while calendered vinyl is a budget-friendly option for flatter surfaces. For outdoor applications, UV-resistant inks and laminates help prevent fading and peeling over time.
- Cast vinyl: smooth laydown, great for intricate logos and vehicle windows.
- Calendered vinyl: cost-effective, suitable for short-term indoor campaigns.
- Eco-solvent or latex inks: safer for indoor use and sensitive environments.
- Protective overlaminates: added scratch resistance for high-touch areas.
By matching the material to your environment and duration needs, you can enjoy vibrant graphics that stay intact without leaving sticky residue behind.

Ordering the Right Quantity and Quality
When you order custom transfer stickers for glass, pay attention to detail on every step, from file setup to cut quality. Provide your printer with accurate dimensions, safe margins, and the correct file format to avoid surprises at delivery. Ask about sample packs or test runs if you are launching a new campaign, so you can verify color accuracy and adhesion on your specific glass type.
For first-time buyers, starting with a small batch is a smart way to gauge customer reaction and refine your design based on real feedback. Clear communication with your supplier about deadlines, finishes, and shipping conditions helps you keep projects on schedule and on budget. With the right preparation, each order will look consistent and professional, strengthening your brand every time someone spots your sticker.
In the end, custom transfer stickers for glass offer a flexible, low-risk way to transform plain surfaces into vivid, branded spaces. From quick promotional windows to intricate event graphics, they combine the impact of full-color printing with the convenience of peel-and-stick application. When you plan your design, choose the right materials, and follow best practices for installation, you get a polished result that is as practical as it is eye-catching.
Custom Tumbler Using The New Cricut Joy Xtra
Ad this video is sponsored by Cricut Make this Soft Girl Era tumbler - here is the design I made in this video ...
