Custom Motorcycle Helmet Decals

Custom motorcycle helmet decals let you turn a basic helmet into a rolling piece of art that screams your personality before people notice your jacket or bike. Whether you want subtle branding, wild graphics, or clear reflective identifiers for safety, decals are the easiest way to personalize your ride without permanent changes.
Why Choose Custom Motorcycle Helmet Decals
Factory stickers often clash with your style or fade into a boring sticker soup. With custom motorcycle helmet decals, you control colors, shapes, and placement so your helmet matches your gear and your bike. You can design a minimalist emblem, a vintage pin-up vibe, or a high-contrast graphic that improves visibility on the road.
Beyond looks, quality decals use weather-resistant vinyl that survives rain, UV exposure, and occasional helmet cleaning. They stick firmly but do not leave a messy residue when you eventually remove or replace them. This durability means you get long-term personality without the frustration of peeling edges or yellowed graphics.

Design Ideas and Themes to Stand Out
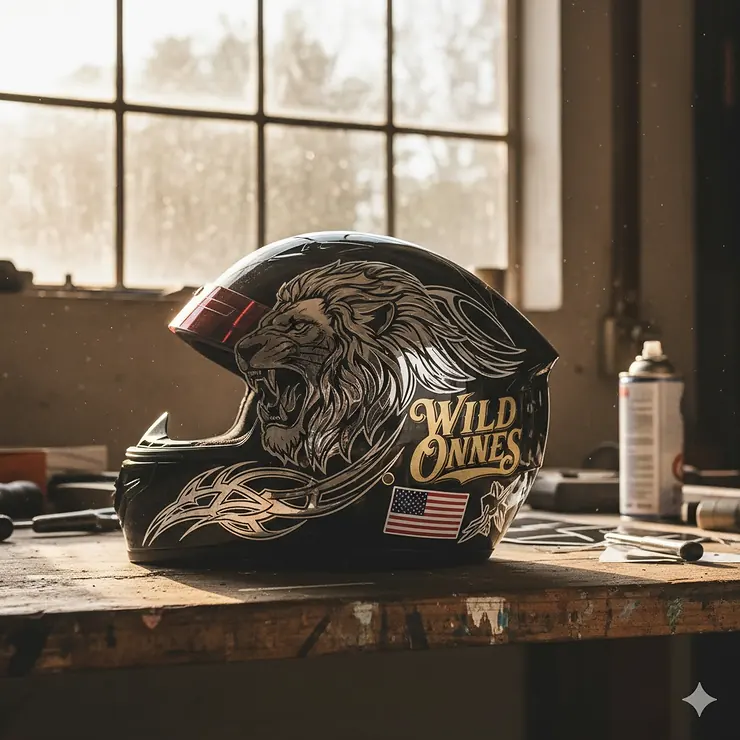
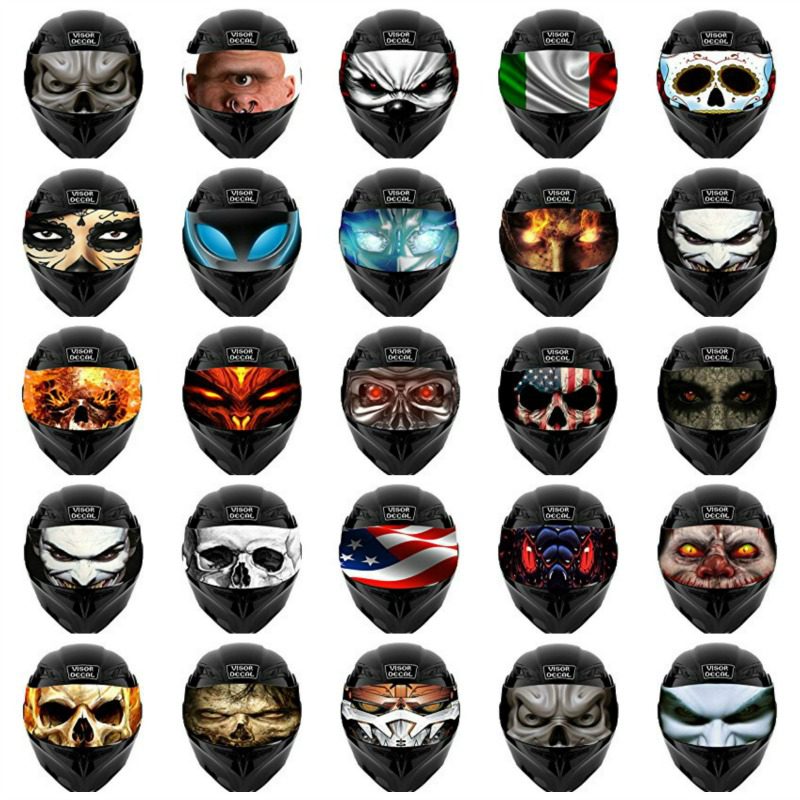
Start by deciding what your helmet should say about you. You might go with a bold skull, a geometric pattern, a tribute to your favorite band, or clean lines that showcase your bike’s logo. The best custom motorcycle helmet decals match at least one element of your riding kit, such as jacket zippers, boots, or tank graphics.
- Retro racer stripes and numbered shields for a classic speed look.
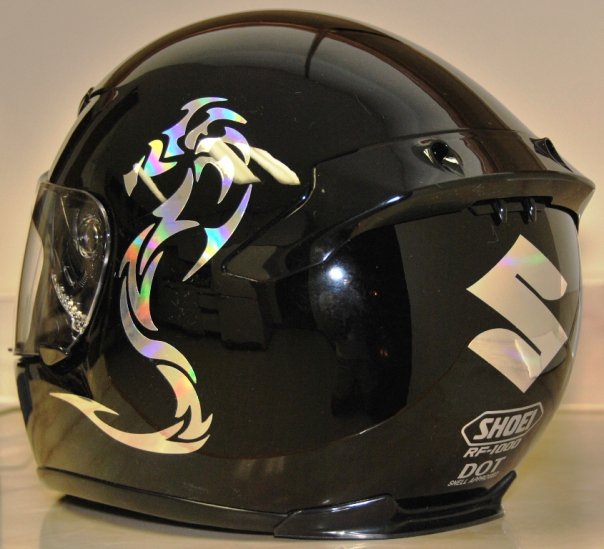
- Abstract color blocks or tribal art for a modern, artistic edge.
- Subtle reflective outlines or small emergency text for safety without sacrificing style.
Keep readability in mind if you add text; thick fonts often survive scratches better than ultra-thin scripts. You can also combine a large central graphic with tiny accent decals around the visor rim for a balanced, professional finish.
How to Measure and Place Decals Correctly
Measure the available flat areas on your helmet, usually the front and rear curved panels, to avoid designs that warp around extreme curves. Record the widest point and the height so you can order or create custom motorcycle helmet decals that fit without stretching. Sketch a template on paper, then tape it to the helmet to visualize how the final look will align with your visor and vents.
Place larger focal decals near the center of the forehead or the back panel, where they are most visible in mirrors and photos. Smaller accents can sit near the temples or along the lower chin bar, but avoid covering vents or critical impact zones. When in doubt, mock up the layout with painter’s tape to test proportions before committing to adhesive.
Application Tips for a Clean, Long-Lasting Finish
Start with a clean, dry helmet surface to ensure strong adhesion. Wipe the area with rubbing alcohol to remove oils and dust, then let it fully dry before peeling the backing from your custom motorcycle helmet decals. Position the decal loosely, align it carefully, then press from the center outward to push out air bubbles and prevent wrinkles.
- Use a soft microfiber cloth or a rubber squeegee for even pressure.
- If the surface is slightly textured, work slowly and use a small amount of diluted soap water to adjust position before the adhesive sets.
- Avoid installing decals in extreme cold, as plastic becomes less flexible and may crack.
After the decal is down, gently press the edges and check for lifted corners. A well-applied decal feels smooth to the touch and should not catch on your glove during fastenings adjustments.
Safety and Legality Considerations
Some regions restrict how much opaque material can cover a helmet’s surface, so check local laws before covering large portions of your lid. You generally want to keep the visor area and key impact zones clear to maintain both visibility and certification compliance. Reflective or light-colored accents can actually boost safety by helping other drivers notice you at night.
When you choose removable custom motorcycle helmet decals over permanent paint or wraps, you stay flexible. You can update graphics as your style evolves, sell a themed helmet more easily, or revert to a plain shell if you switch regulations. Just avoid adding thickness or rigid elements that could affect crash performance.
Caring for Your Personalized Helmet
Extend the life of your custom motorcycle helmet decals by rinsing mud and dust with lukewarm water instead of harsh scrubbing. Use mild soap if needed, but skip abrasive pads or strong solvents that can lift edges or fade colors over time. After rides in salty air or chemically treated roads, a quick wipe prevents buildup that weakens adhesion.
Store your helmet on a stand or in a bag to avoid accidental scuffs against walls or gear. If an edge starts to lift, gently press it back down and consider a small dot of recommended adhesive at the corner. With basic care, your personality-packed graphics can ride with you for years.
Conclusion
Custom motorcycle helmet decals are one of the fastest, most flexible ways to express your identity while riding. They let you experiment with colors, themes, and safety details without permanent changes, and they hold up well to weather and cleaning when applied thoughtfully. By measuring carefully, choosing complementary designs, and following basic application and care steps, you can turn your helmet into a signature piece that turns heads on every ride.
AGV PISTA YAMAHA R1 CUSTOMPAINT AND WATER SLIDE DECAL | how to replace decal on helmet ☠️☠️
agv pista 60th anniversary custompaint and waterslide decal , how to making agv pista custompaint , shoei helmet custompaint, ...
