Custom Die-cut Wall Decals
Custom die-cut wall decals are an instant way to transform a room with vibrant graphics, precise shapes, and a truly personalized look.
What Are Custom Die-Cut Wall Decals
Custom die-cut wall decals are adhesive graphics cut to a specific outline, so the design appears to float directly on your wall without a rectangular background. Unlike standard wall stickers, die-cut versions follow the exact silhouette of your chosen image, which creates a cleaner, more integrated finish. This technique is popular for feature walls, accent corners, murals, or branded installations in both residential and commercial spaces.
Because each piece is produced from a digital file, you can reproduce intricate logos, illustrations, or typography with sharp edges and consistent color. The cut material also allows the underlying wall color to show through selected areas, adding depth and a subtle layered effect. For designers and homeowners who want a tailored statement without the commitment of paint or wallpaper, custom die-cut wall decals offer a flexible, low-risk solution that feels bespoke yet remains removable.
Design and File Preparation Tips
Strong design preparation is essential for high-quality custom die-cut wall decals, starting with a clear vector file that defines the exact cut lines. Vector formats such as SVG or AI preserve sharp edges at any size, which is crucial for detailed logos, lettering, or complex illustrations. If your artwork includes gradients or photographic elements, those colors will be printed on the vinyl face, while the silhouette is cut according to the vector outline, so precise path alignment matters.
When preparing files, consider these best practices to streamline production and ensure great results:
- Provide separate layers for print and cut, clearly labeling the cut path if your software allows.
- Use solid, well-contrasted colors for key design elements to ensure visibility from a distance.
- Test the composition with a small mockup so you can adjust scale and placement before full production.
Material Choices and Durability
The material you choose for custom die-cut wall decals largely determines how the piece looks, feels, and lasts. Glossy vinyl delivers vibrant color depth and a reflective surface that makes graphics pop, while matte vinyl offers a sophisticated, low-sheen look that avoids reflections in well-lit rooms. For high-traffic areas or spaces with direct sunlight, premium cast vinyl is more flexible, resistant to curling, and generally more durable than calendered options.
Consider these points when evaluating materials:
- Indoor-grade vinyl is ideal for living rooms, bedrooms, and offices, while outdoor-specific materials include stronger adhesives and UV inhibitors.
- Thicker vinyl tends to resist minor abrasion during installation and cleaning, though it may require a slightly stronger adhesive for smooth walls.
- Removable adhesives allow you to reposition or remove the decal without damaging paint, while permanent options create a more secure bond for long-term displays.
Installation and Surface Preparation
Proper installation is what turns a great design into a flawless finish, so starting with a clean, smooth wall is essential for premium custom die-cut wall decals. Dust, dirt, or texture can prevent the adhesive from bonding evenly, leading to bubbles or peeling over time. Use a mild cleaner to remove residues, and if necessary, lightly sand glossy surfaces to improve grip without compromising the wall beneath.
To install like a pro, follow these general steps for a smooth, bubble-free result:
- Measure and align the decal using a level or masking tape as a guide, especially for large or multi-part designs.
- Peel a small section of backing and press it onto the wall from the center outward, using a scraper or credit card to push out air.
- Work section by section, smoothing as you go, and re-position gently if needed before the adhesive fully sets.
Creative Applications and Inspiration
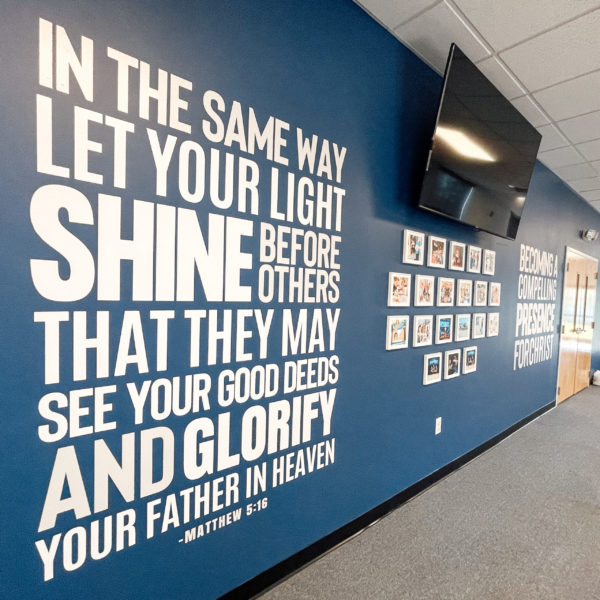
Custom die-cut wall decals open up a world of creative possibilities beyond simple wall art, especially when you treat them as architectural detailing or thematic wayfinding. In retail and hospitality, they can reinforce brand identity by wrapping key features like columns, entryways, or seating areas with a continuous motif. At home, you might use them to define a reading nook, frame a mirror, or add subtle texture to a feature wall without the permanence of paint.
Explore these ideas to spark your own vision:
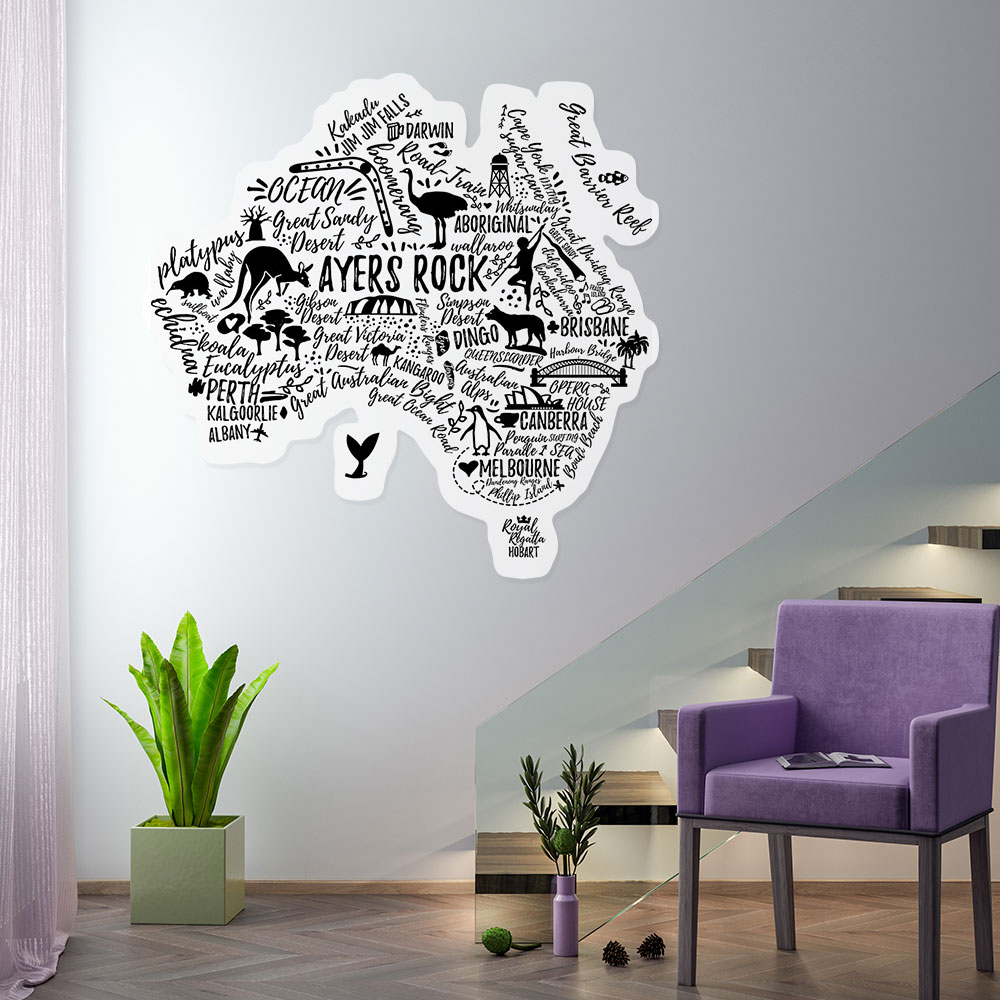
- Geographic maps with cut-out city names that align with travel photos.
- Abstract line art that interacts with shadows, creating dynamic patterns in different lighting.
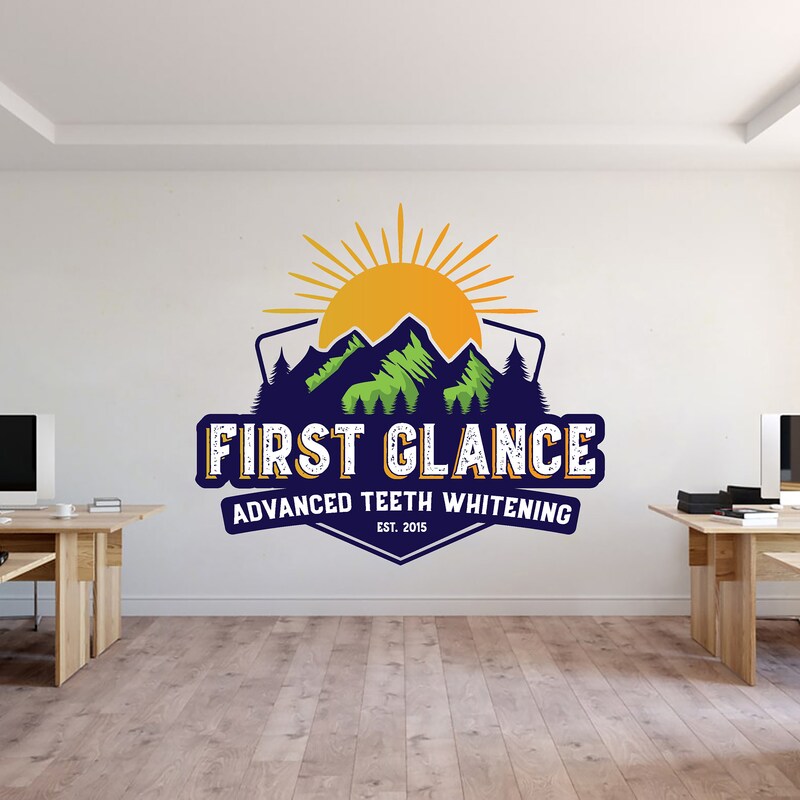
- Brand-centric installations in cafes or studios, where the decal doubles as a signature element.
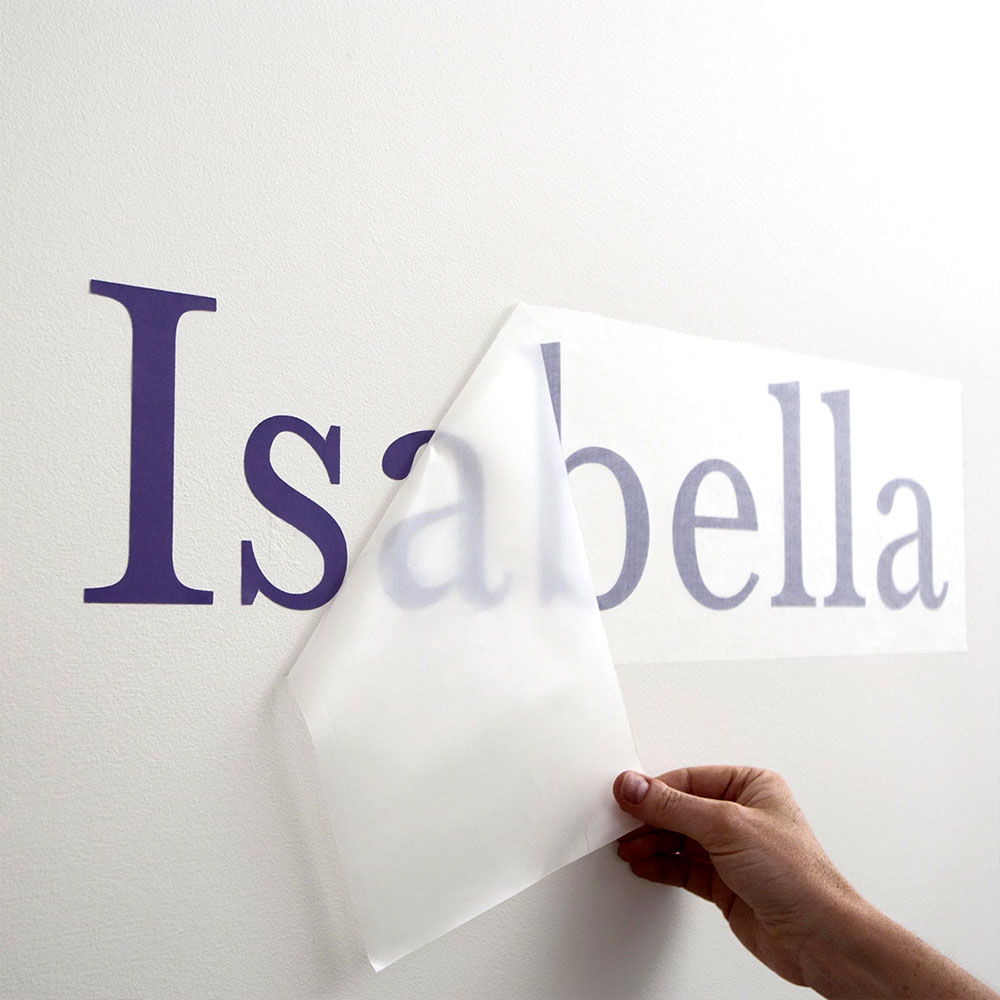
- Layered designs where a larger silhouette is broken into smaller pieces, allowing each piece to be placed manually for a custom composition.
Care, Maintenance, and Longevity
With proper care, custom die-cut wall decals can maintain their vivid appearance for many years, especially when installed on interior walls that are not subject to heavy moisture or abrasion. Dust the surface regularly with a soft, dry cloth, and for deeper cleaning, use a slightly damp microfiber cloth with mild soap, avoiding harsh chemicals that might degrade the adhesive or printed inks. If you notice edges lifting over time, a gentle press with a roller or your fingertips often restores the bond without needing to replace the entire piece.

Consider these tips to extend the life and appearance of your decals:
- Avoid high-traffic zones where they might be knocked by furniture or doors.
- In spaces with high humidity, such as bathrooms, choose materials and adhesives specifically rated for moisture resistance.
- If you plan to remove and reapply the decal, do so slowly and keep the backing on until you are ready to reposition, to reduce the risk of tearing.
Conclusion
Custom die-cut wall decals combine precise cutting, vivid printing, and flexible materials to create striking wall graphics that feel tailored to your space without the permanence of traditional finishes. From careful design preparation and material selection to thoughtful installation and ongoing maintenance, each step contributes to a result that looks professional and stays removable when you want it to. Whether you are refreshing a single accent wall or building a branded environment across multiple surfaces, die-cut decals give you the freedom to make a bold, personal statement that can evolve as your style or brand does.
Applying Die Cut Wall Decals to Canvas (Part 1)
This video will show you how we applied some of our wall decals to painted canvas boards that we picked up at a local craft store.
