Custom Decal For Laptop
A custom decal for laptop is one of the simplest ways to make your everyday carry truly yours, turning a common device into a personal statement without risking damage to the finish.
What a Custom Decal for Laptop Really Is
A custom decal for laptop is a thin, printed graphic designed to stick to the surface of your laptop, usually on the lid, bezel, deck, or palm rest. Unlike stickers meant for temporary use, these decals are often produced with higher-grade materials so they stay vibrant and adhere cleanly over time. You can choose from cut vinyl, printed films with clear overlays, or even removable adhesives, depending on how long you want the look to last and how easily you want to change it later.
Because the design is printed to order, a custom decal can showcase your name, brand logo, artwork, photography, or abstract patterns that match your personal aesthetic. The process usually starts with a digital file, which is then cut or printed onto material that resists fading, moisture, and mild abrasion. When installed carefully, a well-made decal lies almost flat against the surface, avoiding the texture and bulk of traditional stickers while still delivering strong visual impact.

Why Choose a Custom Decal Instead of a Sticker
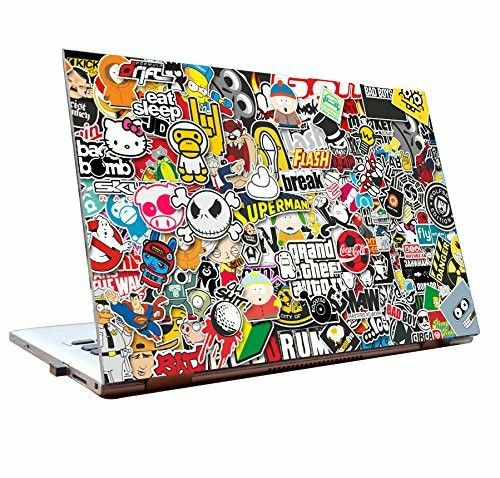
Many people wonder how a custom decal for laptop differs from a regular sticker, and the answer comes down to quality, durability, and design flexibility. Stickers you buy off the shelf are often printed on standard vinyl with simple borders, while a custom decal can be produced with detailed gradients, micro-text, and intricate shapes that look more like a refined graphic than a label. Advanced printing and cutting techniques mean the edges can be contour-cut, so you get a seamless look that wraps smoothly around curves without the classic sticker bump or white border.
Another advantage is how cleanly a high-quality custom decal can be removed, especially when you use premium adhesives designed to leave minimal residue. With a regular sticker, peeling it off might leave behind stubborn glue or even tear the laptop finish, but purpose-made decals are engineered to balance strong initial hold with gentle removal. This makes them ideal if you like to refresh your look regularly, since you can swap styles, colors, and themes without worrying about damaging the underlying surface.
- Higher-resolution prints that stay sharp even up close
- Contour cutting that follows the shape of your lid precisely
- Easier, cleaner removal compared to low-grade stickers
- Resistance to fading, light rain, and daily handling
Design Ideas to Make Your Custom Decal Stand Out
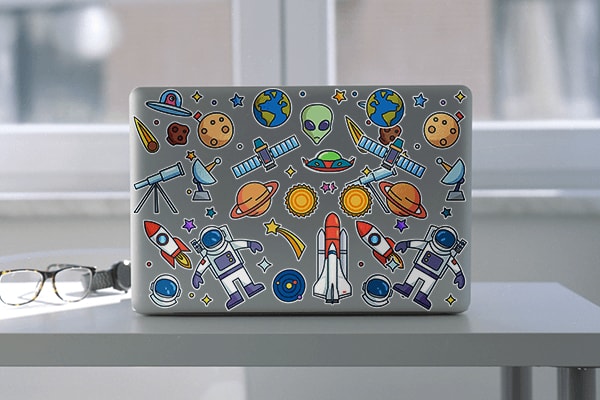
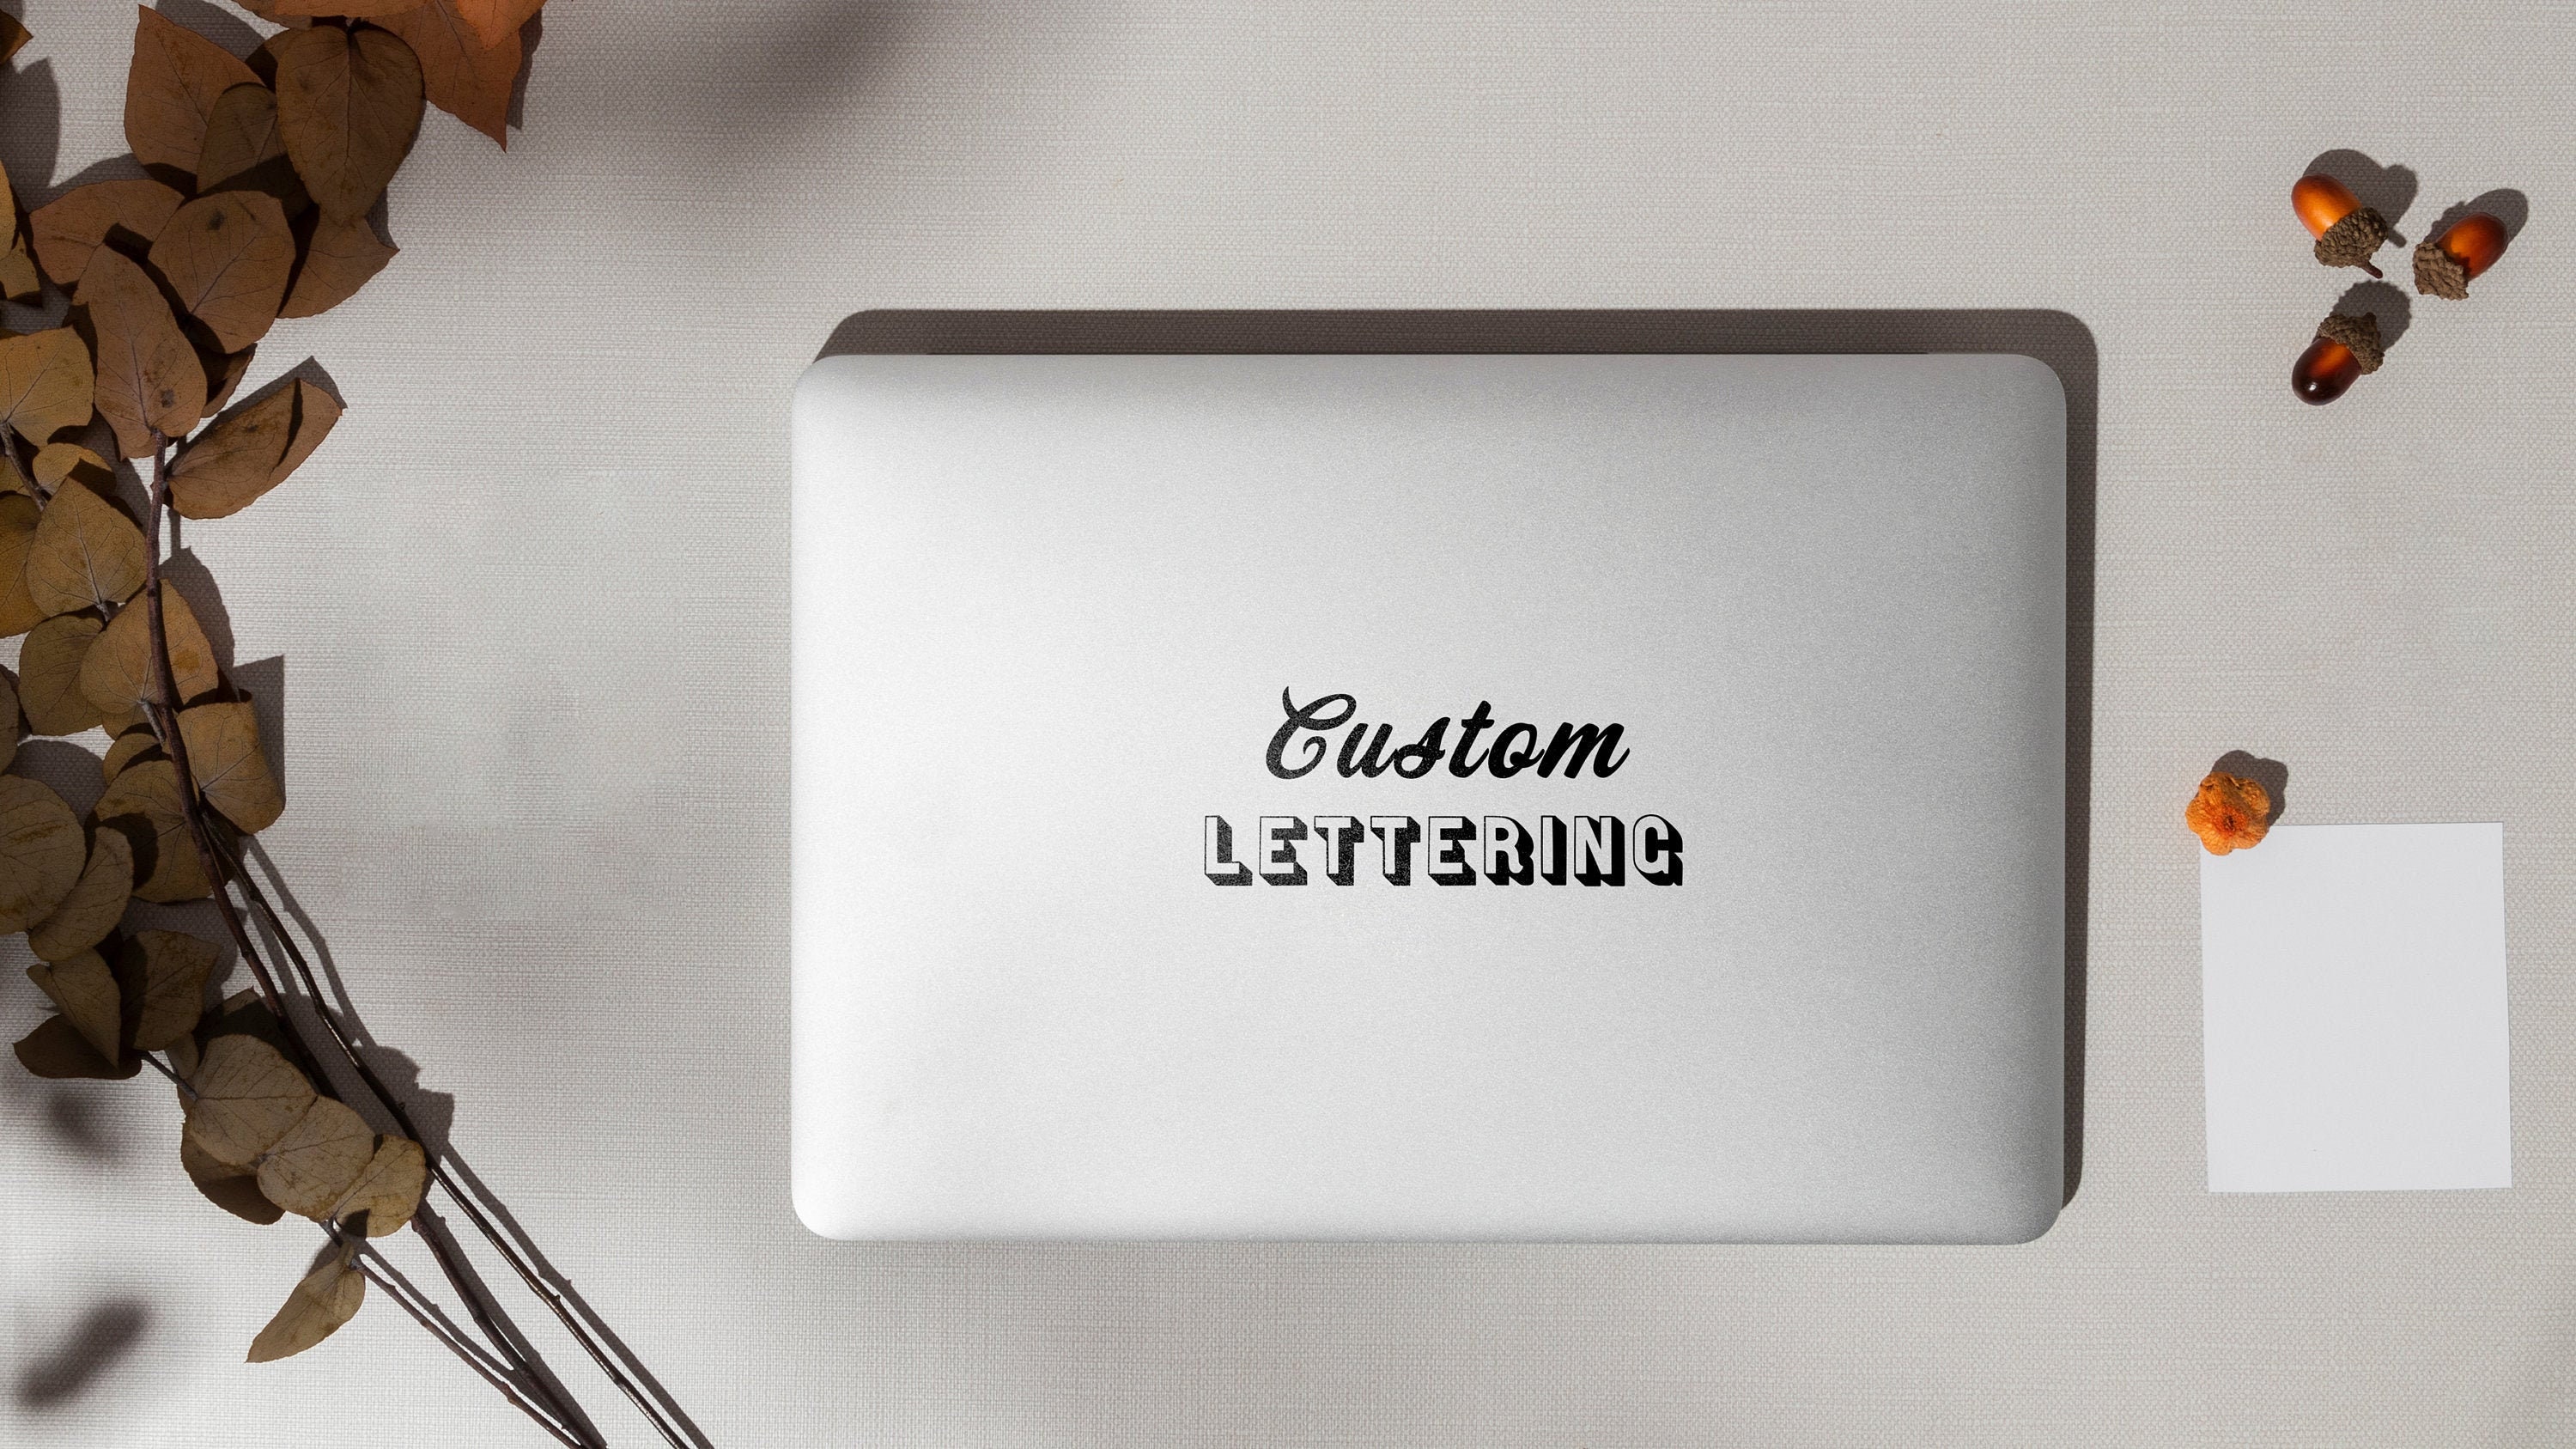
When you design a custom decal for laptop, you have almost limitless options, from bold logos and minimalist line art to detailed illustrations and typography-based concepts. If you want a professional vibe, consider using your company logo, a sleek monogram, or a subtle pattern that aligns with your personal brand. For a more expressive approach, try abstract shapes, geometric panels, or stylized scenes that reflect your hobbies, such as music, travel, gaming, or nature photography.
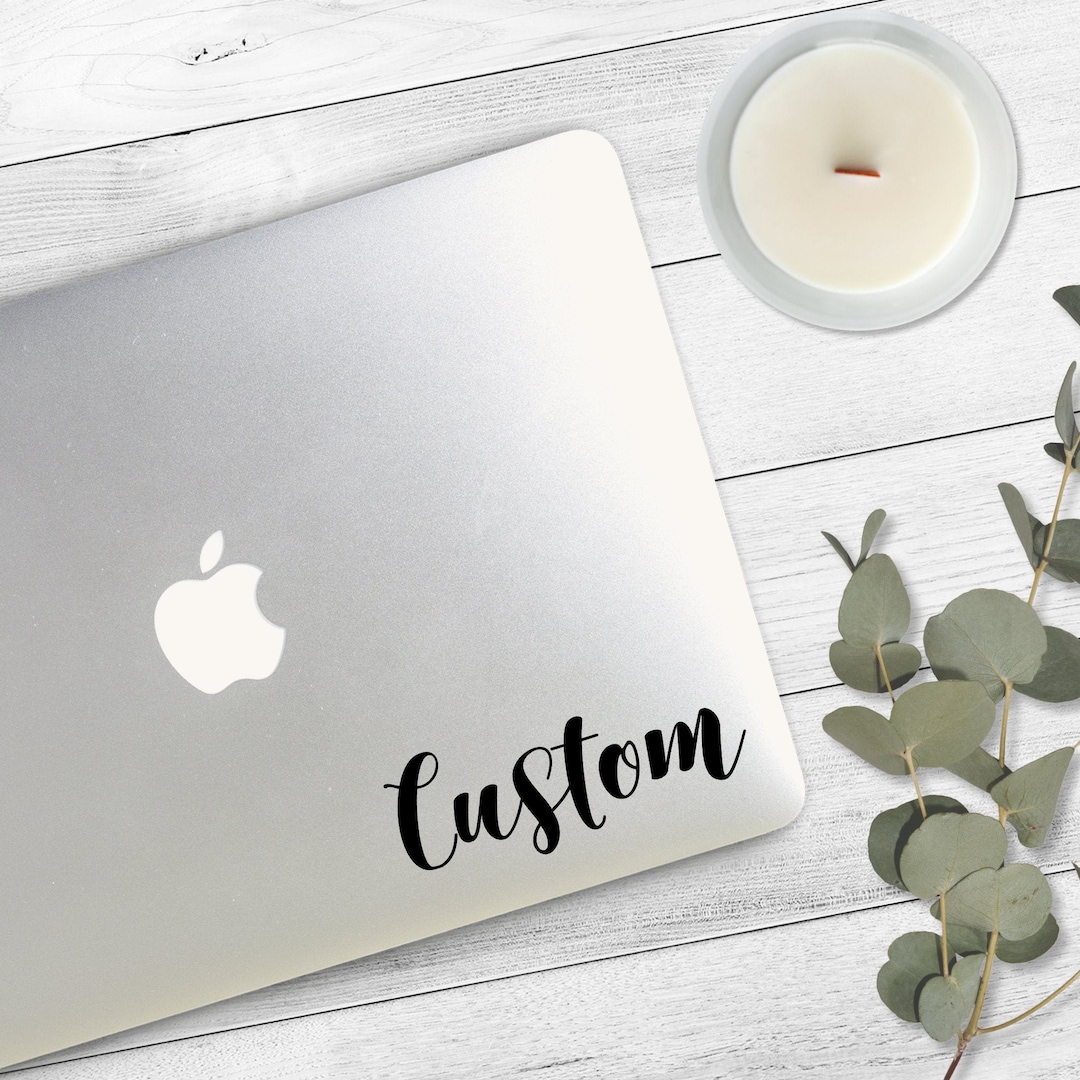
Color choices play a big role in how your decal will be perceived, so think about contrast, mood, and how the graphic will look against your laptop color. A dark, matte decal can create a sophisticated, understated look on a silver or gray notebook, while a bright, glossy custom decal can add energy to a black or white device. You can also experiment with negative space, layered elements, and fine details that only become clear when you step in close, turning your laptop into a moving canvas of personal creativity.
Measuring and Placing Your Decal Correctly
Before applying a custom decal for laptop, accurate measurements are essential so the graphic aligns perfectly with the lid edges, camera cutout, and any logos already printed on the device. Use a soft measuring tape or a ruler to record the width and height of the area you plan to cover, and sketch a quick layout on paper or in a design tool. This helps you avoid surprises like the decal overlapping the hinge or sitting awkwardly beside the webcam, which can interfere with functionality and comfort during use.
When it is time to place the decal, start by cleaning the surface with a mild cleaner and drying it thoroughly to remove dust, oils, and fingerprints. Many installers recommend positioning the decal loosely at first, using a few low-adhesive masking tape pieces as guides, so you can adjust the angle and centering before committing. Once you are satisfied with the placement, press from the center outward to push out air bubbles, then run a soft cloth or plastic scraper gently across the surface to ensure a smooth, flat bond that lasts.
Caring for and Removing Your Custom Decal
After installing a custom decal for laptop, you will want to keep it looking fresh, and that is easier than you might think. Most quality decals can be cleaned with a soft, damp cloth and mild soap, avoiding harsh solvents or abrasive pads that might lift the edges or dull the ink. If your design includes textured finishes, such as gloss, matte, or soft-touch laminates, simply wipe in the direction of the grain to preserve the intended tactile effect and prevent micro-scratches.
When you decide it is time for a change, removing the decal the right way helps protect your laptop finish and keeps the process stress-free. Slowly peel the decal back at a shallow angle, using a hairdryer on a low, warm setting if the adhesive feels stiff, which can soften the bond without damaging the surface. Any leftover residue can usually be lifted with a bit of isopropyl alcohol on a cloth, followed by a gentle wipe, leaving the original surface clean and ready for your next custom decal.
Choosing a Reliable Provider and Material
Not every vendor offers the same level of precision, so choosing the right provider for your custom decal for laptop can make the difference between a crisp, lasting graphic and a disappointing peel. Look for makers who explain their materials clearly, such as whether they use cast vinyl, calendared vinyl, or specialty films with UV-resistant inks. They should also give guidance on recommended surfaces, installation steps, and expected longevity, so you know exactly what to expect once the package arrives.
Reading reviews, checking sample galleries, and verifying customer support responsiveness are smart ways to gauge reliability before you commit. A trustworthy provider will ask about your intended use, laptop model, and preferred removal characteristics, then suggest the best combination of material and adhesive for your needs. By investing in thoughtful design, careful measurement, and quality materials, your custom decal can become a signature detail that turns heads every time you open your laptop.
Custom Vinyl Laptop Skin - Racing Red & Matte Black Hexagons (Made With Silhouette Cameo 3)
In this video I'll show you how I made this custom laptop skin using @VViViDVINYLS automotive vinyl wrap, Oracal 651 craft vinyl, ...
