Custom Cycle Decals

Custom cycle decals let you turn your bike into a personal rolling canvas without the commitment of a full paint job.
What Are Custom Cycle Decals and Why They Matter
Custom cycle decals are precision-cut vinyl graphics designed specifically for bicycle frames, forks, and components. Unlike generic stickers, they are tailored to your geometry, color scheme, and style preferences, giving your ride a cohesive, professional look. They matter because they let you express individuality, protect paint with a removable layer, and create a signature aesthetic that stands out on city streets or mountain trails.
These decals have evolved from simple club crests to intricate designs, patterns, and brand signatures that can be repositioned and removed cleanly. For cyclists who want a custom look without a full wrap or paint work, they offer the best balance of impact and practicality. Whether you ride a road bike, mountain bike, or urban commuter, there is a style of decal suited to your discipline and personality.

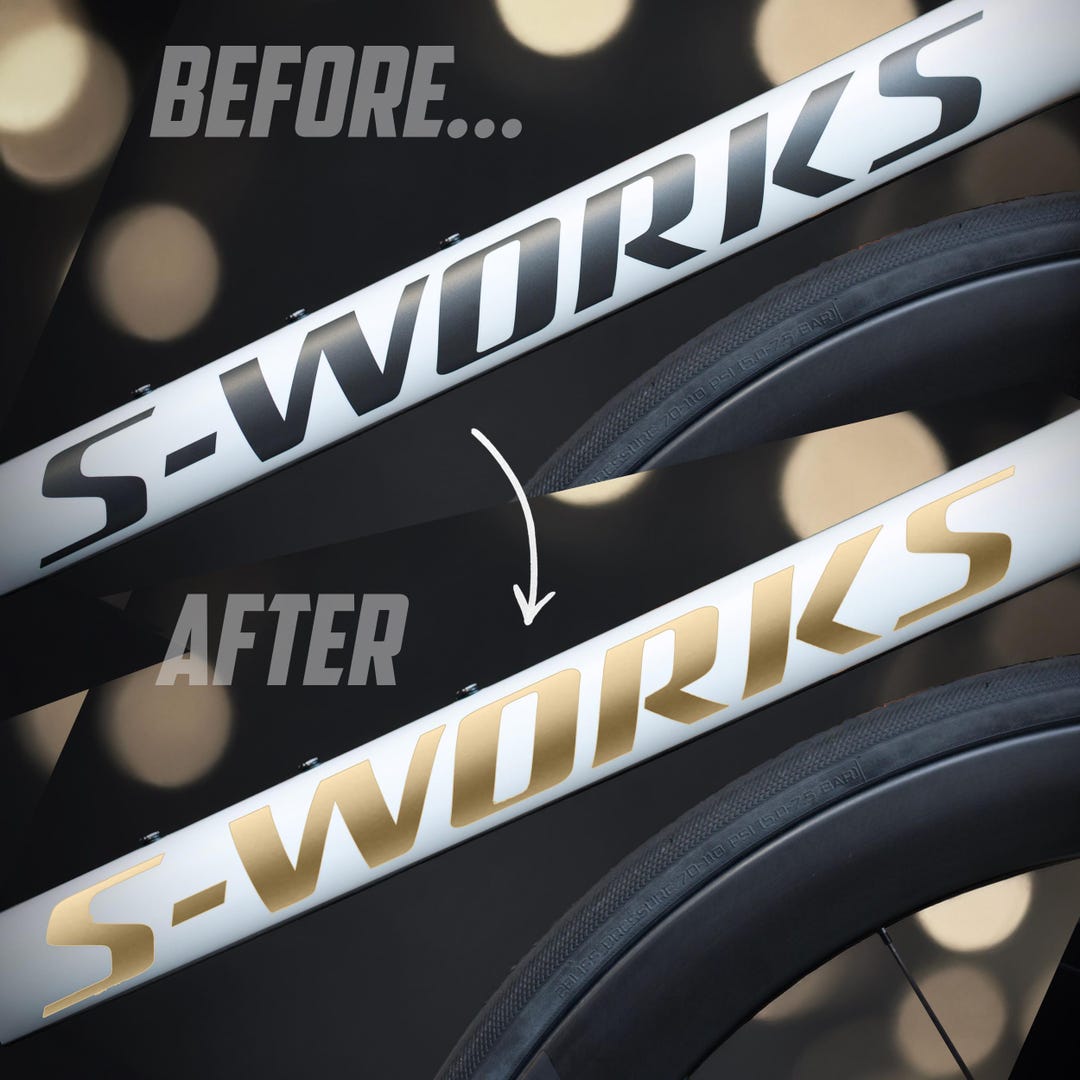
Designing Your Own Custom Cycle Decals
Designing your own custom cycle decals starts with understanding your bike’s color palette and your personal taste. You can choose minimalist line art for a refined frame, bold tribal patterns for aggressive mountain rides, or retro script lettering for a classic look. The key is to keep contrast in mind so the graphics remain legible whether under direct sun or in shadowed corners.
Consider these design elements when planning your scheme:
- Frame color and dominant tones
- Brand logo or personal monogram placement
- Flow lines that follow the direction of the tubes
- Negative space to avoid overcrowding
Material Choices and Durability
The performance of custom cycle decals depends heavily on the materials used. High-quality vinyl with strong adhesive backing resists UV fading, road grime, and light abrasion from chain slap or pedal strikes. For riders who face wet conditions, a laminated or cast vinyl finish provides extra protection against water, sweat, and cleaning chemicals.

When evaluating options, look for:
- Outdoor-grade adhesive that stays bonded through temperature swings
- Flexible vinyl that moves with the frame during hard impacts
- Anti-graffiti and easy-clean top coatings
Application Tips for a Clean, Professional Finish
Applying custom cycle decals correctly is just as important as choosing the right design. Start by thoroughly cleaning and drying the frame to remove dust, oils, and old residue. Some cyclists lightly wipe the surface with isopropyl alcohol to ensure maximum adhesion. Work in a shaded area and, if possible, warm the decal backing slightly to make the vinyl more pliable.
Follow these steps for a smooth install:
- Position the decal loosely, then align it precisely before pressing down
- Use a soft squeegee or credit card to push out air bubbles from center to edges
- Apply firm, even pressure along edges and corners
- Cure the adhesive for at least 24 hours before riding in wet or dusty conditions
Where to Use Decals on Your Bike
Custom cycle decals can transform multiple surfaces, not just the main triangle. On the downtube and top tube, large graphics serve as the focal point and communicate your style at a glance. The seat tube offers a vertical canvas for logos or signature art, while the chainstay can host smaller motifs that peek out only when you pedal hard.
For a subtle effect, consider placing decals on the fork crown, dropout, or inside of the rim where they are revealed only in certain lighting or camera angles. Avoid overly intricate designs on moving components or areas prone to direct chain contact, and always test adhesion after a few rides to ensure nothing interferes with shifting or braking performance.
Maintaining and Removing Cycle Decals
Maintaining custom cycle decals is straightforward with regular, gentle cleaning. Use a soft sponge, mild soap, and water, then dry thoroughly to prevent water from seeping underneath the edges. Avoid harsh solvents or abrasive pads that can lift edges or dull the vinyl finish over time.

When you want a change, most quality decals remove cleanly if you take your time. Warm the surface with a hairdryer on a low setting to soften the adhesive, then peel slowly at a low angle to reduce residue. Any leftover adhesive can be treated with a little rubbing alcohol or a dedicated adhesive remover. With proper care, you can refresh your bike’s look as often as you like while keeping the frame in excellent condition.
Custom cycle decals are a flexible, stylish way to personalize your ride, protect its paint, and showcase your identity on two wheels.
How to Apply Decals / Stickers on to your Bike
Please Subscribe and Follow Me on Get your decals made here! https://www.decal-spec.com/ GRUN BIKE REVIEW: ...
