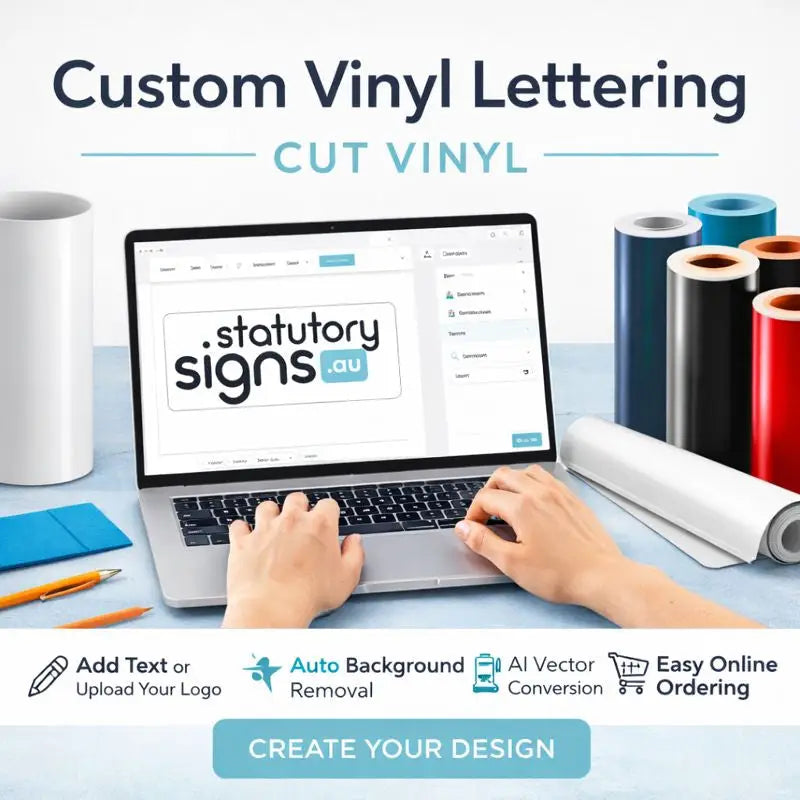
Custom Cut Vinyl

Custom cut vinyl lets you transform a simple roll of adhesive material into precise shapes that match your exact design, whether you are creating bold signage, detailed decals, or intricate craft projects.
What is custom cut vinyl and how does it work
Custom cut vinyl is a type of adhesive-backed film that is cut with a precision blade to follow a specific outline or vector path, giving you clean edges and professional results without needing advanced artistic skills. Unlike generic sticker sheets, this material is produced to your chosen dimensions, shapes, and colors, so every piece aligns perfectly with your branding or creative vision. The backing is typically a strong yet removable or permanent adhesive, allowing the vinyl to stick firmly to glass, metal, plastic, painted walls, and many other surfaces while resisting moisture and fading.
To create custom cut vinyl, designers prepare a digital file, often in vector format, which is imported into cutting software that guides a plotter knife across the vinyl sheet. The machine follows the paths you define, slicing through the top layer and liner while leaving the backing intact, which makes it easy to weed away the excess material and leave only your intended design. Because the entire process is controlled by software, you can reproduce complex logos, lettering, or patterns with consistent quality every time, making this method ideal for both one-off projects and large batch production.

Key benefits of choosing custom cut vinyl
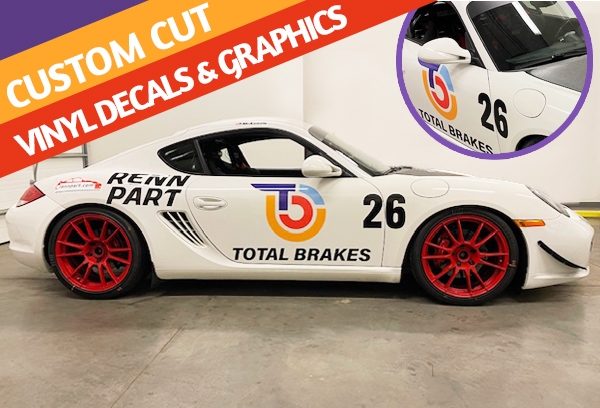
One of the biggest advantages of custom cut vinyl is how it combines durability with flexibility, allowing you to apply graphics to curved surfaces, uneven walls, or irregular objects while maintaining a smooth, bubble-free finish. The vinyl resists weather, UV light, and minor abrasions, so outdoor signs, vehicle graphics, and storefront displays stay vibrant for years without cracking, peeling, or fading. This durability also extends to indoor applications, where your artwork remains intact through events, seasonal changes, or daily wear in retail, office, or home environments.
Another major benefit is cost efficiency, especially when you need multiple identical pieces, because a single design can be cut repeatedly from rolls or sheets with minimal waste. You can choose from matte, glossy, or textured finishes, as well as a wide color palette, to match your brand identity or personal style without paying for full-color printing when simple shapes and solid tones suffice. The combination of precise cutting, strong adhesive, and affordable pricing makes custom cut vinyl a practical solution for startups, established businesses, and hobbyists alike.
Common applications and creative uses
Custom cut vinyl is widely used for signage and wayfinding, including storefront lettering, informational plaques, and directional arrows that guide visitors through events, offices, or public spaces. Small businesses often rely on window decals, door wraps, and counter graphics to communicate promotions, hours, or brand messages, all while maintaining a polished, cohesive look. Because the material is easy to install and remove, it is also popular for seasonal displays, trade show booths, and temporary marketing campaigns that need to be changed frequently.
Beyond commercial signage, many crafters and makers use custom cut vinyl to add personalized touches to notebooks, luggage, phone cases, and home décor items, turning everyday objects into standout accessories. You can design intricate patterns, monograms, or themed shapes for parties, weddings, or holidays, applying each piece by hand to achieve a professional look without specialized equipment. The versatility of this material also extends to masking and stenciling, where precise cutouts help you paint, spray, or etch consistent designs across multiple surfaces.
Design tips for getting the best results
To get the most out of custom cut vinyl, simplify your design by reducing fine details that might be difficult to weed or align, and focus on bold shapes and clear text that will read well from a distance. Keep key elements like lettering and logos as separate layers or paths when preparing your file so you can adjust registration marks, control cutting depth, and test fits before committing to the final material. It is also helpful to plan your layout on the sheet in the software, minimizing gaps between parts so you use the vinyl efficiently and keep costs down.
When choosing finishes, consider the environment where the vinyl will be displayed, since glossy cuts can look striking indoors but may cause glare outdoors, while matte finishes reduce reflections and hide minor surface imperfections. Take time to clean the surface thoroughly before application, use a squeegee to press out air bubbles, and work slowly to avoid misalignment, especially on larger projects. With thoughtful design and careful installation, your custom cut vinyl will look sharp, last longer, and maintain a professional appearance in almost any setting.

Choosing materials, adhesives, and tools
Selecting the right vinyl thickness, adhesive type, and liner backing is essential for matching your project requirements, whether you need a temporary sticker for an upcoming event or a permanent installation that will withstand harsh weather. Standard caliper vinyl works well for short-term indoor use, while thicker gauge options provide extra stability for outdoor signs, vehicle wraps, and high-traffic applications. Your choice of adhesive—removable, high-tack, or specialty formulas for difficult surfaces—will determine how easily the piece can be removed and how securely it holds up against wind, rain, and temperature fluctuations.
Having the right tools on hand makes the installation process smoother and helps you avoid wrinkles, dust traps, and misaligned edges. A good squeegee, a soft scraper, a craft knife, and measuring tools allow you to trim excess material cleanly and press the vinyl firmly onto the surface. For complex shapes or detailed projects, using a cutting mat, registration marks, and a light table or cutting machine with a precision blade can dramatically improve accuracy and save you time on repetitive tasks.
Planning quantity, pricing, and production time
When you order custom cut vinyl, it is helpful to clarify your quantity, dimensions, and finishing options up front so the provider can give you an accurate price breakdown and confirm lead times for your deadlines. Bulk orders often come with discounts per piece, which makes this solution even more attractive for campaigns that require hundreds of identical stickers or signage elements across multiple locations. Understanding the production schedule also helps you coordinate design approvals, material delivery, and installation planning, reducing the risk of last-minute surprises.
Clear communication about file formats, color specifications, and any special instructions ensures that your custom cut vinyl turns out exactly as you envision, with consistent cuts, accurate registration, and the desired visual impact. By combining thoughtful design, quality materials, and reliable production partners, you can make the most of custom cut vinyl as a versatile, long-lasting, and visually striking solution for both business and creative projects.
Making a Decal with the Cricut Maker 3 Smart Cutting Machine – Tech Tips from Best Buy
Let's make a decal using the Cricut Maker 3 smart cutting machine. Subscribe for more from Best Buy: ...
