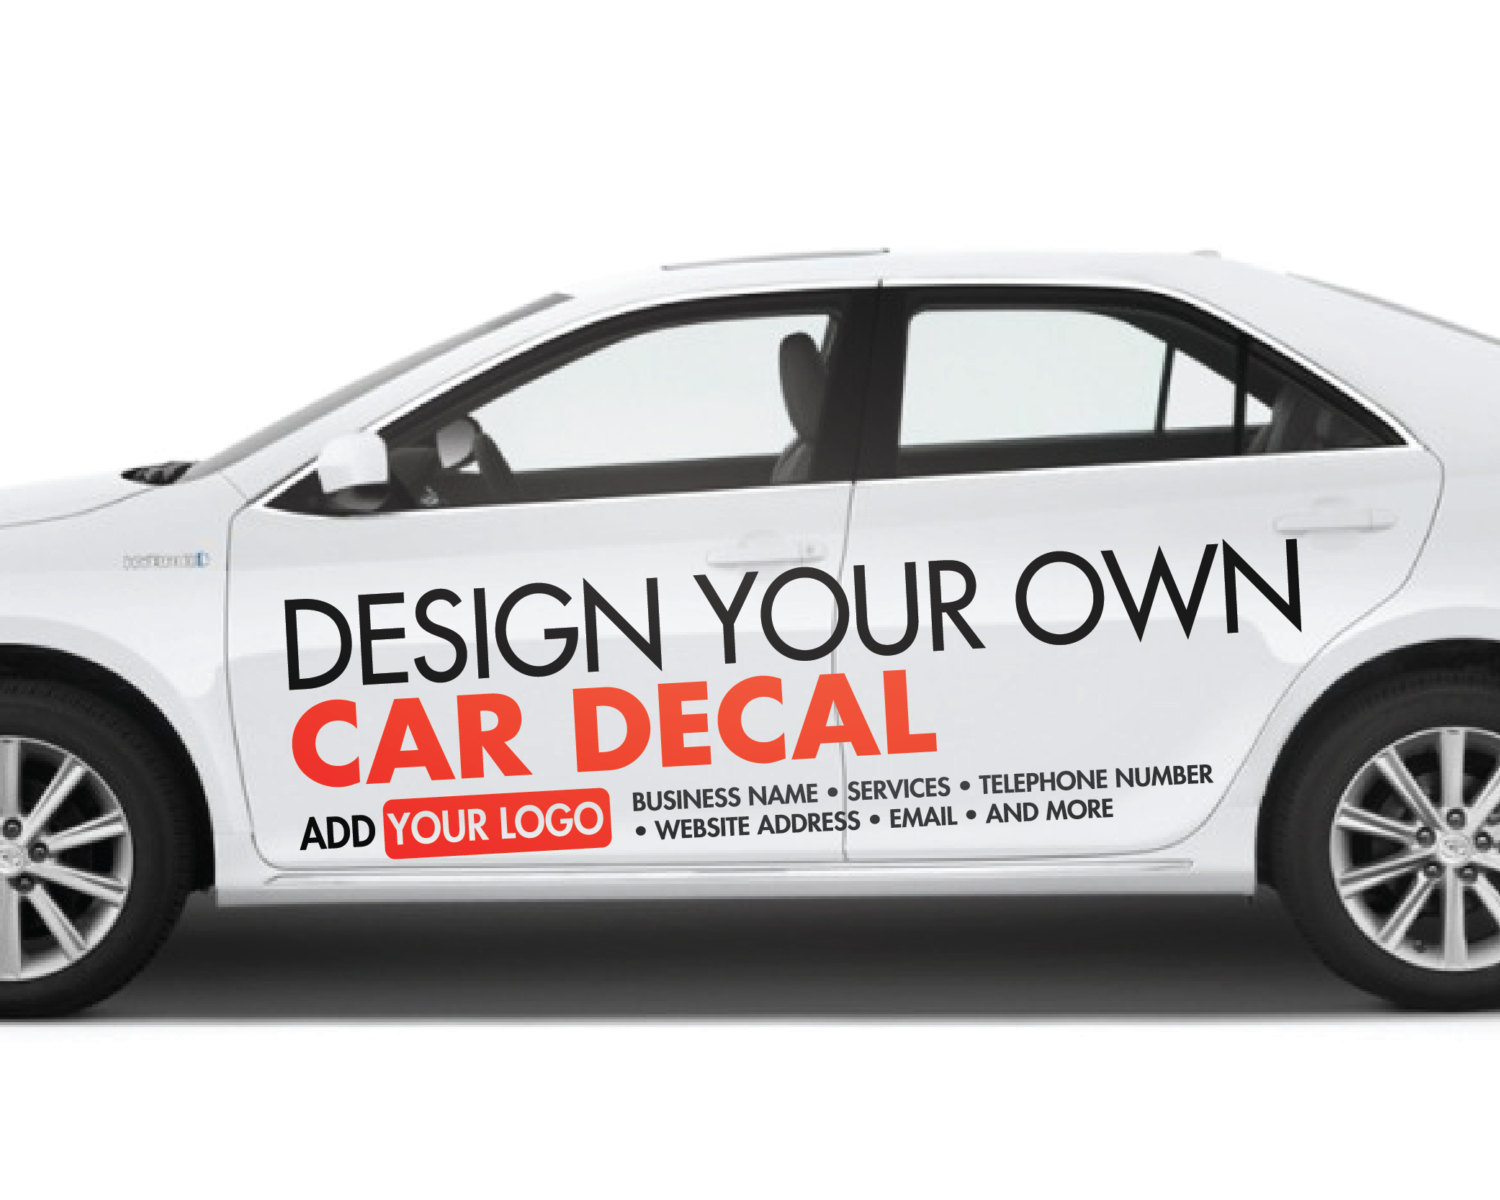
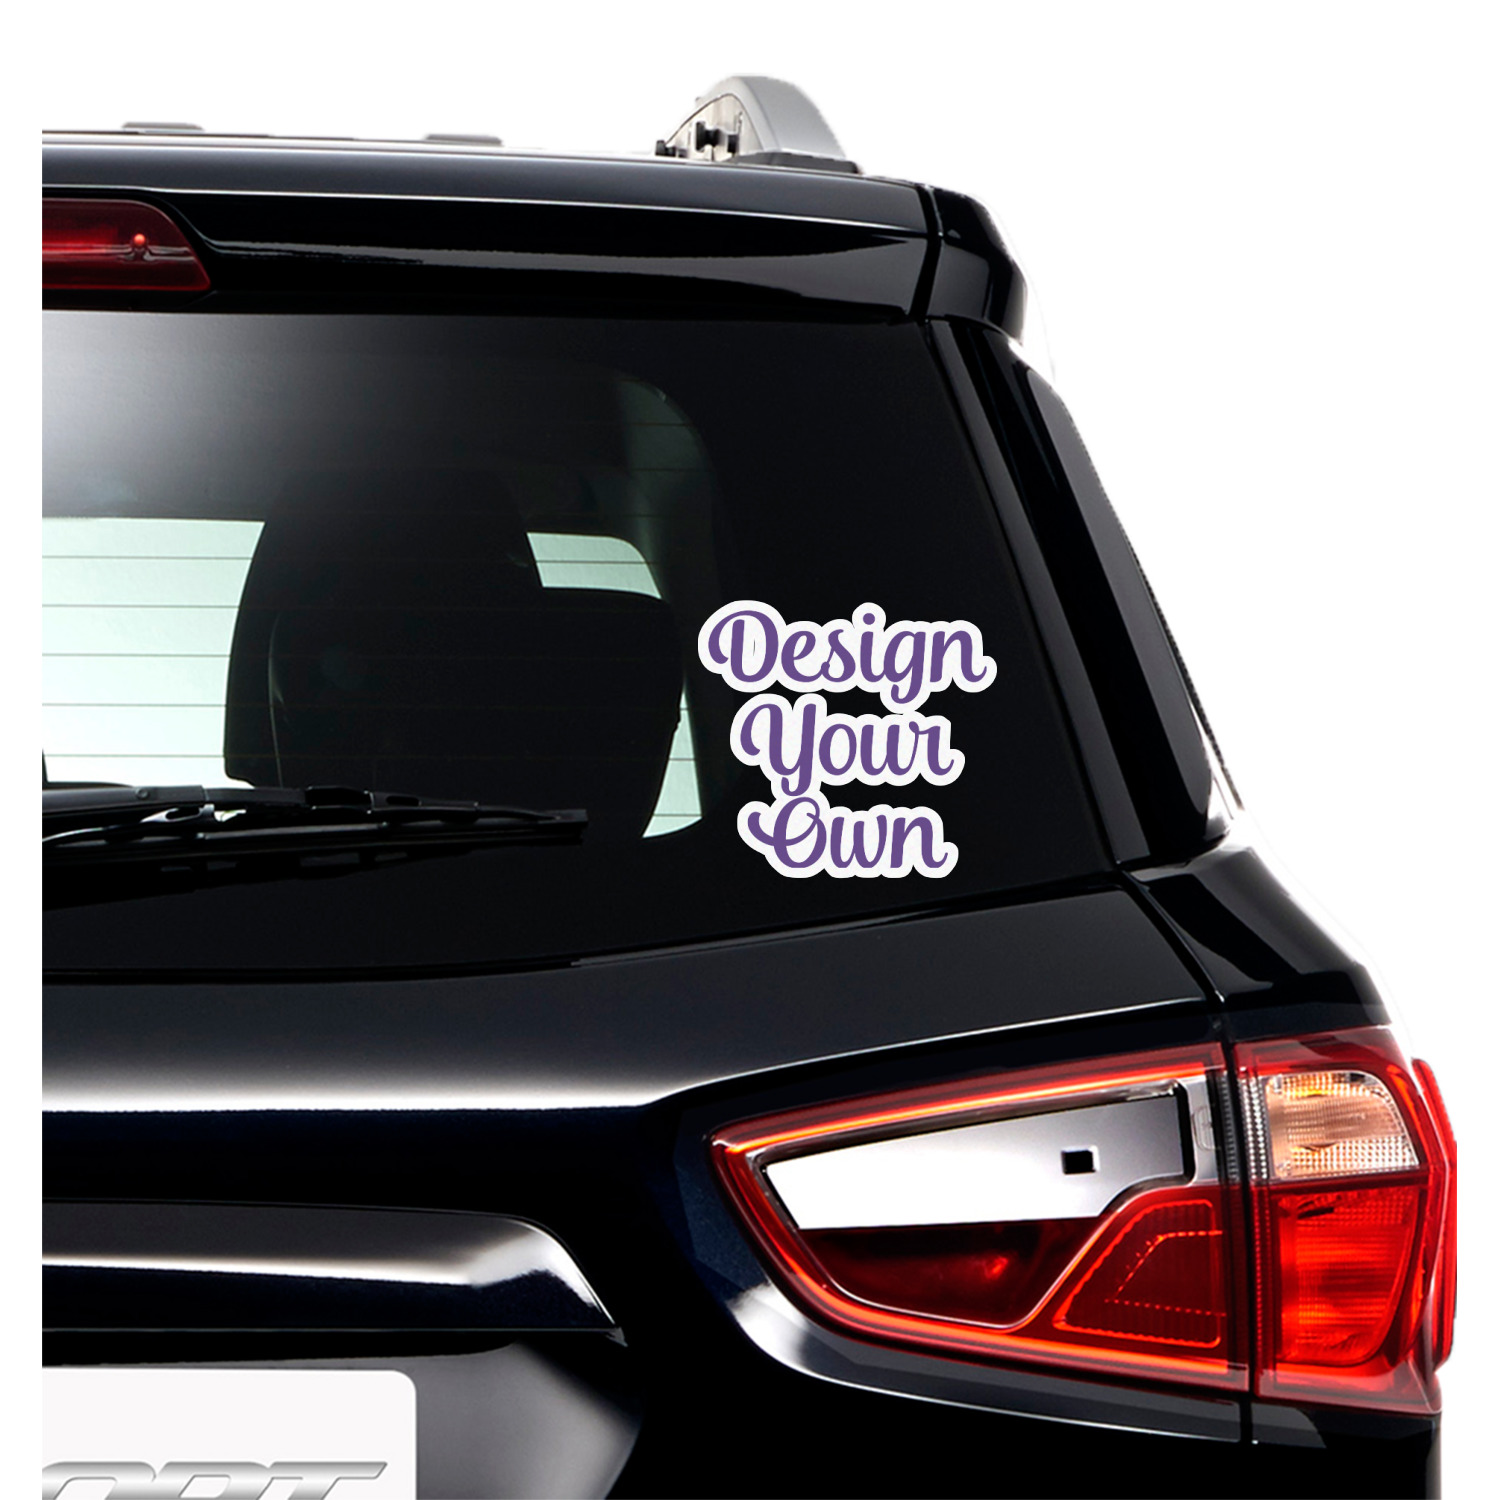
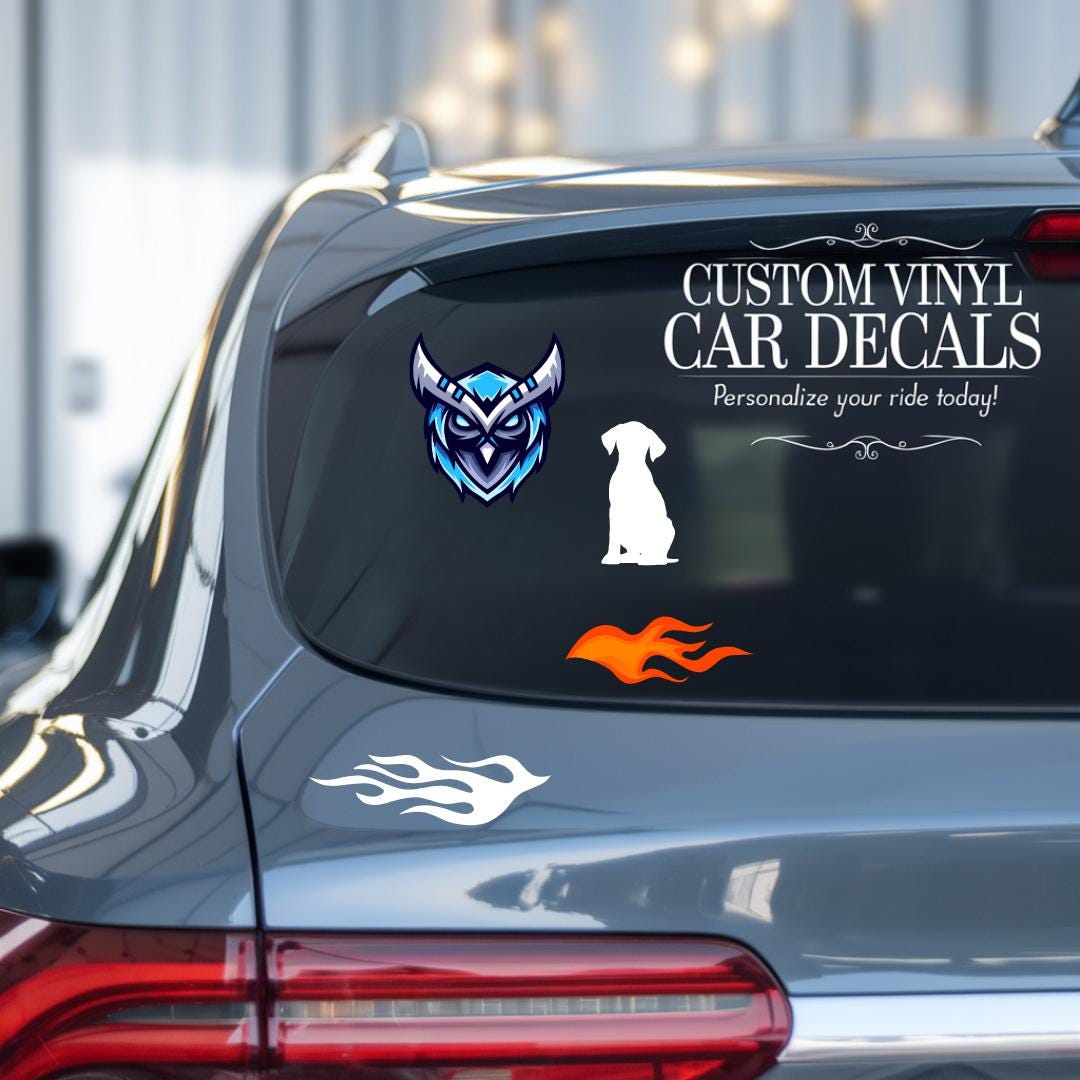
Custom Car Decal Maker

Creating a custom car decal maker setup lets you turn personal designs, bold logos, and creative graphics into high‑quality, weather‑resistant decals for your vehicle. Whether you are a small business owner branding your fleet, a car enthusiast showcasing a favorite hobby, or a designer exploring a side hustle, understanding how to design, produce, and apply custom car decals can transform a plain paint job into a rolling advertisement that turns heads on the highway.
Designing Your Custom Car Decal
The foundation of any great custom car decal maker workflow is a strong, vector‑based design that looks sharp at any size. Start by sketching your idea on paper or using a digital illustration tool, focusing on clean lines, bold shapes, and a clear visual hierarchy so the decal remains legible from a distance. Keep color palettes limited to avoid overwhelming the vehicle’s existing paint, and test how the artwork appears on a silhouette of a car to ensure proportions fit doors, windows, and bumpers comfortably.
When preparing files for a custom car decal maker, save artwork in a lossless format such as SVG or PDF to preserve detail and enable easy resizing without pixelation. Use high‑contrast color combinations, simplify complex gradients, and consider how shadows and outlines will help the decal stand out against different paint colors. Adding a thin bleed and safe zones ensures the cut lines stay away from critical edges, while a small test print on regular paper lets you verify placement, readability, and overall impact before committing to the final materials.
Choosing Materials and Adhesives
Selecting the right material is essential for a custom car decal maker aiming for durability and a professional finish. For outdoor vehicles, cast vinyl offers excellent flexibility, conformability around curves, and resistance to cracking, while thicker calendered vinyl provides a more budget‑friendly option for flatter surfaces. Matte or glossy finishes, as well as textured options like brushed metal or glitter, let you tailor the look to match your brand personality or personal style.
Equally important is the adhesive backing, which determines how well the custom car decal maker output sticks to the paint and resists environmental stress. A high‑quality permanent adhesive with strong initial tack ensures the decal stays firmly in place, while a rubber or acrylic formulation can handle temperature swings and minor surface imperfections. For vehicles that see frequent washing or long road trips, choosing a waterproof, UV‑resistant adhesive prevents peeling, bubbling, and fading over time.
Cutting and Weeding Techniques
Precision cutting is where a custom car decal maker truly shines, turning digital artwork into clean, ready‑to‑apply graphics. Using a vinyl cutter or plotter, set the correct blade depth and cutting speed for the chosen material to avoid tearing or incomplete cuts, especially on detailed logos or thin text. Weeding, the process of removing excess vinyl around your design, requires patience and a gentle touch, so use fine‑tweezers and a weeding tool to lift small pieces without pulling up parts of your main artwork.
For complex designs, consider using a masking sheet or transfer tape to keep all elements aligned during application, which is especially helpful for multi‑color decals or intricate patterns. Test the weeding process on a scrap piece first, double‑check that all intended sections remain attached, and store removed vinyl shapes in a labeled container in case you need to reuse them for touch‑ups or future projects.
Preparing the Vehicle Surface
Proper surface preparation is a critical step for any custom car decal maker who wants the finished result to look polished and last for years. Begin by thoroughly washing the area where the decal will go, removing dirt, road grime, wax, and oils that can interfere with adhesion. Use a mild detergent, rinse well, and dry the surface completely, then wipe down the application zone with isopropyl alcohol to eliminate any remaining contaminants that could compromise the bond.
Inspect the paint for any rough spots, deep swirl marks, or damaged clear coat, as these issues can create air pockets and lead to early lifting. If the surface is slightly uneven, a gentle compounding or a light polish can help, but avoid over‑polishing to the point of weakening the paint. Allow the area to cool down after washing, and choose a shaded location or work indoors to prevent the heat from accelerating adhesive set‑up before you are ready to position the decal.
Applying and Smoothing the Decal
Applying a decal with a custom car decal maker setup becomes much easier when you use a slip‑method technique that gives you control over placement. After cutting and weeding, lay the decal face up on a clean surface, apply a generous layer of application fluid or diluted soap water to both the decal and the vehicle section, then carefully place the decal onto the wet surface. Use a soft squeegee or felt card to gently push out air bubbles and excess liquid, working from the center outward to maintain a smooth finish.
Once the decal is positioned correctly, remove the backing paper or masking sheet slowly while holding the vinyl taut with your other hand. If the decal starts to lift or shift, press it back down and re‑wet the area for another attempt at alignment. Use the squeegee to perform a final firm pass, ensuring strong adhesion, then let the decal cure for at least twenty‑four hours before aggressive washing or driving in harsh conditions to allow the adhesive to fully bond.
Maintenance and Long‑Term Care
To keep your custom car decal maker creations looking vibrant, adopt a maintenance routine that protects both the vinyl and the underlying paint. Wash the vehicle by hand using a soft sponge, mild soap, and plenty of fresh water, avoiding high‑pressure washers directly on the edges of the decal. When drying, pat the surface gently rather than rubbing aggressively, and refrain from using harsh chemicals, abrasive cleaners, or automatic car‑wash brushes that can lift edges or cause premature wear.

Periodically inspect the decal for signs of lifting, cracking, or fading, especially after long periods of sun exposure or road salt contact. Small issues can often be addressed by applying more application fluid under the affected edge and smoothing it back down, while larger damaged sections may require partial or full replacement. By treating your custom car decal maker projects with care, you ensure they remain a striking, professional feature of your vehicle for years to come.
Building a custom car decal maker system empowers you to produce durable, eye‑catching graphics that reflect your style, promote your business, or elevate your car’s aesthetic. From precise design work and material selection to careful cutting, surface preparation, and meticulous application, each step contributes to a finished decal that looks great and withstands the elements. With practice, attention to detail, and a commitment to quality, you can consistently create decals that turn heads, communicate your message, and add a personal touch to every drive.
Easy Cricut Car Decal | Make and Apply your own Car Decal with Cricut
Learn to make and apply car decals with Cricut. This easy step by step tutorial will help you personalize your car in no time!
