Create Your Own Window Decal
Creating your own window decal is a fun and affordable way to add personality to your car, home, or office without the commitment of permanent signage.
Gather Your Materials and Design Inspiration
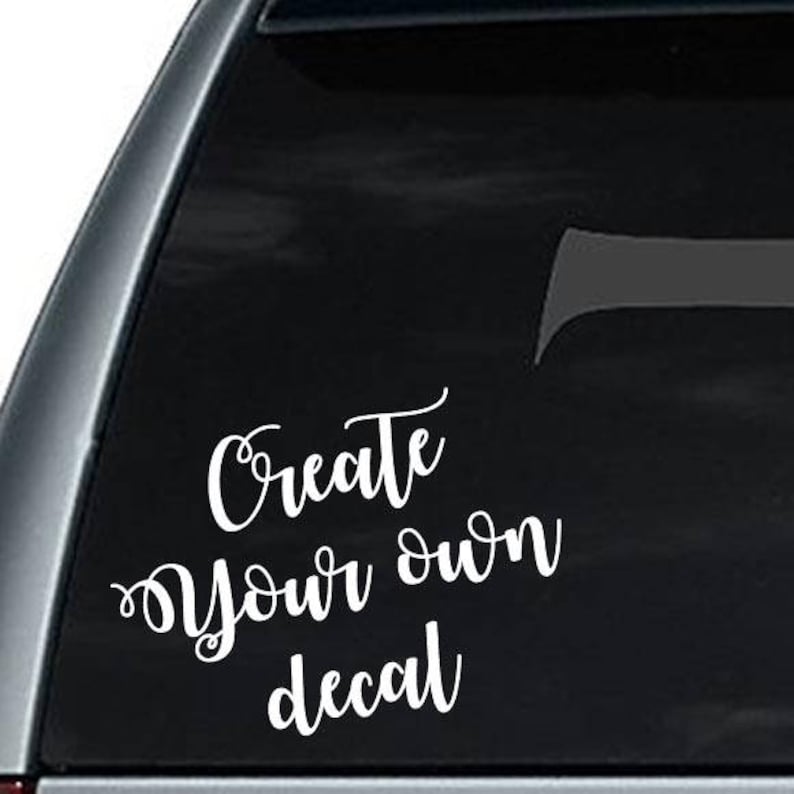
Before you start to create your own window decal, it helps to collect the basic tools and decide on a clear vision. You will typically need a digital design, a vinyl cutter or reliable online service, high-quality vinyl material, transfer tape, a squeegee, and a craft knife for trimming. Look for inspiration in graphic design sites, social media, or even your own sketches to find a style that suits your taste.
Consider the size and shape of your window when planning the layout, because a custom fit often looks cleaner than a generic template. If you are new to the process, starting with simple text or bold shapes can make the project less overwhelming. Remember to choose colors and finishes that will be visible and attractive from the outside, especially if the decal is meant for storefronts or vehicle branding.

Create a Clear and Scalable Design
A clean, vector-based design is essential when you decide to create your own window decal, especially if you plan to cut it yourself. Use software like Adobe Illustrator, Inkscape, or online tools to draw shapes and text with precise edges, avoiding tiny details that might break during application. Keep in mind that overly intricate patterns can be difficult to weed away from the vinyl, leading to frustration and wasted material.
Test your design by printing a rough mockup on paper to check proportions and visibility in real lighting. Adjust contrast between the decal and the window surface so that the final result is easy to read from a distance. If you are ordering from a print service, follow their file guidelines carefully to ensure smooth production and accurate color matching.
Choose the Right Vinyl and Finish
The type of vinyl you select will determine how your decal looks and lasts, whether you are creating a temporary decoration or a long-lasting sign. For indoor use, standard matte or glossy vinyl often works well, while outdoor applications require thicker, weather-resistant material that can withstand sun, rain, and wind. When you create your own window decal, consider adding a UV coating or laminate to prevent fading and scratching over time.
Think about the surface of the window as well, since textured or tinted glass may affect adhesion and visibility. Some vinyls are designed specifically for curved glass or challenging surfaces, giving you more flexibility in placement. Choosing the right combination of material and finish will help your decal maintain its vibrant look for months or even years.
Cut, Weed, and Prepare the Decal
Once your design is ready, the next step to create your own window decal involves cutting the vinyl and removing the excess material, a process known as weeding. Use a precision craft knife or a digital cutter to carefully slice along the lines, taking care not to damage the parts you want to keep. Peel away the unwanted vinyl pieces, making sure that the remaining graphics stay firmly attached to the backing paper.
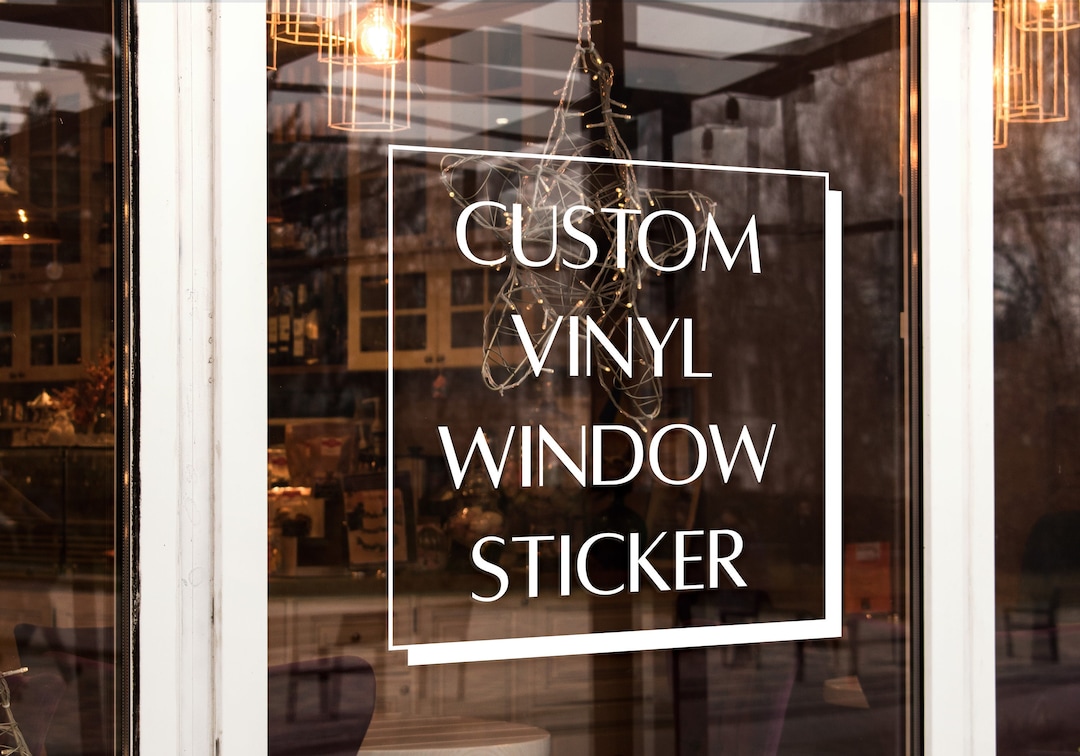
Before applying the decal, clean the window thoroughly to remove dust, grease, and fingerprints, because these can prevent proper adhesion. Some crafters lightly spray the surface with soapy water to allow for repositioning during installation. Preparing the area carefully at this stage reduces the risk of bubbles and misalignment later on.
Apply with Care for a Professional Look
Applying the decal smoothly is key to achieving a polished result when you create your own window decal. Lay the transfer tape over the design, press it gently to ensure good contact, and then peel away the backing paper slowly. Use a squeegee to push out air bubbles from the center toward the edges, working in steady strokes to avoid trapping pockets of air.
If the decal is large, it can help to position it with small pieces of tape before committing to a permanent bond. Once you are satisfied with the placement, press the entire surface firmly with the squeegee and then remove the transfer tape carefully. A well-applied decal will lie flat, adhere evenly, and maintain crisp edges without lifting at the corners.
Maintain and Protect Your Custom Window Decal
After you successfully create your own window decal, proper maintenance will keep it looking fresh and vibrant for a long time. Clean the surface gently with mild soap and a soft cloth, avoiding abrasive tools that might scratch the vinyl. Avoid harsh chemicals or scouring pads, especially on textured or coated windows, since they can degrade the adhesive and colors.

Inspect the edges periodically and press down any lifting sections before they expand due to weather or vibration. With careful handling and regular care, your custom window decal can continue to enhance your space and communicate your style or message without fading or peeling.
By following these steps and paying attention to design, materials, and application technique, you can confidently create your own window decal that looks professional and lasts through changing seasons. Whether you use it for branding, decoration, or personal expression, a well-made window decal is a versatile and eye-catching addition to any glass surface.
How to make and apply a vinyl window decal with a Cricut! Full Process | JMKDIY
Links to vinyl and transfer tape below! Here's an in depth tutorial on creating a custom decal with your cricut. I go over every step ...
