Create Your Own Vinyl Stickers

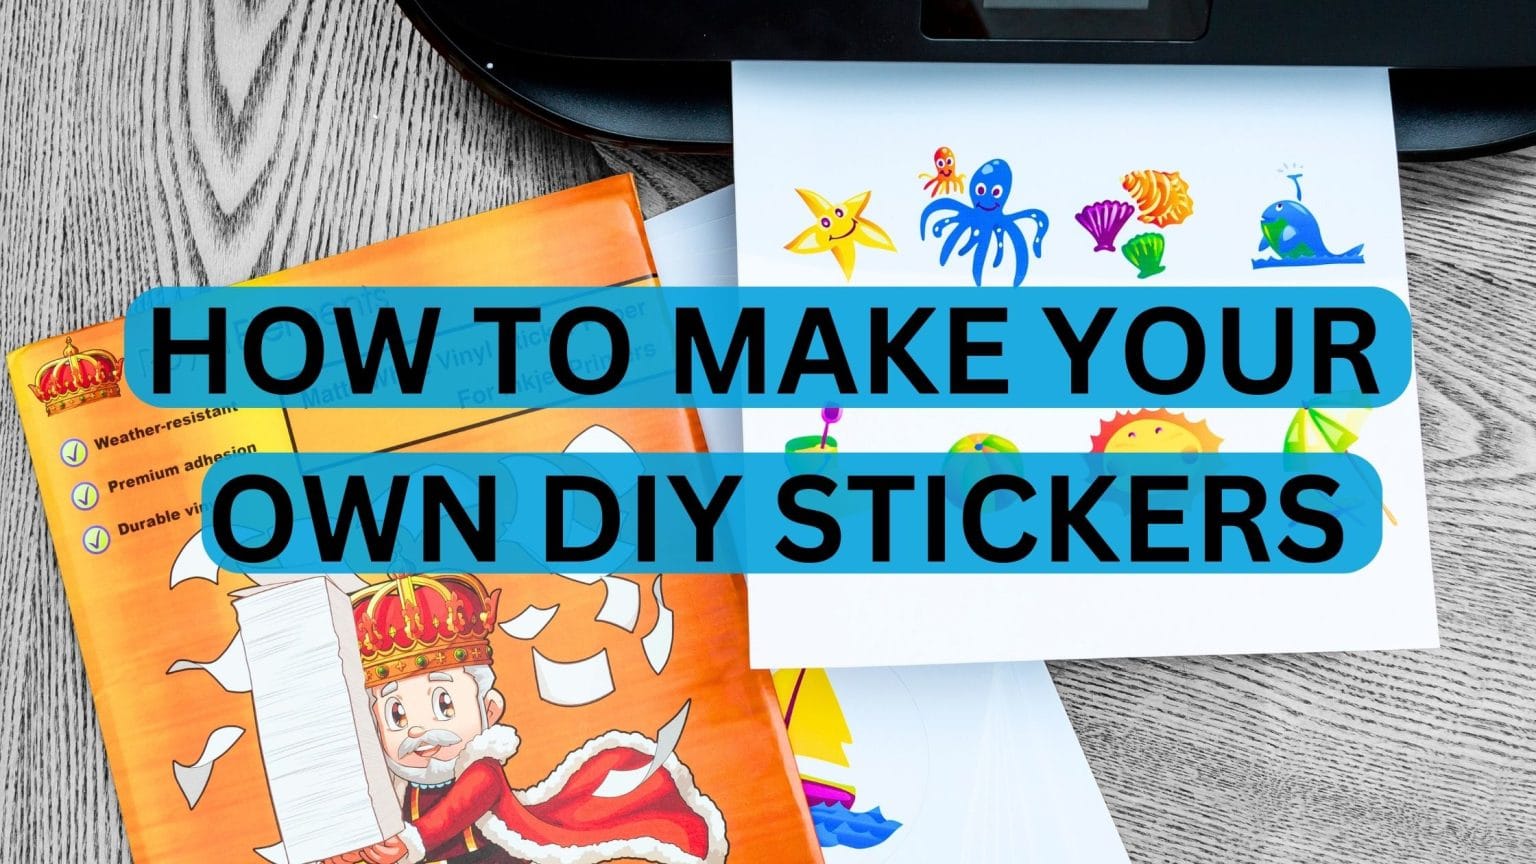
Creating your own vinyl stickers is a fun and practical way to personalize your belongings, promote your brand, or launch a creative project.
Understanding Vinyl Stickers and Their Benefits
Vinyl stickers are durable, weather-resistant decals made from a thin sheet of polyvinyl chloride (PVC) that can display vibrant graphics and text. They are popular for both personal and commercial use because they adhere smoothly to many surfaces without leaving residue when removed. Unlike paper labels, these stickers resist moisture, fading, and light scratches, making them ideal for laptops, water bottles, cars, and storefronts. When you choose to create your own vinyl stickers, you gain full control over design, size, and quantity.
The advantages of custom stickers extend beyond aesthetics; they are cost-effective marketing tools that can turn customers into brand advocates. A well-placed sticker on a backpack or car turns into a moving advertisement that reaches thousands of eyes. For artists and small businesses, offering exclusive designs through these stickers can boost recognition and sales. Since the process to create your own vinyl stickers is straightforward, even beginners can produce professional-looking results without a large investment.

Planning Your Sticker Design and Purpose
Before diving into production, clarify the goal of your sticker, whether it is for branding, gifts, or artistic expression. Define the message, target audience, and where the sticker will be placed, as this influences size, colors, and complexity. A clean, simple design often performs better than a crowded one, especially for logos that need to remain recognizable when you create your own vinyl stickers at smaller scales.
Consider these elements during planning:
- Intended use: product labeling, promotional giveaway, or personal decoration.
- Color palette: limit colors to reduce printing costs and maintain visual harmony.
- File format: prepare vector graphics for crisp edges and scalability.
Preparing Digital Files for Printing
To create your own vinyl stickers professionally, you need digital files that meet the printer’s specifications. Most commercial printers require vector formats like SVG or AI because vectors scale without losing quality, which is essential for detailed logos and text. Raster images such as JPEGs can work but must be high resolution (300 DPI or higher) to avoid pixelation when cut to size.
When preparing your artwork, pay attention to:
- Bleed and margins: extend background colors beyond the cut line and keep important elements away from edges.
- Cut lines: ensure the cutting path follows the exact shape of your sticker.
- Color mode: use CMYK for print to match colors accurately on vinyl material.
Choosing Materials and Finishes
Vinyl comes in several types, including permanent, removable, and holographic, each suited for different surfaces and durations. Permanent vinyl is ideal for items exposed to weather or frequent handling, while removable vinyl allows clean peeling without damage for temporary promotions or indoor decor. Matte and glossy finishes affect the look and feel, with matte providing a subtle, modern texture and glossy enhancing color vibrancy.
Consider additional features when you create your own vinyl stickers:
- Die-cut shapes for custom outlines instead of rectangular stickers.
- Foiling or glitter effects for premium, eye-catching designs.
- UV coating for extra protection against wear and sunlight.

Ordering Production and Cutting Techniques
You can produce stickers in-house with a vinyl cutter for small batches or outsource to a printing service for larger orders and complex designs. Home cutters are suitable for simple shapes and hobby projects, while professional services offer advanced machinery that delivers precise cuts and consistent color. When you create your own vinyl stickers through a service, review proofs carefully to catch errors in text, spacing, or colors before full production.
Key production methods include:
- Roller cutting for long, continuous designs like labels.
- Kiss cutting that leaves the backing paper intact for intricate shapes.
- Digital printing for full-color artwork with photo-quality detail.
Application, Maintenance, and Creative Uses
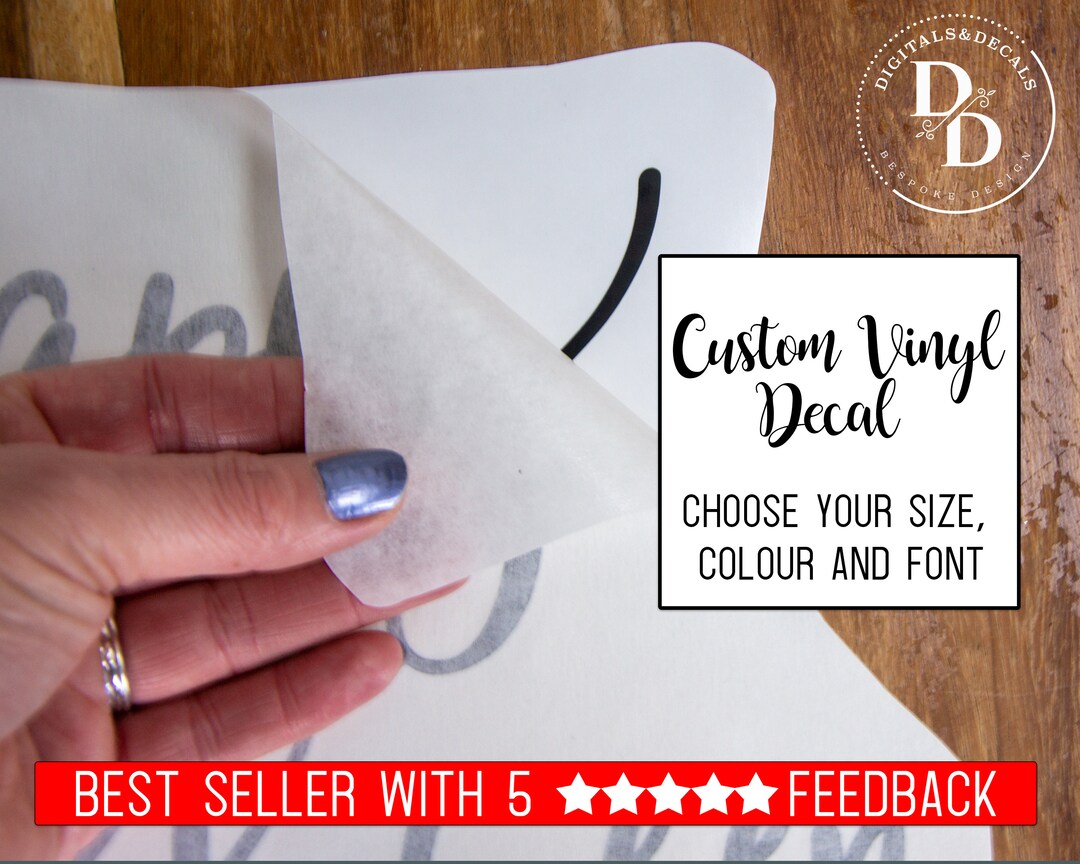
Applying vinyl stickers correctly ensures a bubble-free finish and long-lasting adhesion. Clean the surface with rubbing alcohol, align the sticker using a grid or masking tape, then press from the center outward to remove air pockets. For best results, apply in a warm, dust-free environment and let the adhesive settle for 24 hours. To maintain appearance, avoid harsh chemicals and use gentle cleaning methods.
Creative applications are virtually limitless:
- Branding: place stickers on packaging, storefronts, and company vehicles.
- Personal expression: decorate laptops, skateboards, and journals with unique art.
- Events: use them as badges, loyalty rewards, or party decorations.
By following these steps—from planning and designing to printing and applying—you can produce high-quality vinyl stickers that look professional and serve your purpose effectively.
How to Easily Make Professional Vinyl Decals | Cricut Tutorial
Take your vinyl stickers to the next level, and make them look very professional, and it is so easy to do this too! Supplies used in ...
