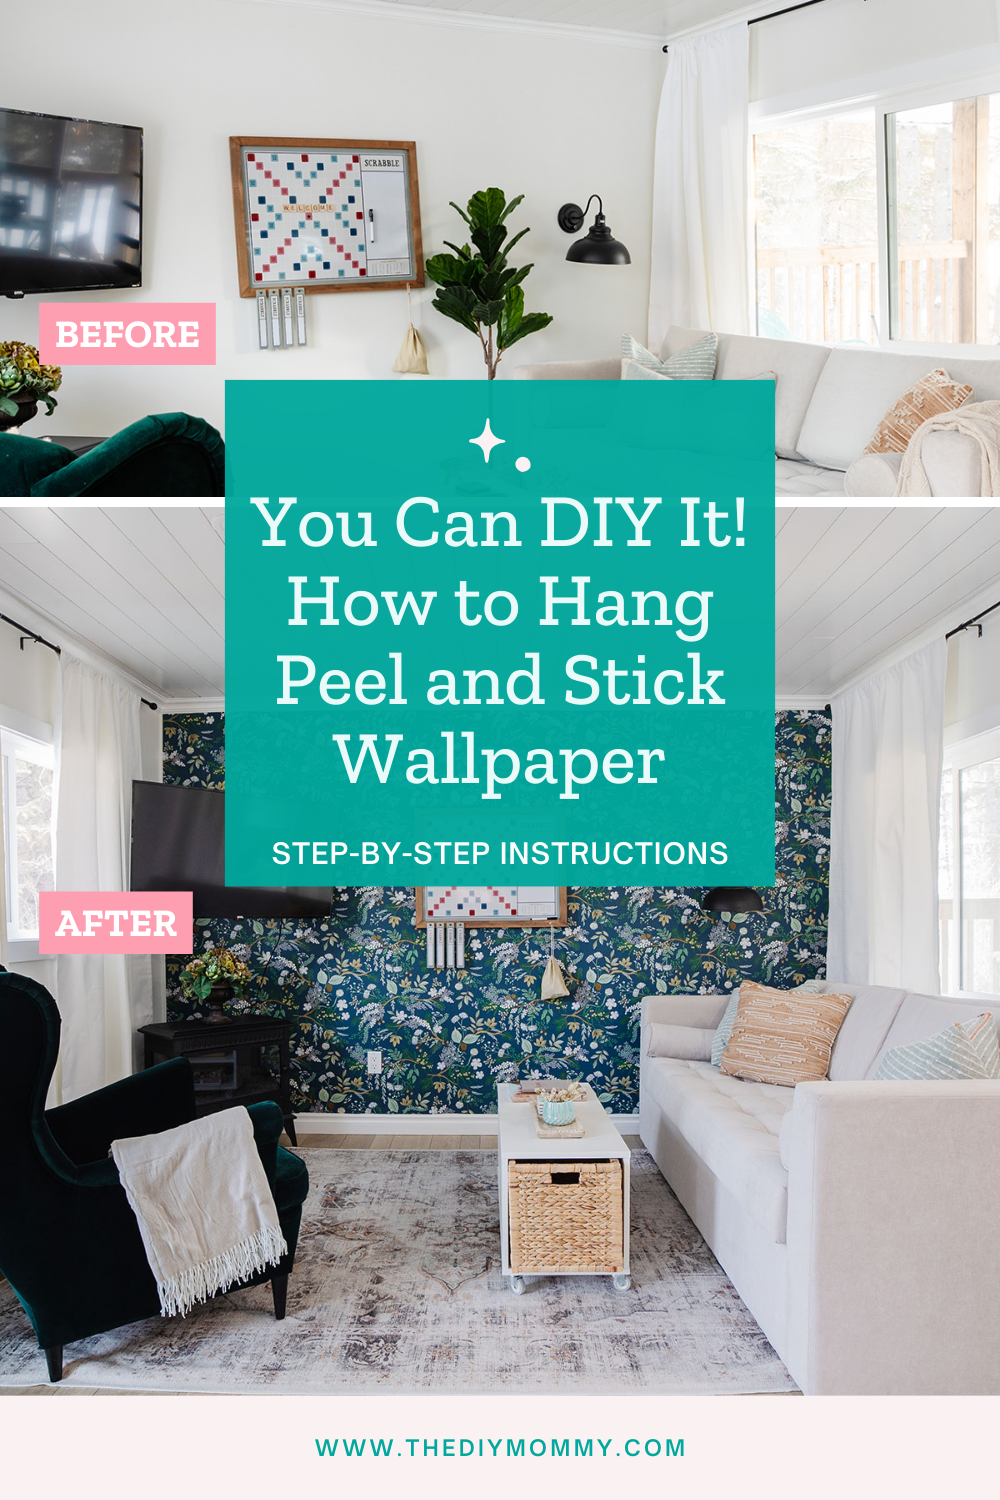
Create Your Own Peel And Stick Wallpaper

Creating your own peel and stick wallpaper is a simple and creative way to refresh any room without the hassle of traditional installation. With a little planning, the right materials, and some patience, you can design a custom wall covering that fits your style perfectly. This guide walks you through the entire process, from choosing your surface to finishing and installing your homemade wallpaper.
Choose Your Base Material for Custom Peel and Stick Wallpaper
The foundation of your DIY project is the base material, which must be compatible with peel and stick wallpaper film. You can use heavyweight paper, fabric, or even pre-pasted wallpaper as your canvas, depending on the look you want. For best results, select a smooth, non-porous surface that will accept adhesive evenly and hold vinyl or laminate layers without warping.
Consider the room where the wallpaper will go, since kitchens and bathrooms need moisture-resistant materials, while bedrooms can handle standard paper or fabric. Testing a small sample on your chosen base helps you confirm that the surface accepts adhesive well and does not buckle over time. A stable base ensures that your custom design stays flat, durable, and easy to clean once it is finished.
Design Your Pattern or Image for Your DIY Peel and Stick Wallpaper
This is where your creativity shines, as you can use digital tools, hand-drawn art, or photographs to create a unique wallpaper design. Graphic software like free editors or paid programs lets you scale, repeat, and color-correct your artwork so it looks perfect on the wall. You can also create a seamless pattern that flows across the wall, or choose a bold focal image that draws the eye.
Print a small test section of your design on plain paper to check scale, colors, and how the pattern repeats in real conditions. Adjust brightness, contrast, and layout based on how the test looks on your wall or base material. A well-planned design ensures that the final peel and stick wallpaper feels cohesive and professional rather than chaotic or mismatched.
Tips for Designing a Wall-Friendly Pattern
- Keep intricate details simple, since they may not reproduce clearly on a large scale.
- Use high-resolution images to avoid pixelation when the design is printed.
- Test the pattern repeat on paper before committing to a full roll.
Prepare and Print Your Custom Wallpaper Design
Once your design is finalized, you need to print it on a suitable material that will accept peel and stick film. Wide-format printers at professional shops can handle large rolls, while smaller designs might be printed on standard paper for a test run. If you are using fabric, make sure it is primed or coated so that the ink adheres properly and does not bleed.

Pay attention to color accuracy by calibrating your printer or monitor and checking printed samples in the actual lighting of the target room. For long-lasting results, use inks that are resistant to fading and moisture, especially if the wallpaper will be exposed to sunlight or steam. Proper printing and material choice make your custom peel and stick wallpaper look vivid and professional.
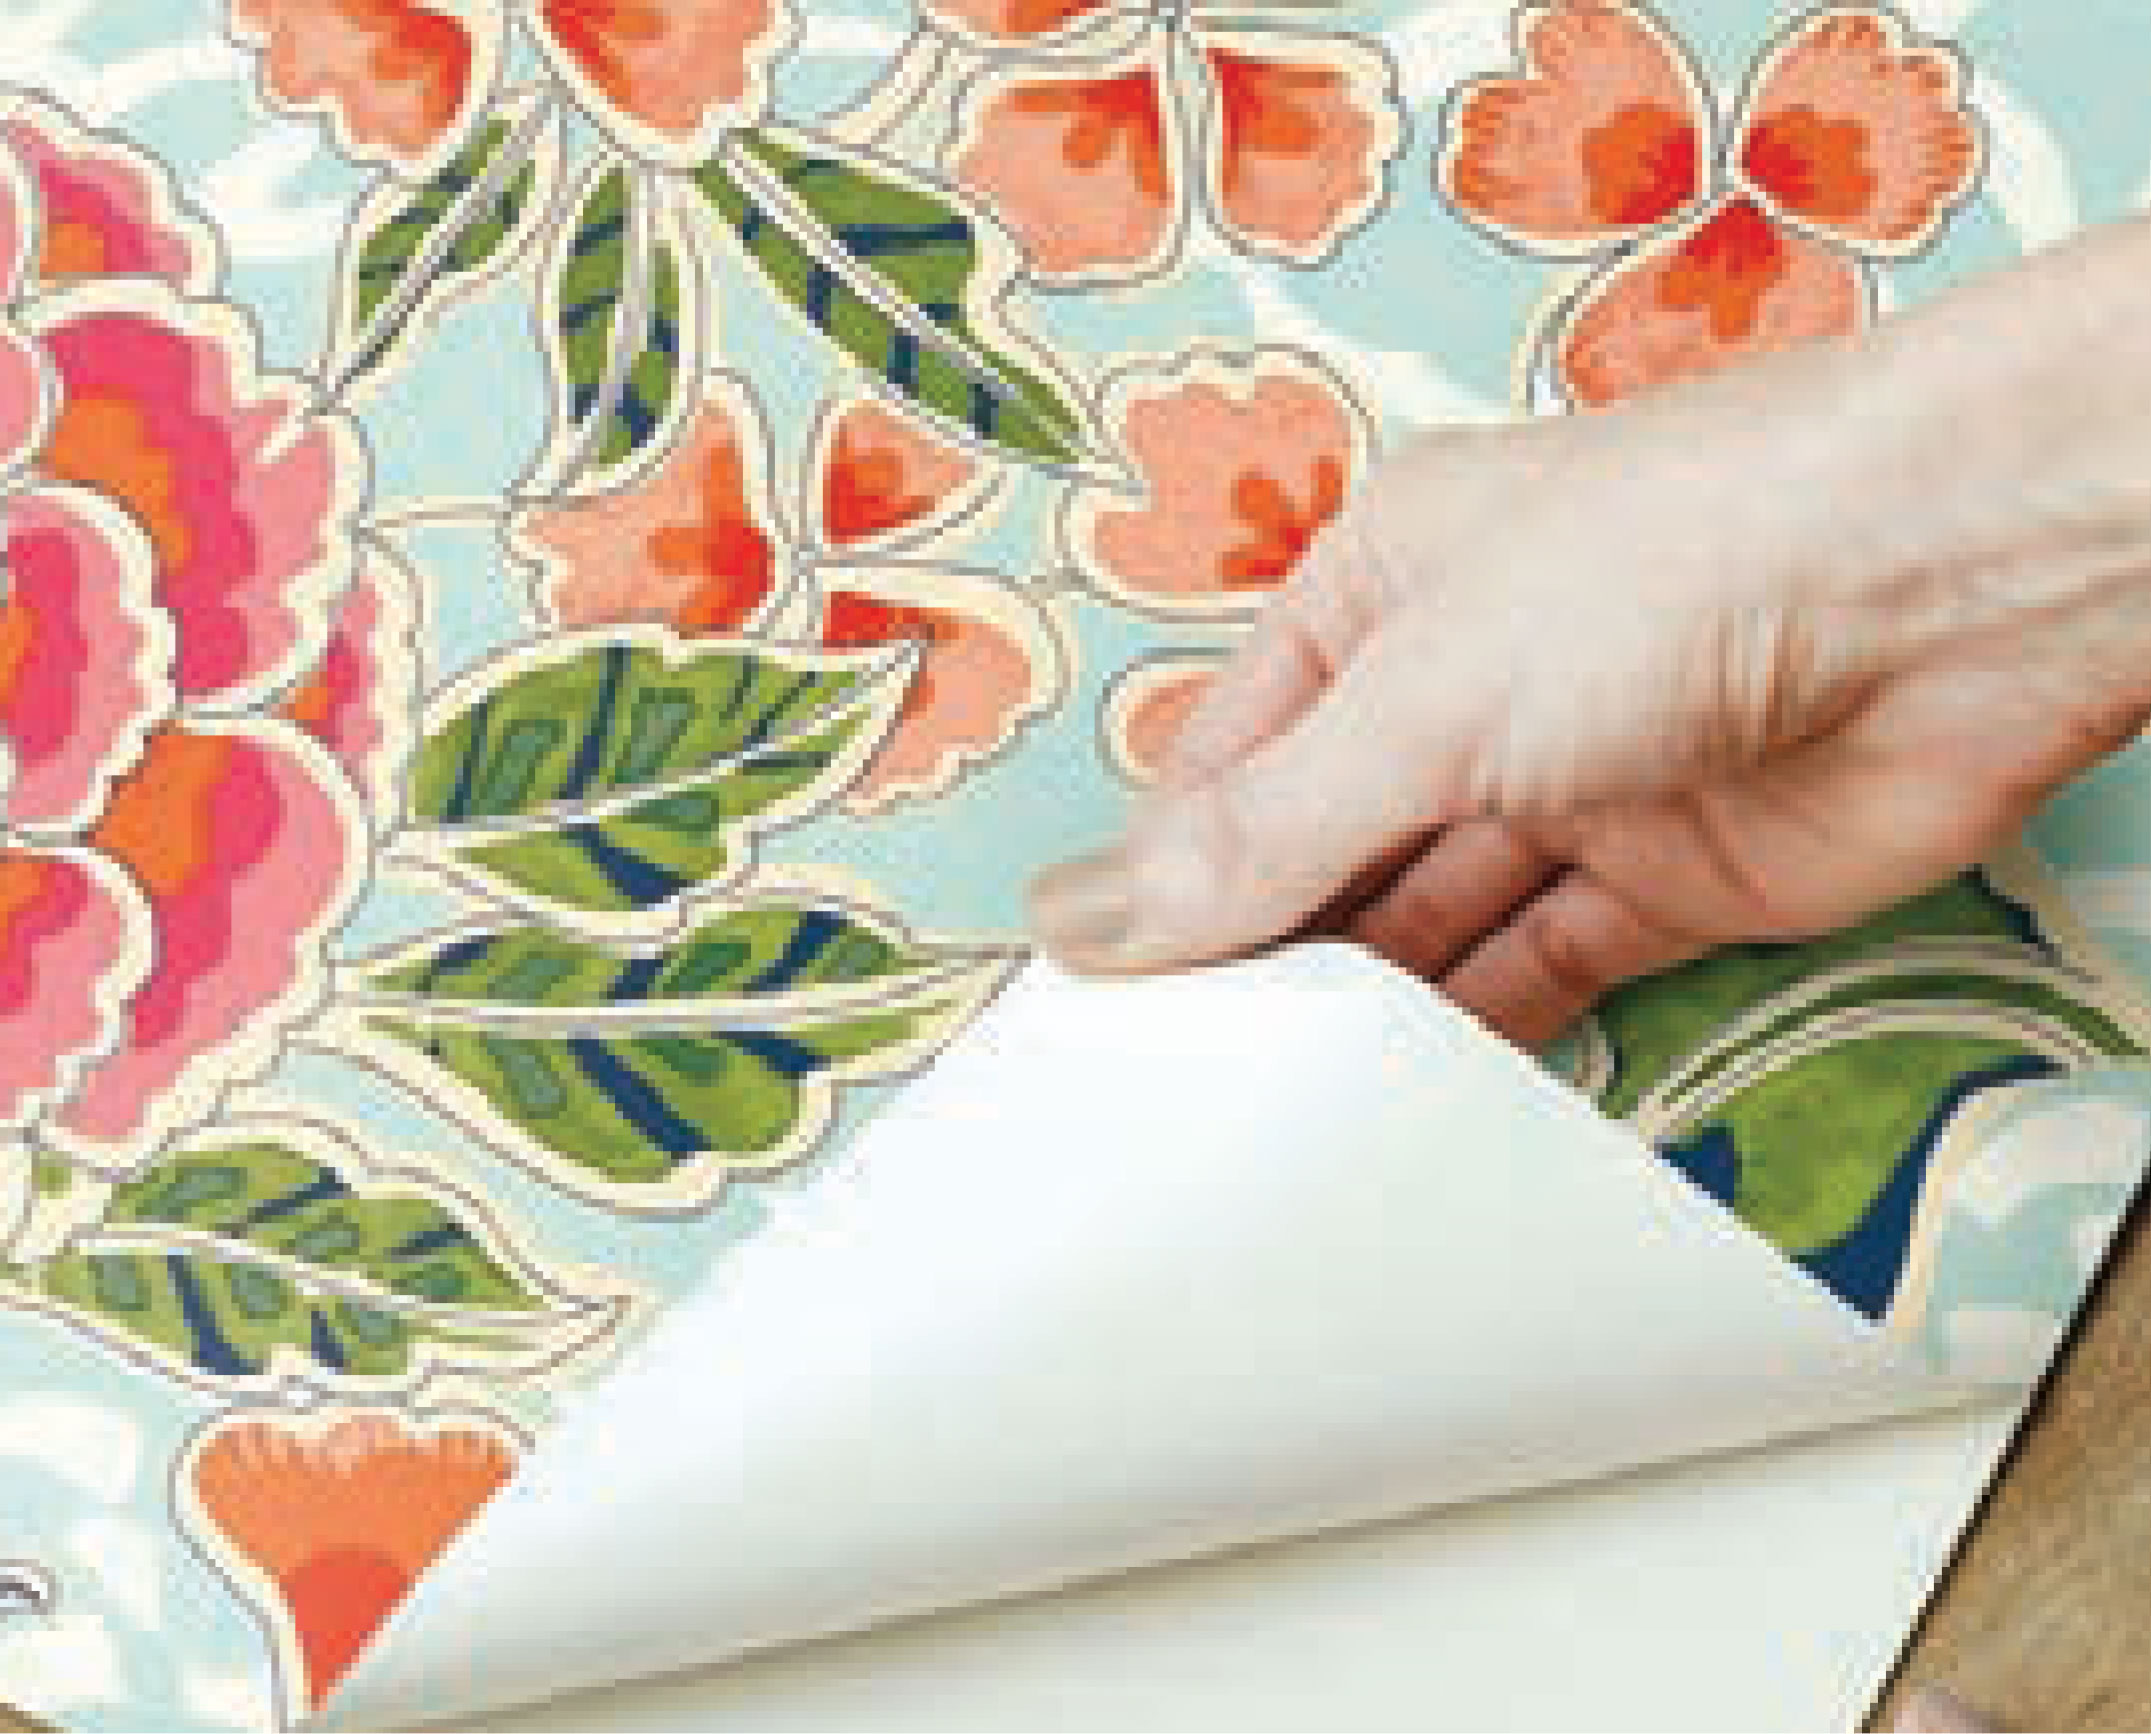
Apply Peel and Stick Film to Your Printed Design
After printing, you will coat your design with a peel and stick adhesive film, which turns your artwork into ready-to-install wallpaper. Carefully align the film over the printed surface, smoothing out air bubbles as you go to maintain a flat, professional finish. Use a squeegee or soft roller to press the film down evenly, ensuring strong adhesion and a clean edge.
Take your time during this step, since trapped air or misalignment can ruin the look of the finished product. If you make a mistake, gently lift the film and reapply, being careful not to stretch or distort the underlying print. A well-applied peel and stick layer keeps your wallpaper durable, easy to handle, and ready to hang.
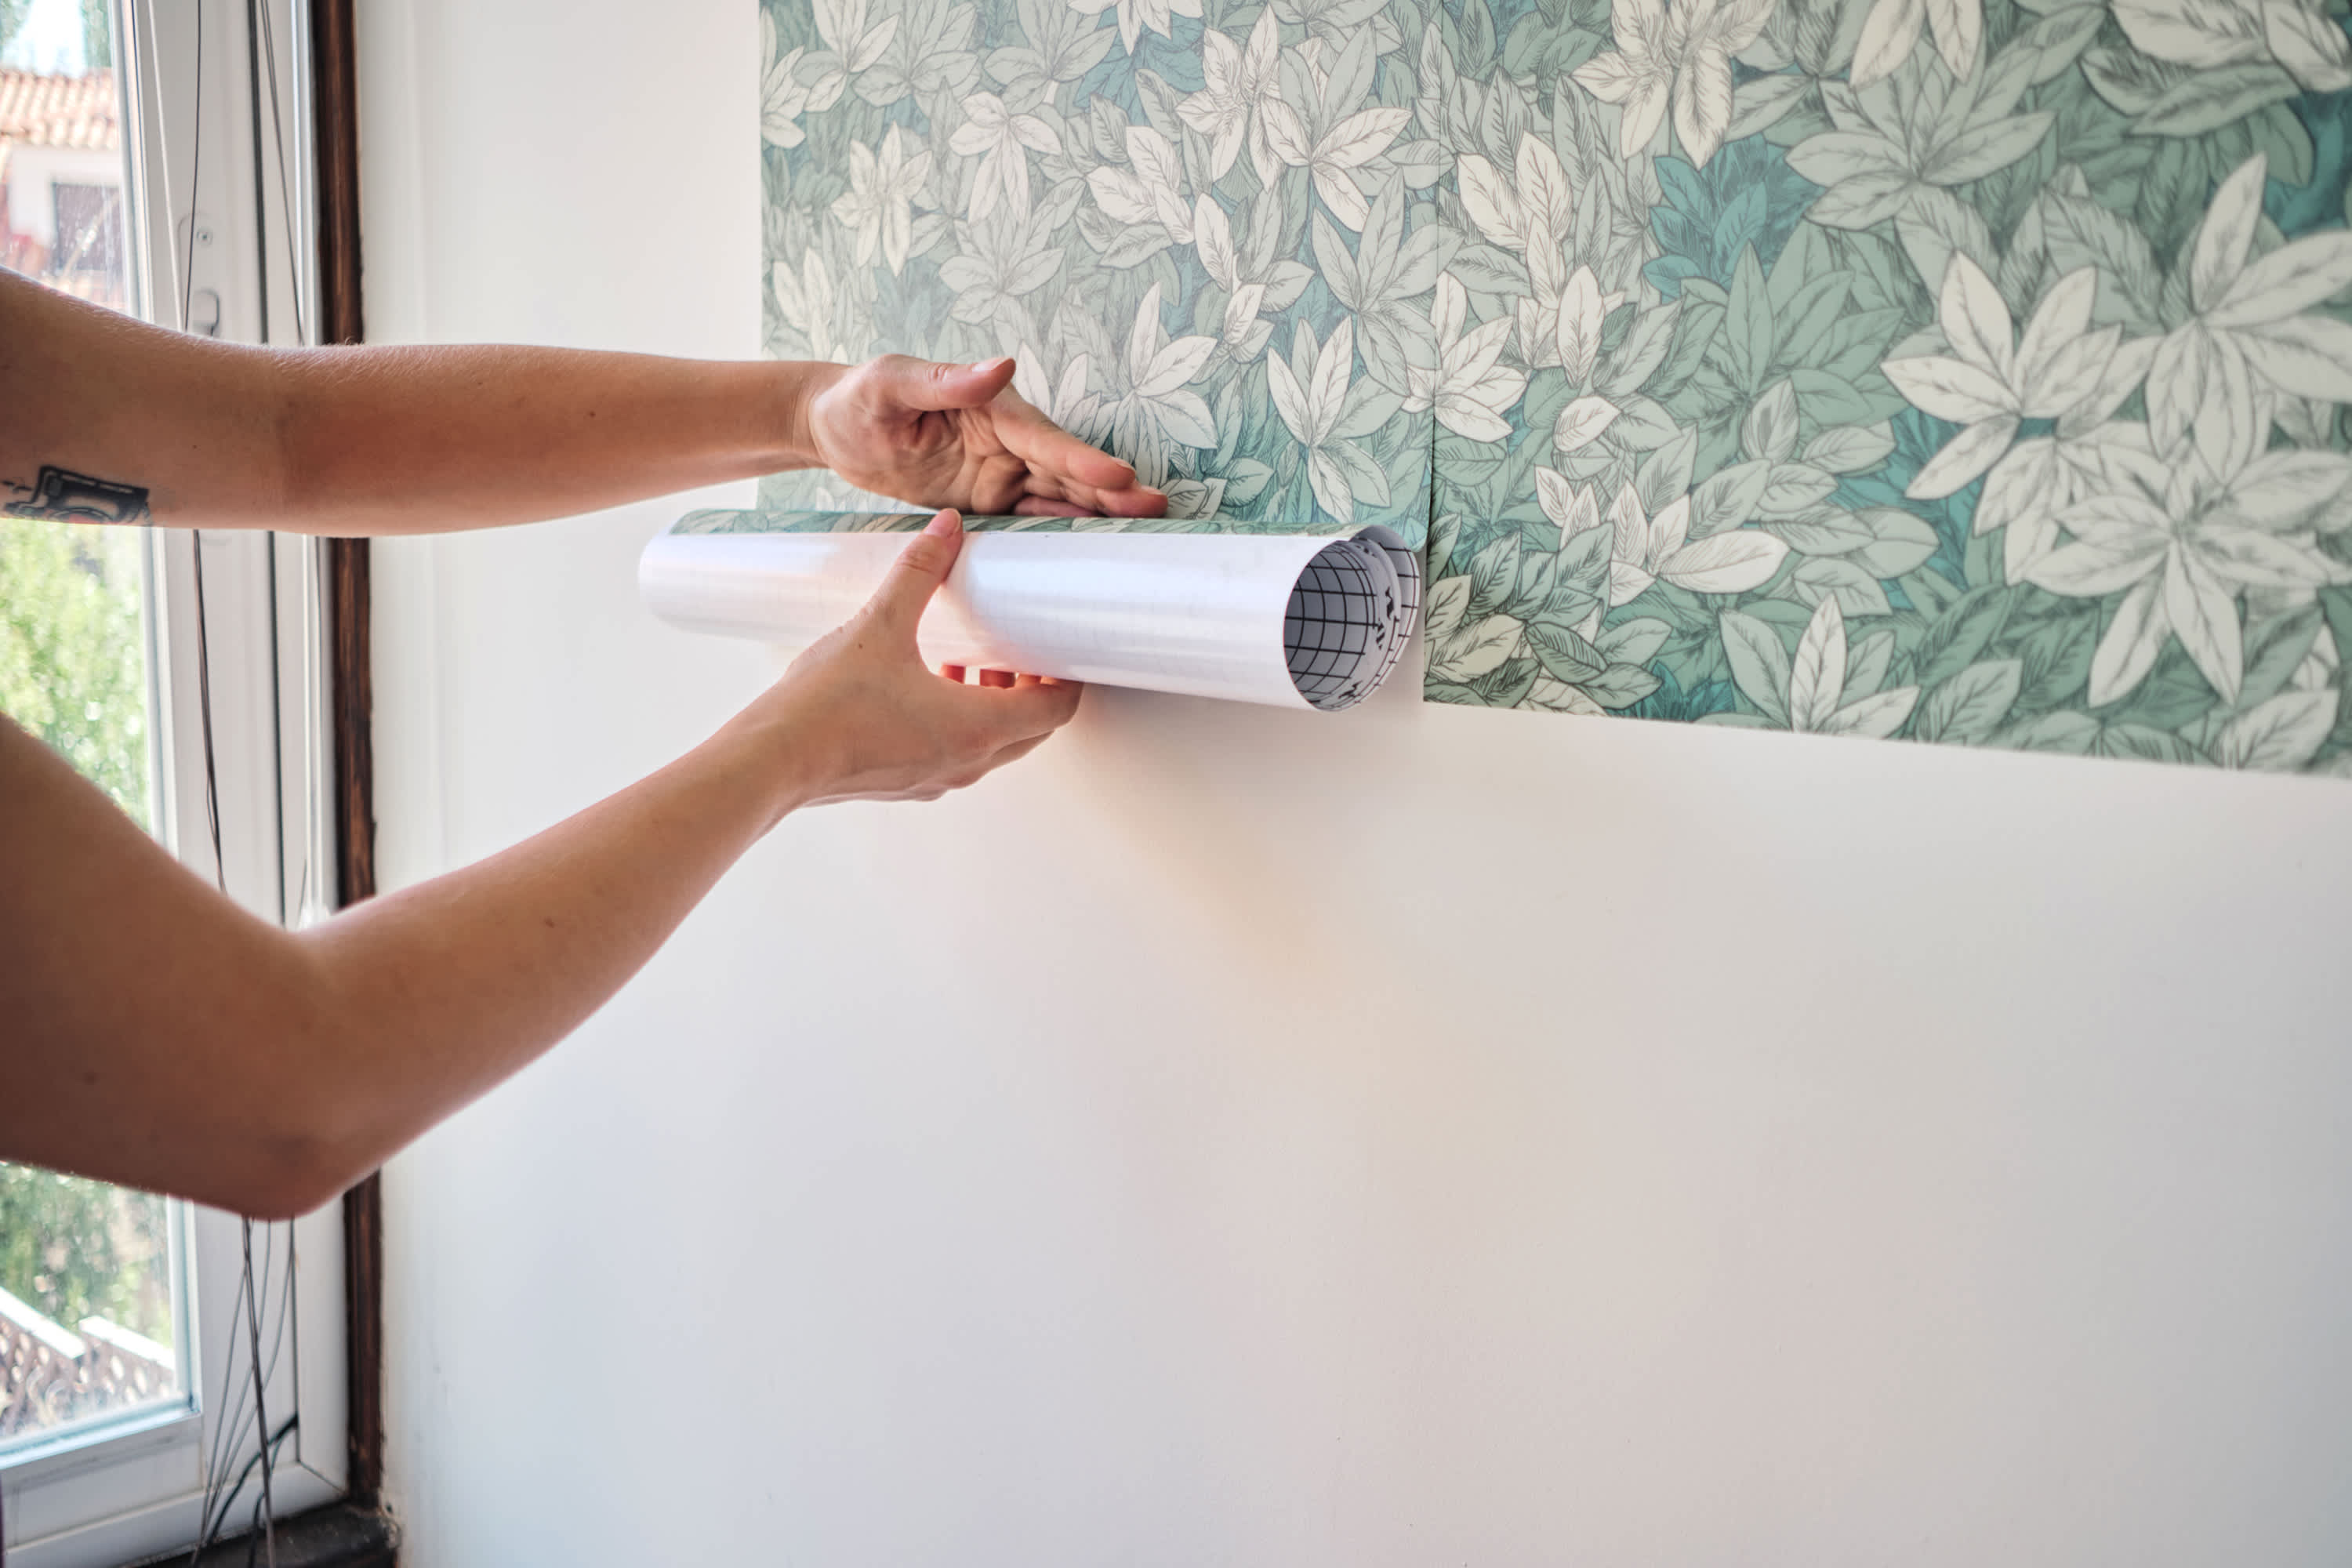
Cut, Measure, and Install Your Custom Wallpaper
With the film applied, trim the edges of your design to size using a sharp utility knife and a straight edge. Measure the wall space carefully, mark your guidelines, and prepare the surface by cleaning it and removing old fixtures. Peel and stick wallpaper is forgiving, but starting with a clean, dry surface helps prevent bubbles and misalignment.
Lift the wallpaper carefully, align it with your marks, and slowly press it onto the wall, working from the center outward. Use a level and a soft cloth to smooth out any wrinkles, and gently run a scraper or credit card over the surface to remove remaining air pockets. Proper installation ensures that your custom peel and stick wallpaper looks flawless and stays in place for years.
Finish and Maintain Your DIY Peel and Stick Wallpaper
Once installed, step back and admire your handiwork, adjusting any small imperfections with a bit more pressure or a careful lift. You can seal the edges lightly with appropriate adhesive if you want extra durability, especially in high-traffic areas. Keep the surface clean with a soft, damp cloth and avoid harsh chemicals that could damage the print or film layer.
With proper care, your custom creation will continue to brighten your space and reflect your personal style. Creating your own peel and stick wallpaper gives you full control over design, color, and texture, making it a rewarding project for any home. Enjoy the satisfaction of transforming your walls with a unique, handmade finish that feels truly your own.
How To Make Your Own Peel and Stick Removable Wallpaper - Super Easy and Cheap! Home Makeover 🤩
JiffDiff's peel and stick wallpaper is embellished with lilacae, allowing you to enjoy the beauty of traditional wallpaper. Exquisite ...
