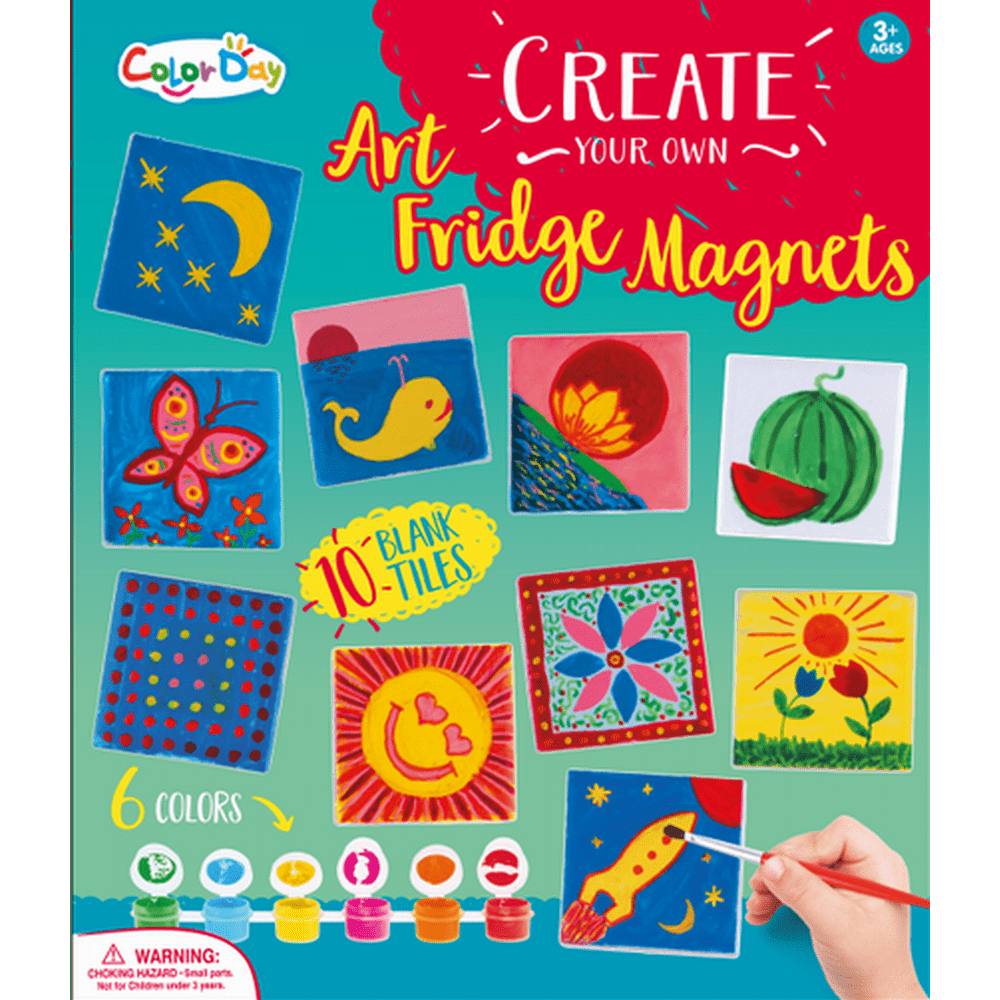
Create Your Own Fridge Magnet

Creating your own fridge magnet is a simple and rewarding way to turn everyday moments into small, visible memories on your kitchen wall. A handmade magnet becomes a tiny piece of art that holds notes, photos, or reminders while expressing your personality in a practical way. In this guide, you will learn how to design, craft, and finish a custom fridge magnet that looks polished, lasts longer, and stays securely in place.
Gather Your Materials and Tools
Before you start, collect the materials and tools that fit your style and budget. You can keep it very basic or add decorative touches, but having everything ready helps you stay focused and avoid interruptions. A clean, organized workspace also reduces mess and makes the process more enjoyable.
- Magnet base: Use flexible magnetic sheets, magnetic discs, or an existing magnet as your base. For a more premium feel, choose thicker magnetic sheets that hold firmly on metal surfaces.
- Design surface: Small tiles, coaster blanks, thin wood slices, or even sturdy cardboard can serve as the front panel where your image or artwork will go.
- Adhesives and sealants: Strong glue like epoxy or craft glue, plus a clear sealant or varnish to protect your design from moisture and smudges.
- Decorations: Printed photos, magazine cutouts, fabric scraps, washi tape, stickers, or hand-drawn illustrations.
- Tools: Scissors, craft knife, cutting mat, ruler, pencil, brushes, and paper towels for cleaning up excess glue.
When you create your own fridge magnet, choosing materials that suit your aesthetic matters more than having the most expensive supplies. If you are making magnets with children, opt for child-safe glue and blunt tools, and focus on simple shapes and large images that little hands can handle easily.
Design Your Magnet Artwork
The design phase is where your custom fridge magnet begins to feel personal. You can work from a sketch, a printed photo, or digital artwork, and then adapt it to fit the size of your magnet base. Keeping the composition simple makes the magnet readable at a glance, especially when it will be viewed on a crowded fridge surface.
- Theme and purpose: Decide if the magnet is decorative, functional with a to-do list, or sentimental with a family photo.
- Color palette: Choose two or three colors that match your kitchen style or the recipient’s taste to keep the magnet cohesive.
- Text and graphics: Use clear, legible fonts for any text, and avoid overcrowding the design so the magnet remains easy to read.
Before committing to the final size, print or draw a small test version on paper and hold it near your fridge to check visibility and balance. If you are using photos, make sure they are high resolution to avoid pixelation when printed or cut. A well-planned design makes the crafting stage smoother and ensures the finished homemade fridge magnet looks professional.
Print, Cut, and Prepare the Front Panel
Once your design is finalized, transfer it onto the material you chose for the front panel. For photos or detailed images, printing on quality photo paper works best, while drawings and simple graphics can be done by hand with markers or paints. If you are using thin materials, consider gluing them onto a sturdier base like a tile or coaster for better durability.
- Cut with precision: Use a craft knife and ruler for straight edges, and scissors for curved shapes, cutting slowly to avoid jagged lines.
- Test fit: Place the cut piece on the magnet base to check alignment and overhang before gluing.
- Seal the surface: Apply a thin layer of clear sealant to protect colors from fading and to make the magnet easy to wipe clean.
Take your time during this stage, because neat edges and a protected surface are what turn a simple idea into a lasting DIY fridge magnet. If you make small mistakes, they can often be hidden by the magnet base or touched up with a little paint or marker.
Attach the Magnet and Let It Cure
Attaching the magnet base securely is the most technical step, but it becomes easy with the right adhesive and a little patience. Epoxy or strong craft glue works well for flat surfaces, while flexible magnetic sheets may come with adhesive backing that you peel and press into place. The key is to apply even pressure and avoid gaps between the front panel and the magnet.
- Apply adhesive: Spread a thin, even layer on the back of the front panel, covering the entire contact area.
- Position carefully: Align the design with the edges of the magnet base, pressing from the center outward to push out air bubbles.
- Cure time: Allow the glue to dry fully according to the manufacturer’s instructions, and avoid moving the magnet until it is completely set.
For extra strength, especially with heavier decorations, you can let the magnet cure under a flat, light weight object or clamp it gently between two boards. A well-bonded custom fridge magnet stays in place without sliding or peeling, even in a busy household where the fridge door opens often.

Decorate, Personalize, and Final Touches
After the magnet is secure, you can add finishing details that make it uniquely yours. Consider outlining painted areas with fine marker lines, adding tiny embellishments like beads or fabric flowers, or layering washi tape for texture. These small touches give the piece character and make it stand out among mass-produced decorations.
- Personal messages: Write a date, a name, or a short quote that fits the theme of the magnet.
- Functional extras: Glue a small memo board or notepad strip to one side for a magnet that actually helps you organize your day.
- Edge finishing: Seal raw edges with paint, washi tape, or a thin strip of fabric to prevent chipping and wear over time.
Once your create your own fridge magnet project is complete, give it a gentle wipe with a damp cloth to remove any dust. Place it on the fridge, test how well it holds, and enjoy the satisfaction of seeing your artwork in everyday use. Over time, you will develop your own techniques and shortcuts, making each new magnet even faster and more enjoyable to create.
Share Your Magnet Story
A handmade magnet often becomes a conversation starter, whether it displays a cherished vacation photo, a child’s drawing, or a clever kitchen helper. You might gift your homemade fridge magnet to friends, use it to mark important dates, or simply keep it as a daily reminder of your creativity. The process of designing and crafting turns an ordinary item into something meaningful.

As you continue to create your own fridge magnet projects, you will discover how versatile and fun this craft can be. With each magnet, you refine your skills, experiment with new materials, and find fresh ways to display your memories right where you need them most. Let your kitchen walls reflect your story, one magnet at a time.
DIY: How To Easily Make Photo Magnets At Home?
No description available.
