Create Vinyl Stickers

Creating vinyl stickers is a rewarding craft that lets you transform bold designs into durable, weather resistant graphics for almost any surface. Whether you want custom vinyl stickers for your laptop, a small vinyl sticker for your shop window, or a large vinyl sticker for a vehicle, the process combines design, material selection, and careful application into a polished finish.
Designing Your Vinyl Sticker Concept
The first step to create vinyl stickers is turning your idea into a clean, print ready design. Start by sketching on paper or using vector software so that shapes, text, and icons remain crisp at any size. Keep line work clear and avoid tiny details that could break during cutting, and choose colors that suit the sticker’s purpose, whether it is branding, wayfinding, or pure decoration.
When you prepare art for a custom vinyl sticker, remember that simplicity often works best. Strong contrast between foreground and background makes the sticker readable at a glance, and you should test how it looks on light and dark surfaces. If you plan to create a vinyl sticker for outdoor use, consider slightly thicker lines and fewer fragile elements so the final vinyl sticker stays intact even in challenging conditions.
Choosing Materials and Tools
To create vinyl stickers that last, select the right vinyl film, adhesive, and backing paper. Cast vinyl is more flexible and ideal for curved surfaces, while calendared vinyl is budget friendly for flatter projects. Decide whether you want a glossy vinyl sticker for vibrant shine or a matte vinyl sticker for a subtle, modern look, and choose a weather resistant adhesive if the sticker will face rain or sunlight.
You will also need a few basic tools to create vinyl stickers at home or in a small studio. A quality vinyl cutter or plotter is essential for precise cutting, and a cutting mat helps keep the material stable. Additional must haves include a ruler, a craft knife for detailed trimming, transfer tape for moving the sticker as one piece, and a scraper to remove air bubbles during application.
Preparing the File for Cutting
Before you start to create vinyl stickers on your machine, export your design with the correct settings. Use vector paths for the cut lines, set the stroke to the manufacturer’s recommended width, and remove any overlapping fills that could cause double cutting. Many cutters work with SVG, DXF, or AI files, so save in the format accepted by your software and double check dimensions to avoid wasted material.

When you cut a custom vinyl sticker, it helps to add a small bleed around the artwork and to create clear registration marks if you are producing multiples. Test cut on scrap vinyl first to verify that the blade depth, force, and speed are correct, and adjust until the vinyl sticker cuts cleanly through the adhesive but leaves the backing paper intact for a smooth create vinyl stickers workflow.
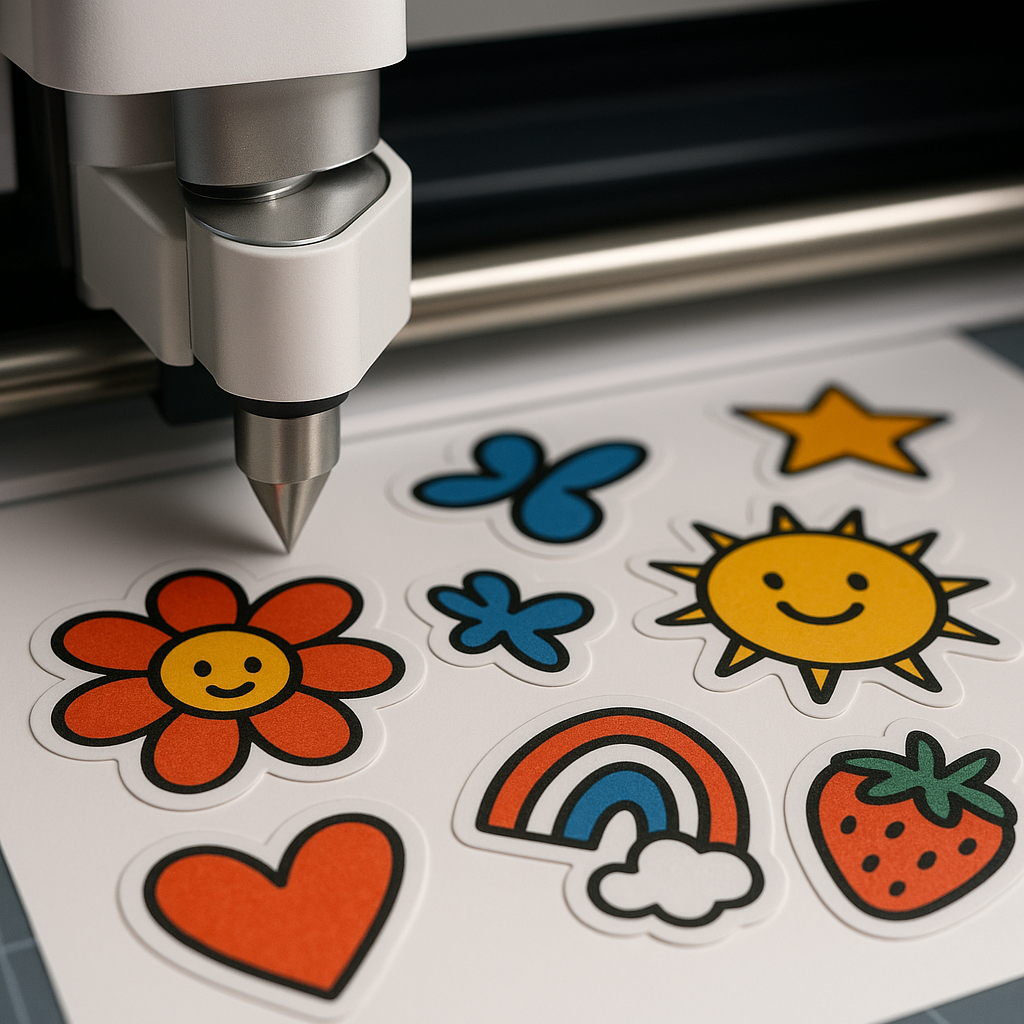
Cutting and Weeding the Vinyl
Once your file is ready, load the vinyl into the cutter, send the cutting job, and watch the first few pieces to confirm that the machine is performing well. After cutting, you will need to weed the vinyl, which means carefully removing the excess material around your design while keeping the parts that will become the final sticker. Use a weeding tool or a craft knife to lift tiny pieces, and work in a well lit area to avoid tearing thin details.
For a complex custom vinyl sticker, group related pieces together and leave a margin of backing around the edges to make handling easier. If you are learning how to create vinyl stickers, start with simpler shapes and gradually increase complexity as you become more confident with the weeding process. Taking your time here pays off later when the sticker goes on cleanly and looks exactly as intended.
Applying Transfer Tape and Surface Prep
To move your design onto the final surface without distortion, apply transfer tape over the weeded vinyl sticker and smooth it down with a scraper. Peel away the backing paper, align the sticker with your chosen location, and then press it onto the surface from the center outward to push out air and ensure strong bonding. A clean, dust free surface is crucial, so wipe down walls, vehicles, or equipment before placing the vinyl sticker.
When you create vinyl stickers for customers or for your own projects, consider the surface texture and temperature. Very rough or highly curved surfaces may require slower application and extra smoothing, while cold or damp conditions can affect adhesion. Choosing a slightly larger sticker that can be trimmed after placement gives you flexibility to adjust alignment and avoid visible errors.
Finishing, Care, and Long Term Use
After the vinyl sticker is applied, gently run the scraper over the surface to finalize adhesion and remove any last bubbles. Let the sticker settle for a few hours or as recommended by the material supplier before exposing it to heavy rain or intense sun. To clean it, use a mild soap solution, avoid abrasive tools, and inspect edges periodically to catch any lifting early when you create vinyl stickers for long term displays.

With practice, you can refine each stage of the process and create vinyl stickers that look professional and endure daily wear. Experiment with different sizes, shapes, and finishes, document what works best, and soon you will be able to produce reliable, high quality vinyl stickers for personal projects, gifts, or commercial orders on a consistent basis.
Make Printable Vinyl Stickers at Home | Are they waterproof? Better than outsourcing?
Today I wanted to show you how to use Printable Vinyl Sticker Paper with your Cricut and home printer! Supplies: ✿ HTVRont ...
