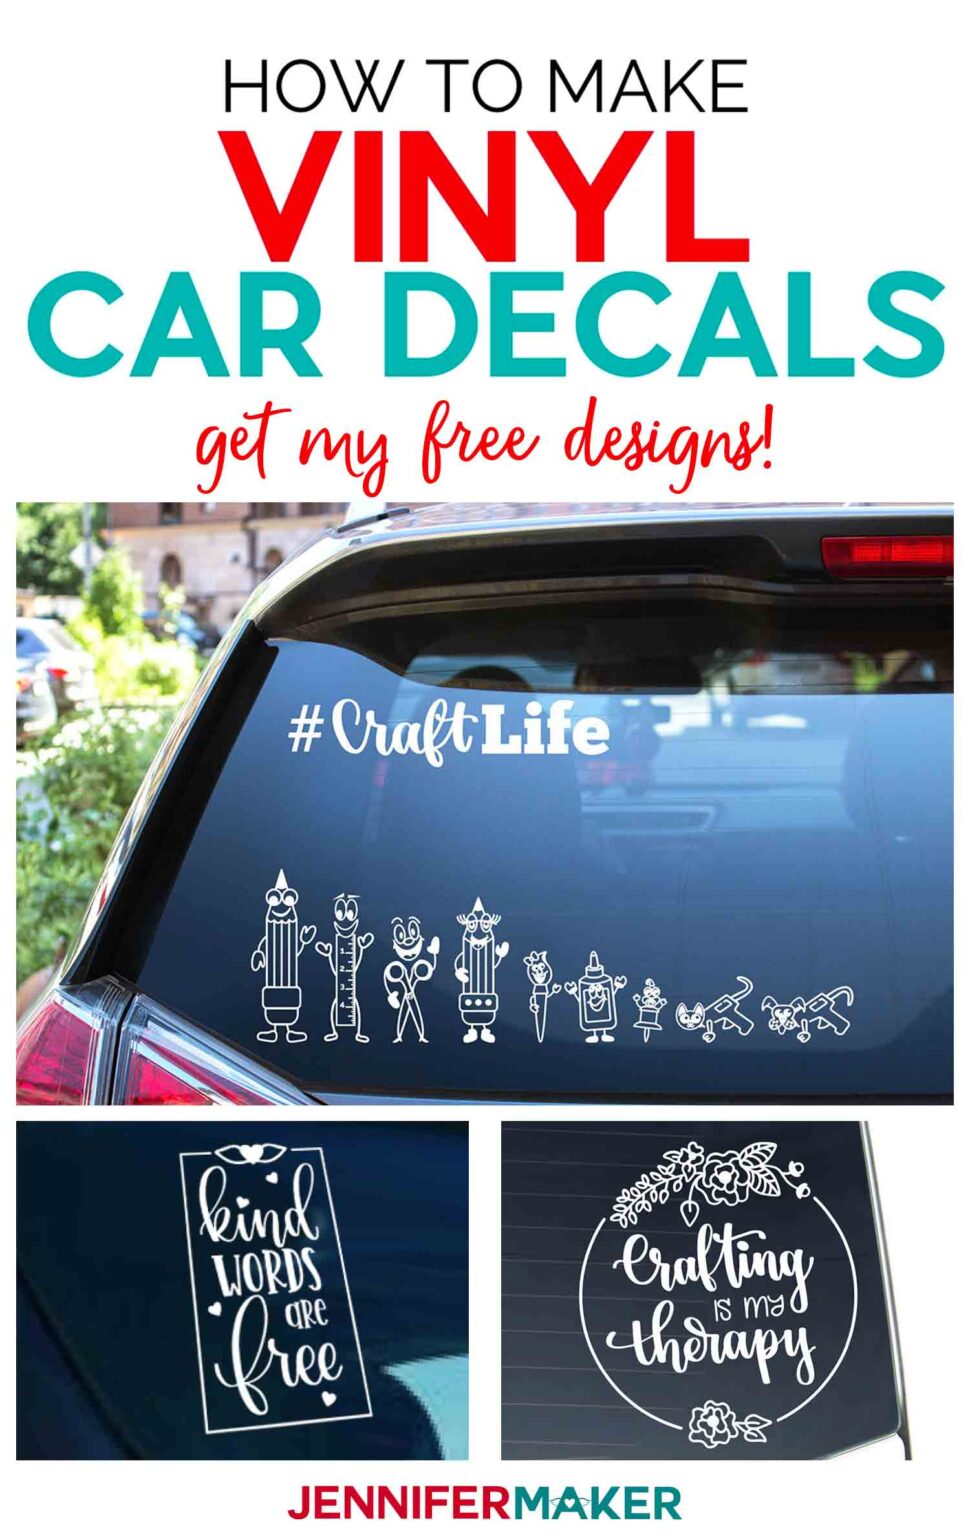
Create Custom Car Decals
Creating custom car decals is a fun and affordable way to give your vehicle a unique personality and standout style.
Design Your Decal Concept with Purpose
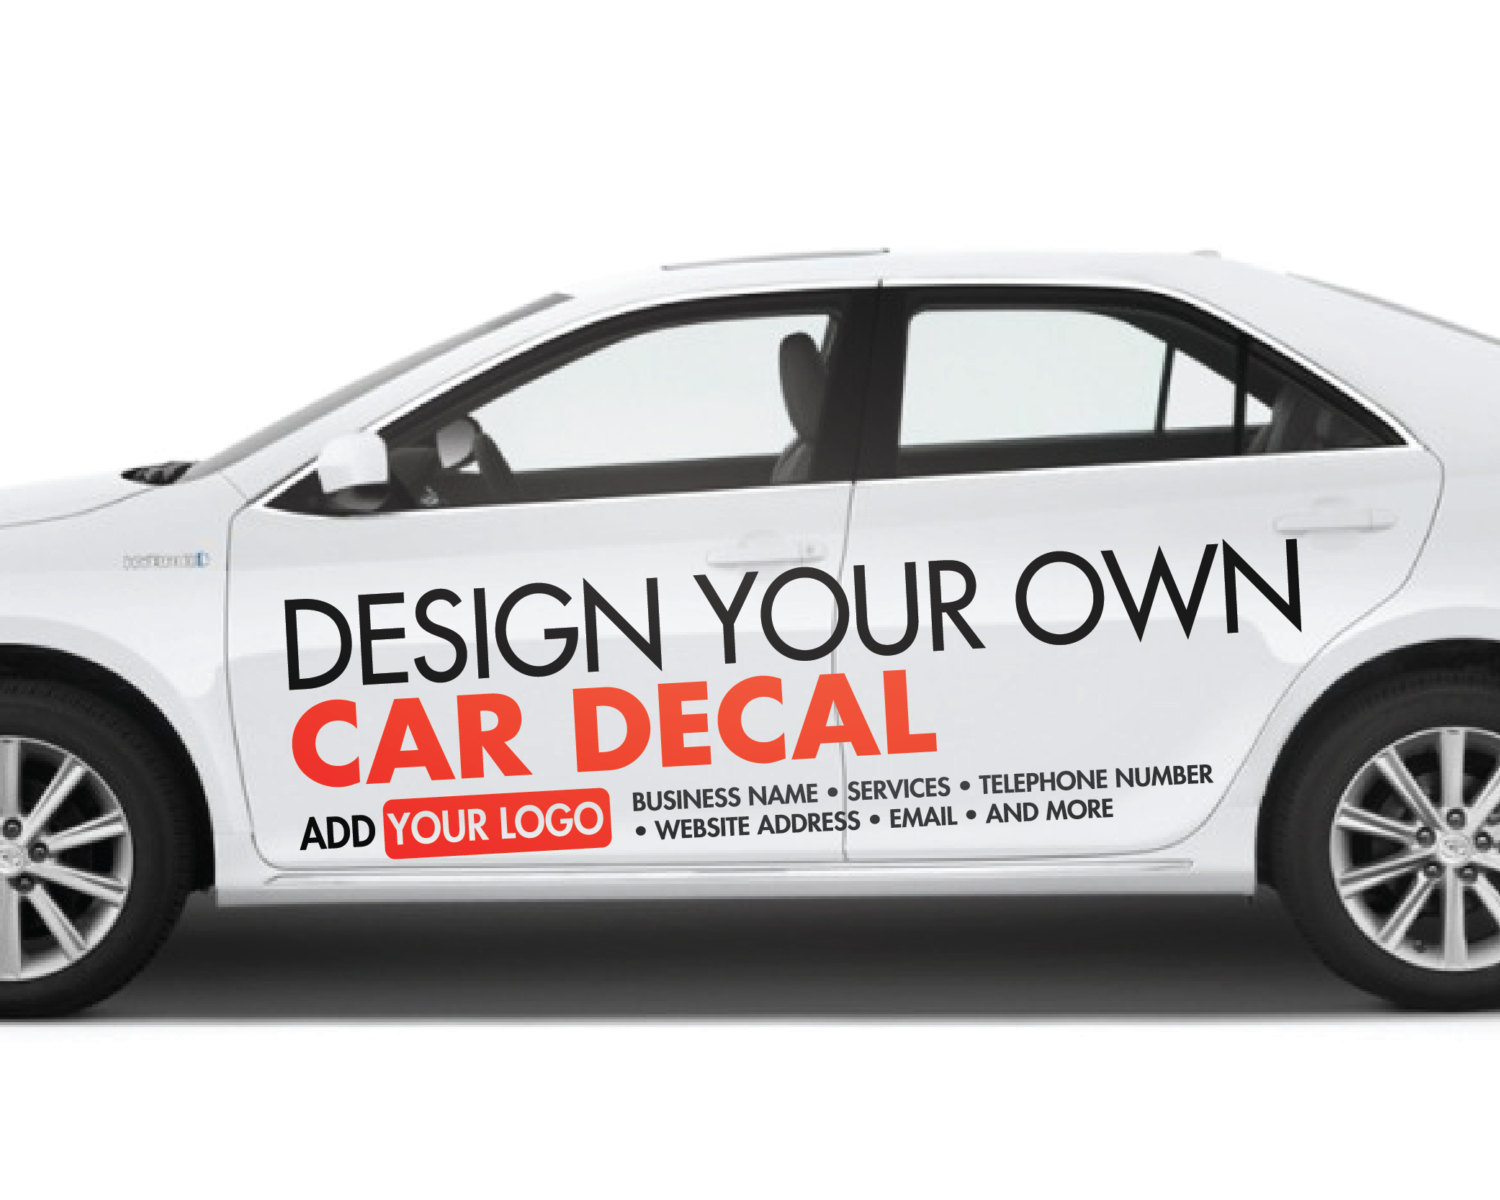
The first step to create custom car decals is to clarify your vision and purpose before you ever open a design tool. Think about whether you want a bold brand logo, a subtle accent, a playful graphic, or a statement that reflects your hobbies and values. Write down keywords, sketch rough ideas, and collect inspiration from photos, social media, and the cars you admire on the road. This planning stage helps you create custom car decals that feel authentic rather than rushed, ensuring the final result aligns with your identity and the message you want to share.
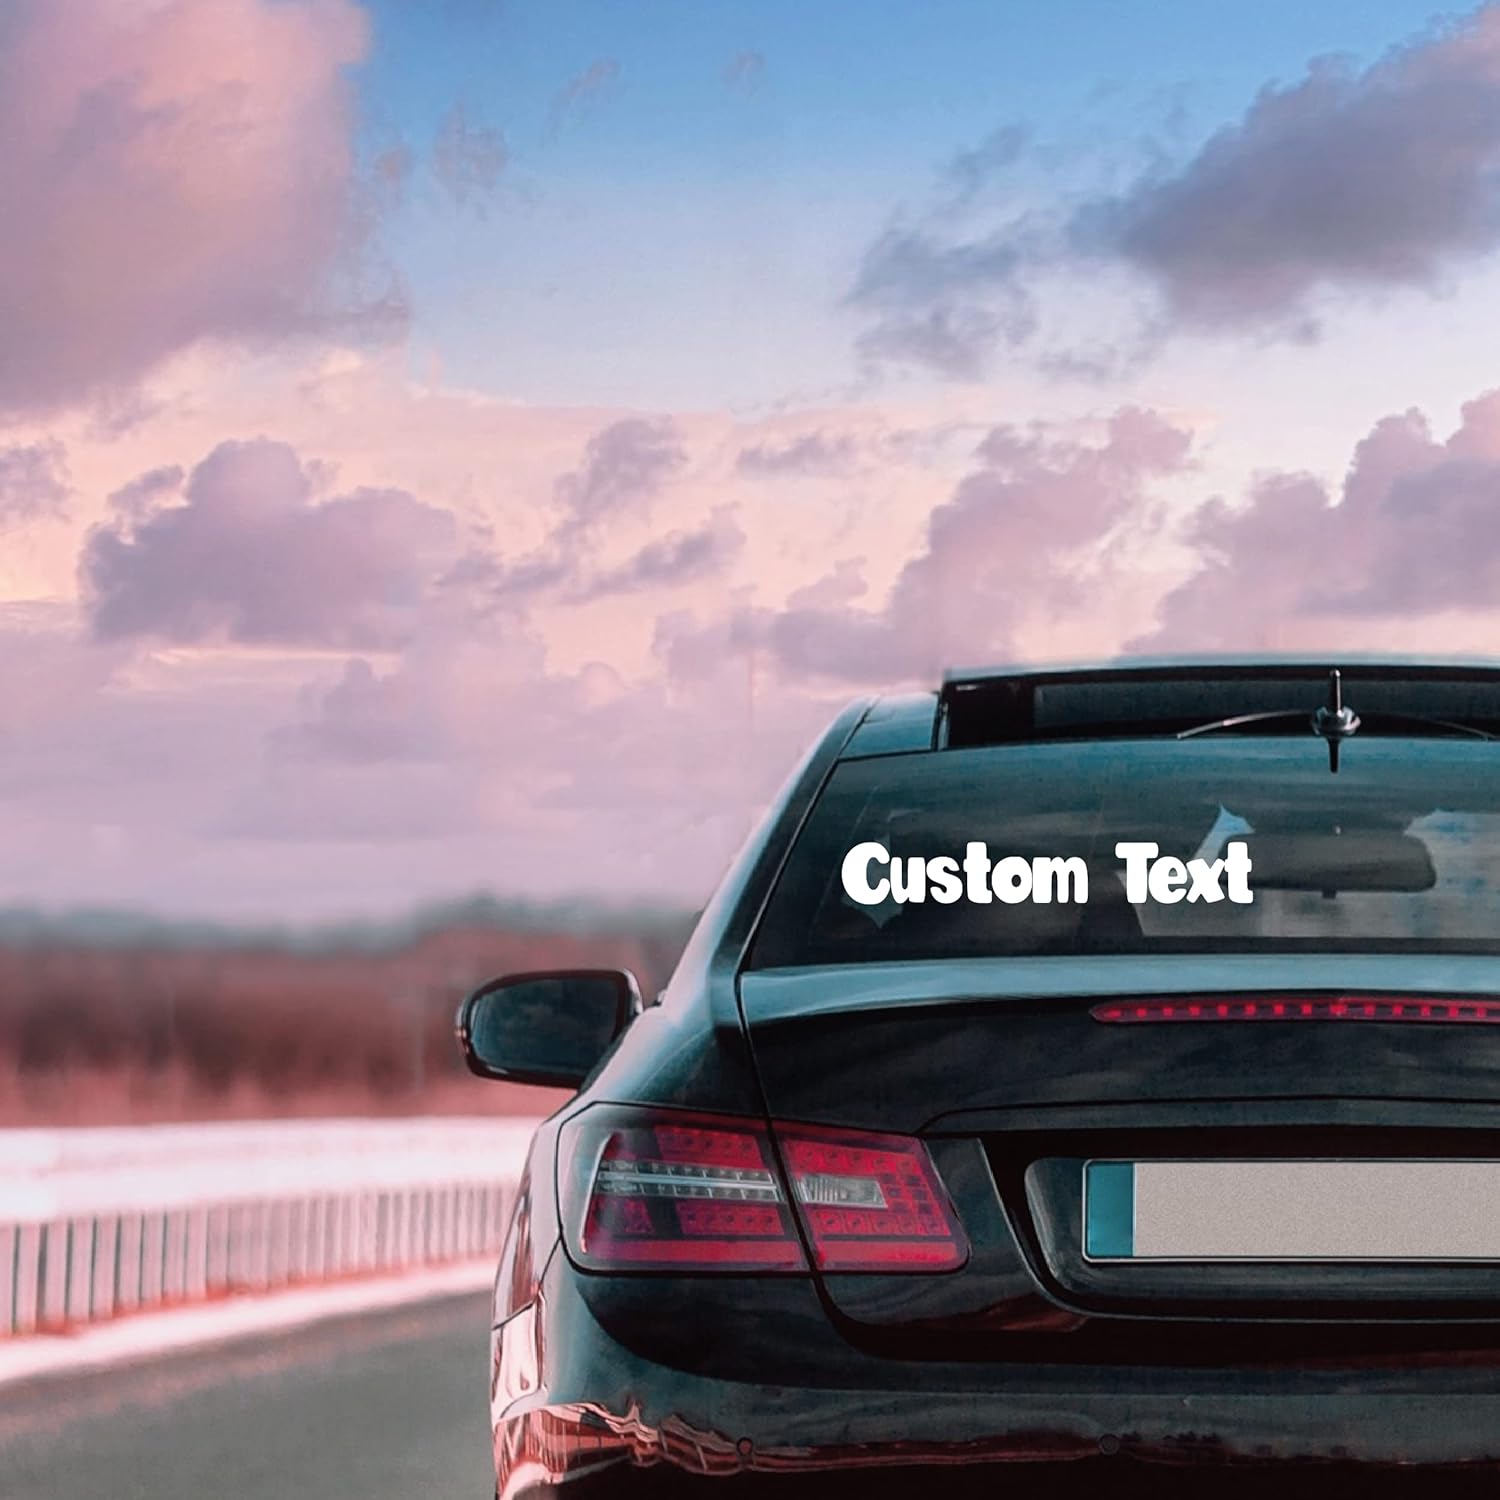
Consider the size, placement, and readability of your design, because these choices will heavily influence how your decal looks once it is applied. Large panels allow for intricate artwork, while smaller shapes work best for minimalist icons or short text. When you create custom car decals, remember that simplicity often increases impact and makes your graphics easier to recognize from a distance. A clear concept also reduces revision cycles and helps the designer or software produce a file that cuts cleanly without wasting material.
Choose the Right File Format and Software
To create custom car decals that look professional, you need vector-based files that scale without losing sharpness. Use design programs like Adobe Illustrator, Affinity Designer, or free tools such as Inkscape to draw clean shapes, text, and logos. Save your artwork in SVG or PDF formats whenever possible, because these retain vector data and are preferred by cutting machines and print shops. Raster formats like JPEG or PNG can work for simple graphics, but they may cause pixelation if the decal is enlarged beyond the original size.
When you prepare files to create custom car decals, pay attention to layer organization, stroke paths, and color separation. Remove hidden elements, merge unnecessary paths, and convert text to outlines if your printer requests it. If you are cutting vinyl by hand or with a Cricut or Silhouette machine, follow the recommended settings for pressure, speed, and blade depth. Choosing the right combination of software and file settings reduces errors, saves material, and helps your custom car decals feed smoothly into the cutting process.
Pick Materials and Adhesive for Durability
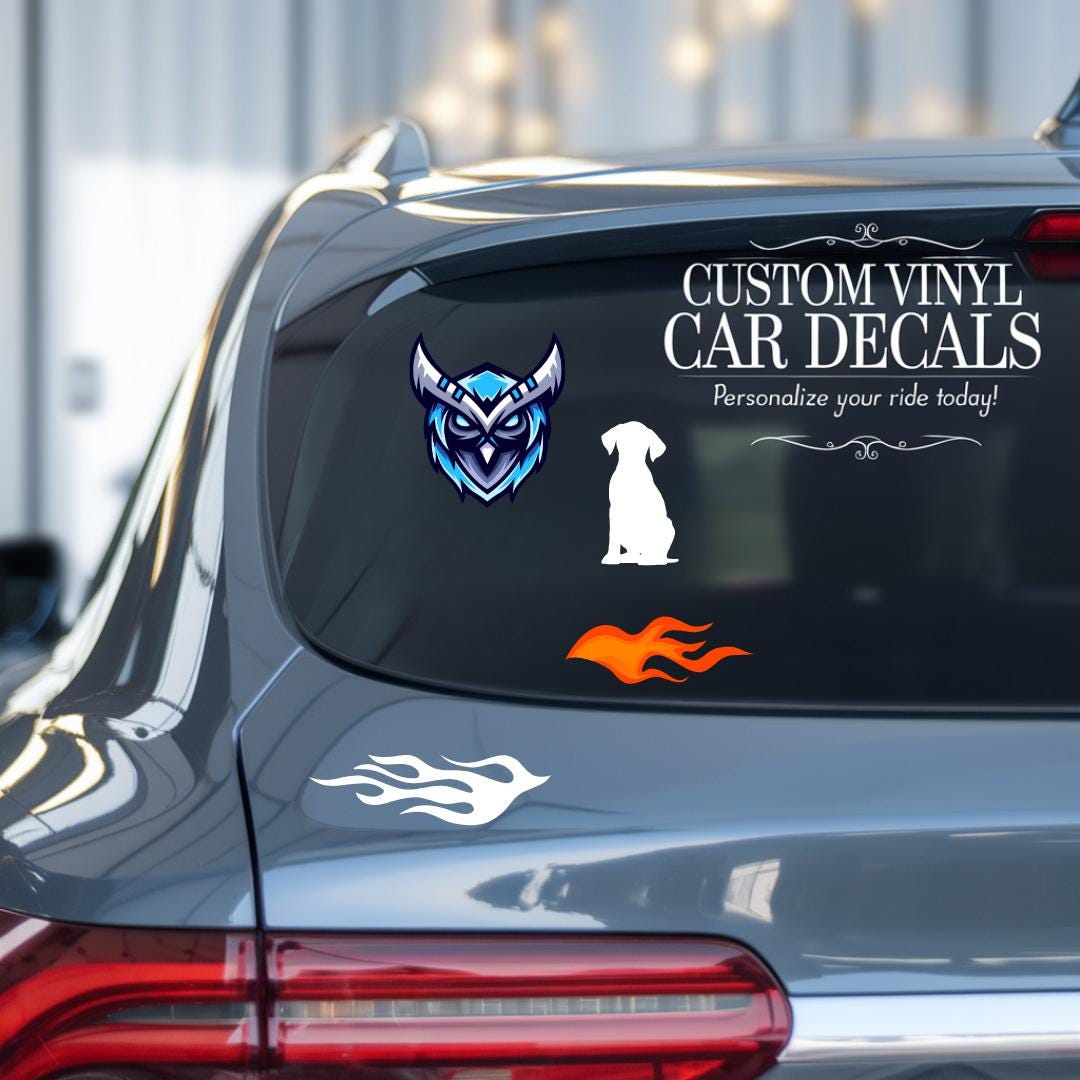
The materials you select have a huge impact on how your decals perform on different surfaces and weather conditions. For most car applications, cast vinyl is ideal because it conforms to curves, resists cracking, and maintains a low profile for a sleek finish. You can create custom car decals in matte or glossy finishes, and each offers a different look and practical trade-offs. Matte finishes hide minor surface imperfections and reduce glare, while glossy finishes provide vibrant color depth and a high-shield appearance.
Adhesive choice determines how long your decal stays in place and whether it leaves residue when removed. Permanent adhesive works well for long-term branding, while removable or repositionable adhesive is better for renters or seasonal designs. When you create custom car decals, ask your supplier about temperature resistance, UV protection, and edge lifting under wind and rain. Investing in quality materials may cost a bit more upfront but saves you from frequent replacements and frustration later.
Measure, Cut, and Apply with Precision
Accurate measurement is essential when you create custom car decals, especially if you are covering large areas or fitting multiple pieces together. Use a measuring tape, level, and masking tape to mark guidelines on the car surface before peeling the backing. Clean the area thoroughly with soap and water, then wipe it with rubbing alcohol to remove oils and dust that could interfere with adhesion. Work in a shaded, calm environment to prevent dust from settling and to avoid bubbles under the film.
Apply the decal slowly from one edge to the other, using a squeegee or soft card to push out air pockets and ensure full contact. If the design is complex, consider applying sections in order and overlapping them slightly for trimming later. When you create custom car decals for curves and edges, gentle heat from a hairdryer can make the vinyl more pliable without damaging it. Patience during installation pays off with a smooth, wrinkle-free finish that looks professional and lasts longer.
Maintain and Remove Decals Carefully
Proper maintenance helps your custom car decals retain their color and stickiness over time. Wash your vehicle with a mild soap, avoid abrasive sponges, and rinse thoroughly around the edges to prevent water from seeping underneath. If you notice small bubbles, you can sometimes smooth them out by gently heating the area and pressing it down before the adhesive fully sets. Regularly inspect the decal for signs of lifting or fading, especially if you drive in intense sunlight or harsh weather.
When the time comes to remove your custom car decals, do it slowly and at a low angle to reduce the risk of damaging the paint. If residue remains, use a dedicated adhesive remover or a mix of warm water and mild detergent rather than harsh solvents. By treating installation and removal with care, you protect your vehicle and make it easier to refresh or redesign in the future. Thoughtful maintenance ensures that each time you create custom car decals, they look as good as new when they finally come off.
Test Small Batches and Iterate
Before committing to a full wrap or large fleet graphics, it is wise to create custom car decals on a smaller test panel to evaluate colors, placement, and durability. This trial run reveals how the material reacts to temperature changes, sunlight, and your specific driving routine. Gather feedback from friends, colleagues, or online communities to refine your design and avoid costly mistakes on the final version.

Use insights from testing to adjust line weight, contrast, and text size so that your custom car decals remain legible and attractive in real-world conditions. Keep notes on what worked and what did not, and apply those lessons to future projects. Over time, this iterative approach helps you build a signature style that is instantly recognizable and consistently high quality.
By following these steps and paying attention to design, materials, and installation, you can create custom car decals that turn heads, communicate your message, and stay looking great mile after mile.
How to Make Custom Car Decals (Silhouette Cameo 4) + Illustrator Workflow
MUSIC BY AEKASORA CAMEO 4: ...
