Create Car Decals
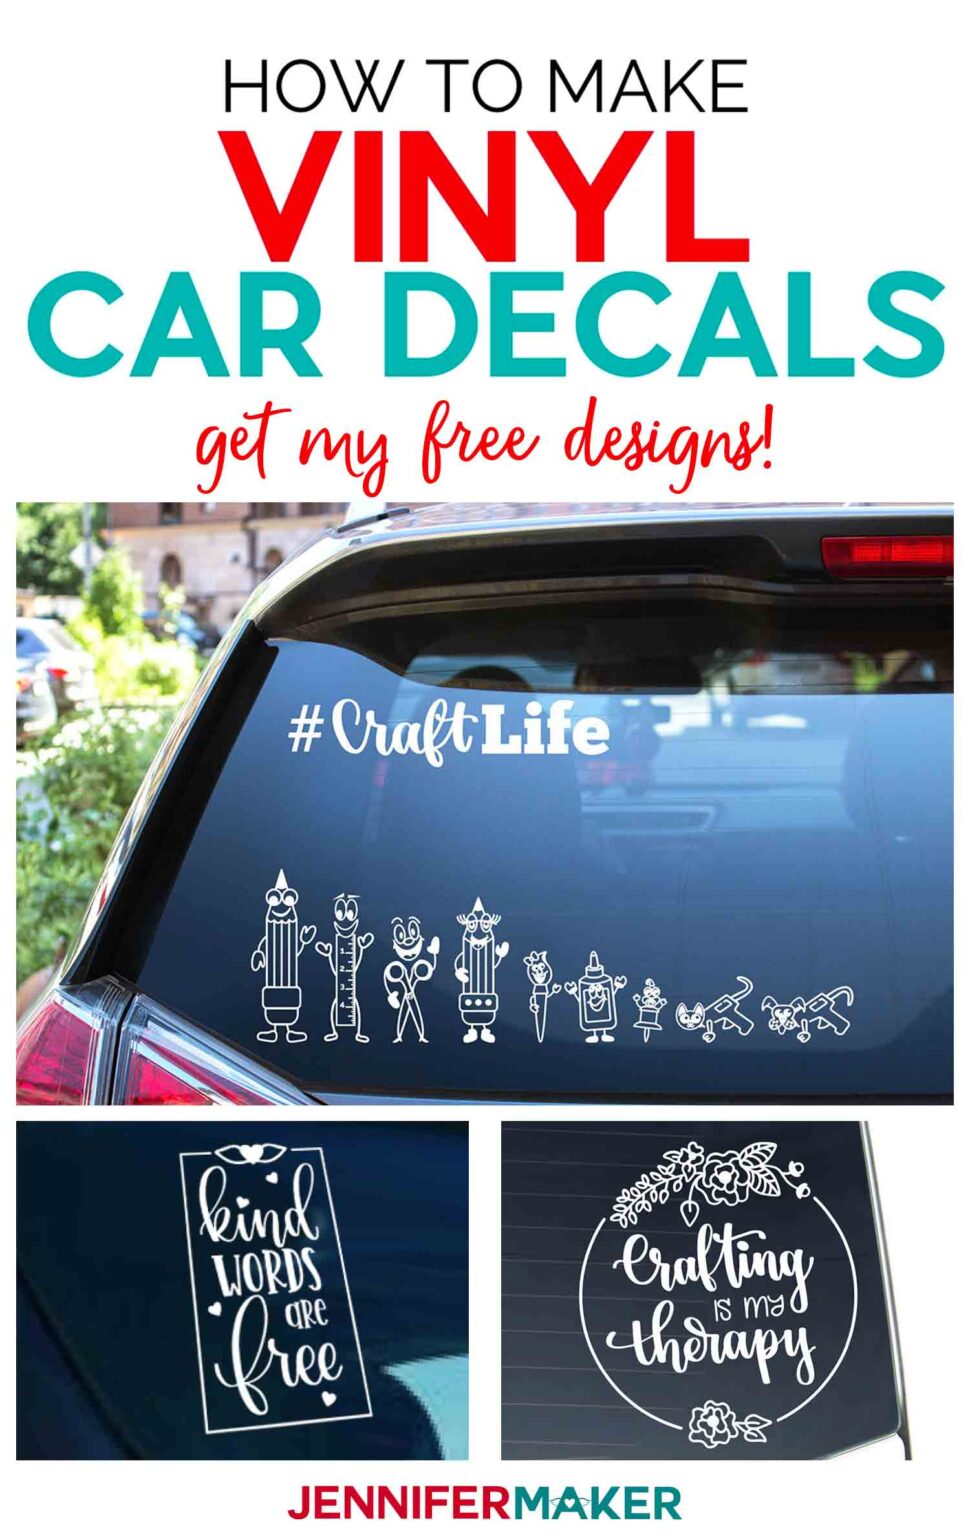
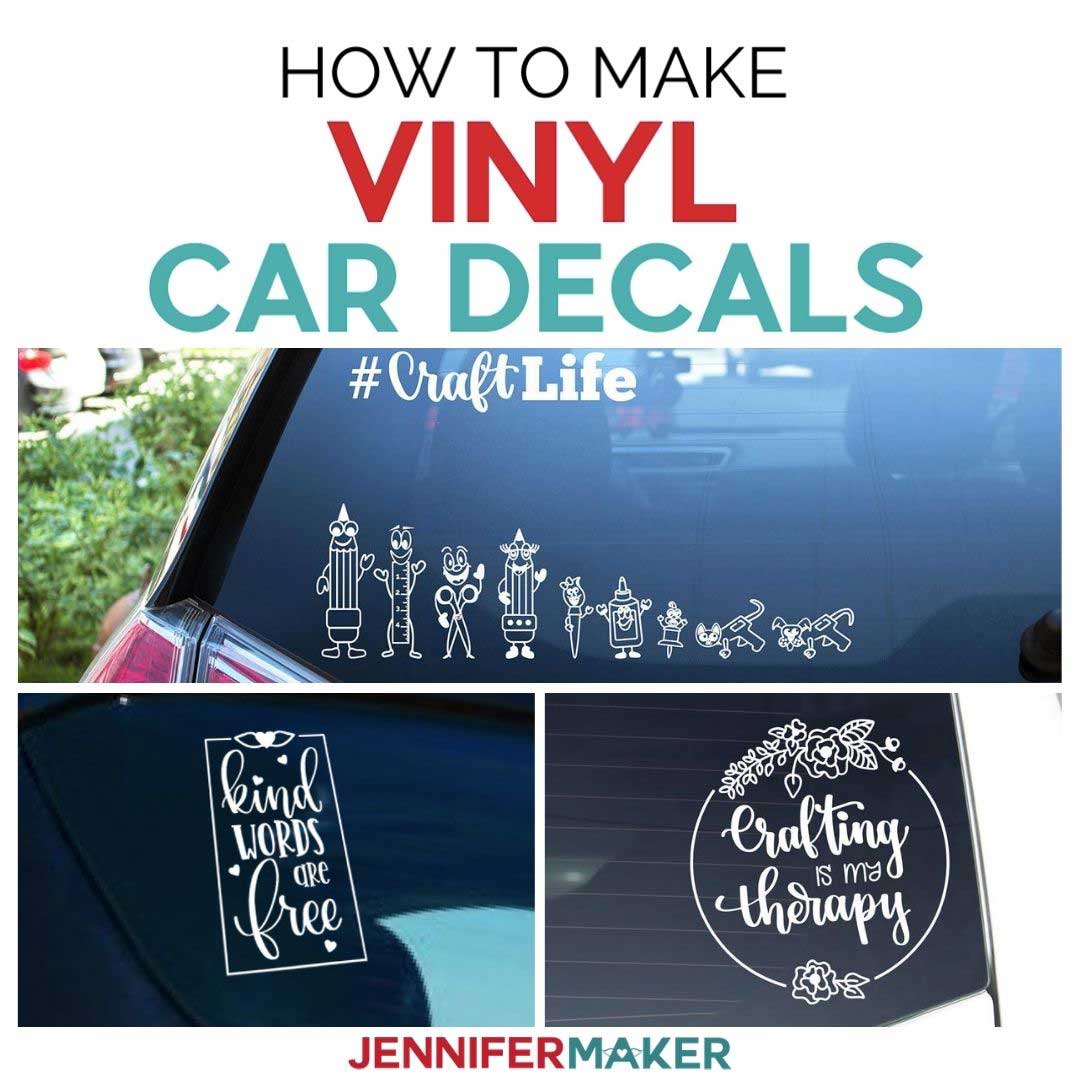
Creating car decals is a fun and practical way to personalize your vehicle, turn a design idea into a bold statement, and promote a brand or message on the road.
Planning Your Car Decal Design
The first step to create car decals is to clarify what you want to communicate and who will see it. A clear purpose helps you choose the right style, size, and placement so your decal looks intentional and professional. Whether you are creating a subtle accent, a full wrap look, or a simple logo for your business, define the message and the audience before you sketch anything.
Start by exploring different design directions and collecting inspiration from photos, existing vehicle graphics, or digital art. Consider how the decal will appear on curved surfaces, windows, and different lighting conditions. When you create car decals, think about contrast, simplicity, and readability so the design stays impactful from a distance as well as up close.

Sketching and Vector Conversion
Begin with rough sketches on paper, then refine the chosen concept in a vector program so the lines stay clean at any size. Use bold shapes, limited colors, and strong outlines to make the artwork easy to cut and apply. If you plan to create car decals for commercial use, make sure your design does not infringe on trademarks or copyrighted characters.
Choosing Decal Materials and Methods
One of the most important decisions when you create car decals is choosing between vinyl, cast or calendared, and whether to use adhesive or magnetic options. Each material affects durability, conformability, and installation difficulty, so match the choice to your goals and budget.
Vinyl decals are popular because they are weather resistant, vibrant, and available in many finishes such as matte, gloss, or textured looks. Cast vinyl is softer and more flexible, making it ideal for complex curves and long-term applications, while calendared vinyl is more economical and suitable for shorter-term projects.
Adhesive vs Magnetic Decals
- Adhesive decals stick directly to the paint with strong adhesive and can be permanent or removable depending on the product.
- Magnetic decals attach to the surface using magnets and are easy to remove, but they may not conform tightly to uneven body lines.
- For a professional finish, consider edge treatments like rounded corners or clear overlaminates that protect the artwork from chips and fading.
Measuring and Cutting Your Decal
Accurate measurements are essential when you create car decals, especially if the design includes registration marks for precise alignment. Measure the intended area on the vehicle and add a small border around the artwork to ensure full coverage and easy positioning.
Use a cutting machine or plotter to cut the vinyl with enough excess material to handle small shifts during installation. If you are cutting by hand, print a template, trace it onto the vinyl, and use a sharp craft knife for clean edges. Test the fit on a flat surface before applying the decal to the car to confirm that the proportions and curves look right.
Tips for Clean Cutting
- Set the blade depth according to the thickness of the vinyl to avoid tearing or undercutting.
- Use transfer tape to lift the cut pieces from the liner and keep the arrangement intact.
- Label each piece if the decal has multiple layers so you can position them correctly later.
Preparing the Car Surface
Even the best design will fail if the surface is not properly prepared, so cleaning and preparing the car is a critical stage when you create car decals. Dirt, wax, and old residues can prevent the adhesive from bonding correctly and lead to peeling or bubbling.

Wash the area with mild soap, dry it thoroughly, and then wipe it down with isopropyl alcohol to remove any remaining contaminants. If you are applying the decal over a curved bumper or rocker panel, gently heat the surface with a heat gun or hair dryer to make the vinyl more pliable without overheating it.
Surface Checklist
- No dust, dirt, or grease
- Fully dry before application
- Protected trim and glass with tape or masking
Applying the Decal Smoothly
Applying the decal carefully is where patience pays off, especially if you want to create car decals that look flawless and professional. Start from one edge and slowly lower the decal while smoothing it down with a soft squeegee or credit card to push out air bubbles.
Work from the center toward the edges, gently stretching the vinyl where needed to keep the design flat against the curves. If bubbles appear, lift the edge slightly and re-press the area, moving the squeegee in one direction to avoid creating new ripples.

Post-Application Steps
- Let the adhesive cure for at least 24 hours before washing the vehicle.
- Inspect the edges and press any lifted corners back down while the material is still warm.
- Avoid aggressive cleaning or automatic car washes for the first few days to prevent premature lifting.
Maintenance and Longevity Tips
To keep your car decals looking sharp, regular maintenance is key when you create car decals that are meant to last. Use gentle car shampoo, avoid abrasive sponges, and rinse off road salt promptly to protect the adhesive and the vinyl surface.
Parking in shaded areas or using a cover can reduce fading and extend the life of the colors. If you ever want to remove the decal, peel it back slowly at a sharp angle and, if residue remains, clean it with a dedicated adhesive remover or rubbing alcohol.
Conclusion
Creating car decals combines design, material knowledge, and careful application, and when you plan well and work patiently, you can turn your vehicle into a moving canvas that looks great and lasts longer.

Create and Sell Car Decals with Your Cricut | DIY Business Ideas
Want to make money from home with your Cricut machine? In this step-by-step Cricut tutorial, I'll show you how to make and sell ...
