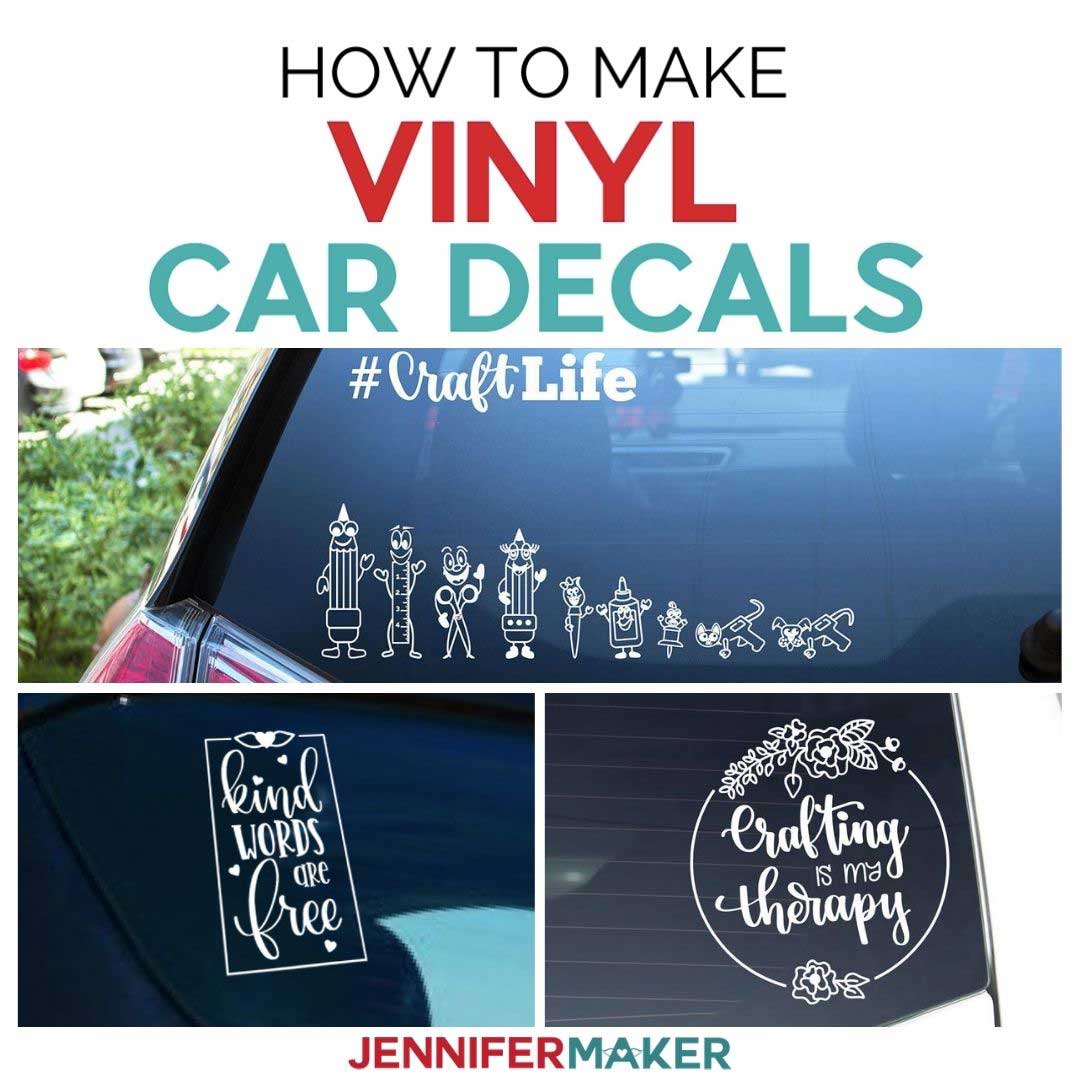
Create Car Decal
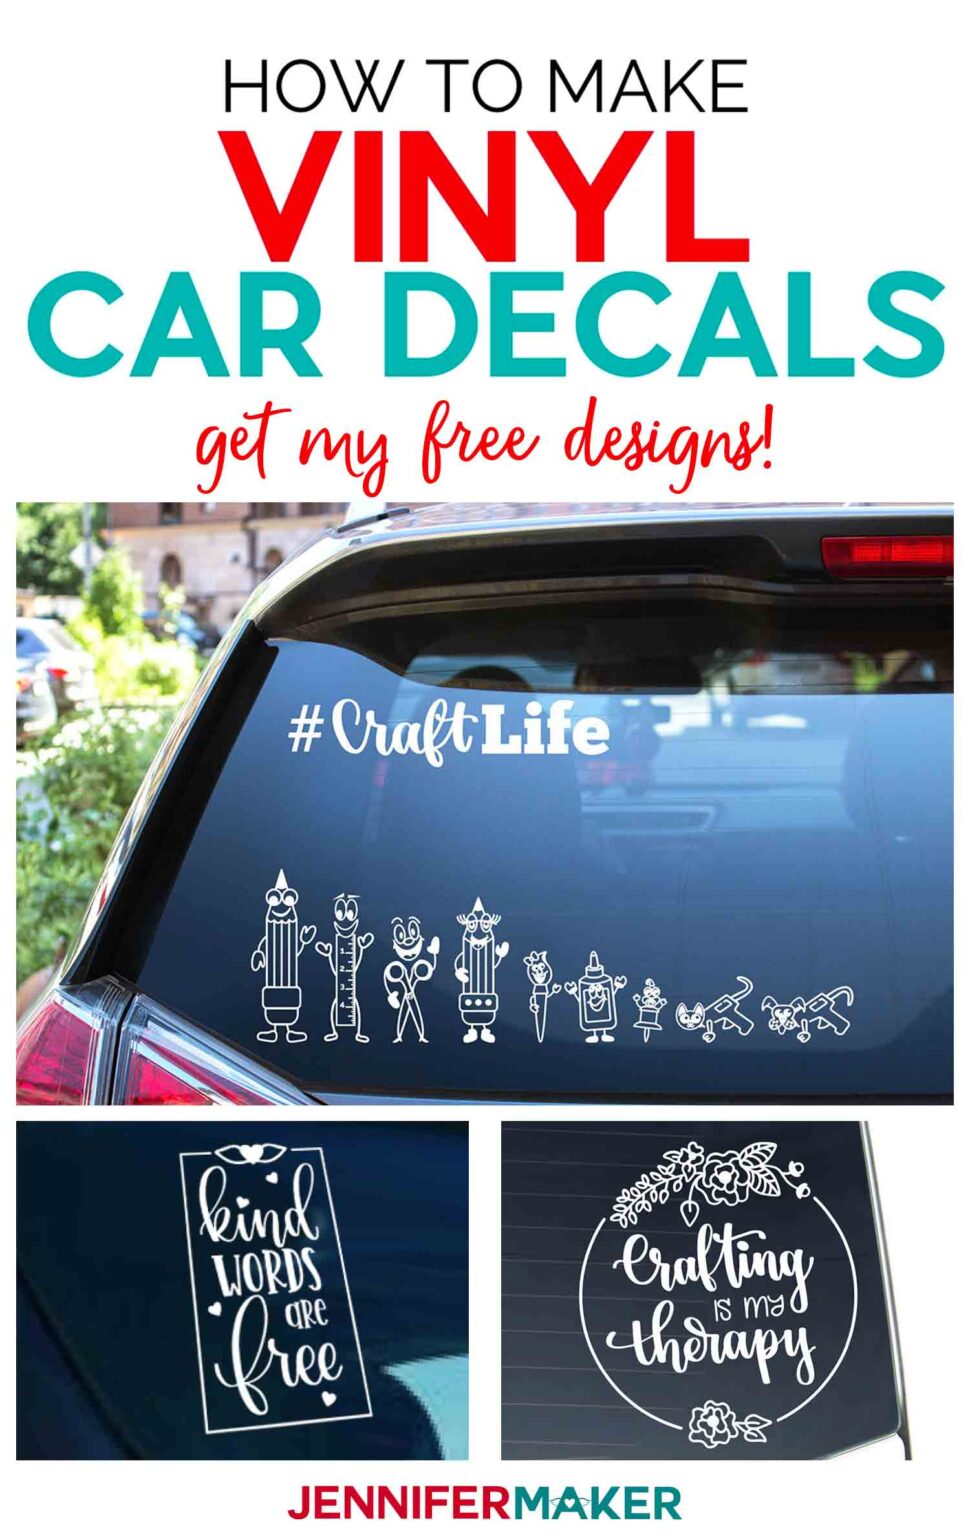
Creating a car decal is a fun and affordable way to give your vehicle a personalized look without committing to a full wrap.
Planning Your Car Decal Design
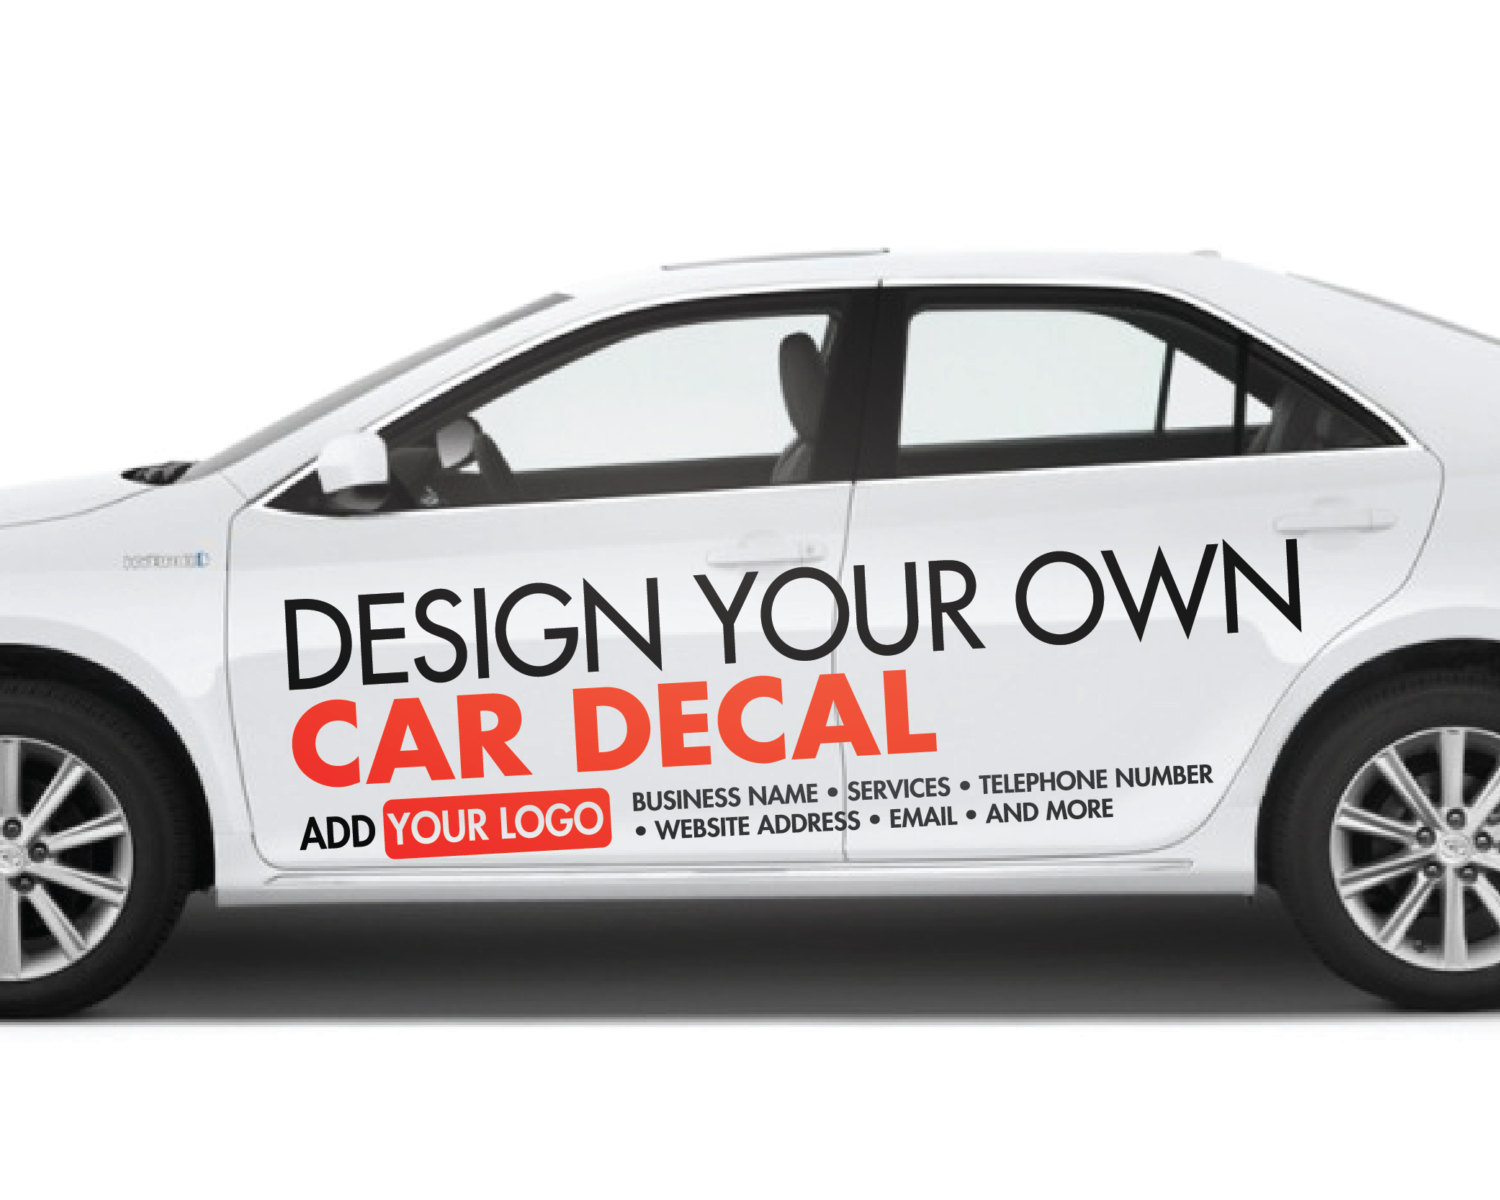
The first step to create car decal is to clarify what you want to express and who will see it. Your design should reflect your personality, brand, or message while staying readable at a distance. Think about whether you want a bold logo, a witty phrase, a geometric pattern, or a detailed illustration.
Before you create car decal artwork, consider the surface of your vehicle and how the decal will wrap around curves and edges. Simple shapes and strong contrast usually work best so the graphic stays clear when the car is in motion. You can sketch ideas on paper or use digital tools to iterate quickly and refine proportions.
Choosing the Right Materials and Tools
To create car decal that lasts, you need the right materials, starting with a high-quality vinyl film that suits your environment. Outdoor decals require durable vinyl with strong adhesive and UV resistance, while indoor decals can use thinner, more economical options.
You will also need tools to help you apply the decal cleanly, including a squeegee, a spray solution of mild soap and water, a craft knife, and measuring tools. When you plan to create car decal for a curved surface, consider a cast vinyl that conforms better to the shape and reduces the risk of peeling at the edges.
- Cast vinyl for complex curves and long-term wear
- Calendered vinyl for budget-friendly, flatter panels
- Transfer tape for moving the design from paper to the car
- Cleaning supplies to remove dust and grease before application
Designing in Software and Preparing for Cutting
To create car decal that looks professional, design it in vector software so the lines stay smooth no matter how large you scale it. Programs like Adobe Illustrator, Affinity Designer, or free alternatives allow you to test text, spacing, and color contrasts before you cut anything.
When you prepare the file for a vinyl cutter, you will outline the shapes, set the correct cutting depth, and create clear registration marks. If you plan to create car decal with multiple layers, think about the order of application and which parts need to stay connected to the backing paper.
Cutting, Weeding, and Transferring the Decal
Using a vinyl cutter, you will cut the decal based on your design file, then weed away the excess vinyl so that only the parts you want to transfer remain. Weeding requires patience, especially with detailed letters or intricate patterns, but careful work here prevents mistakes later.
To transfer the decal, apply transfer tape smoothly to the surface, press out air bubbles, and peel away the backing paper while the adhesive is still wet. As you learn how to create car decal, you will develop a feel for how much pressure to apply and how fast to work before the vinyl sticks permanently.
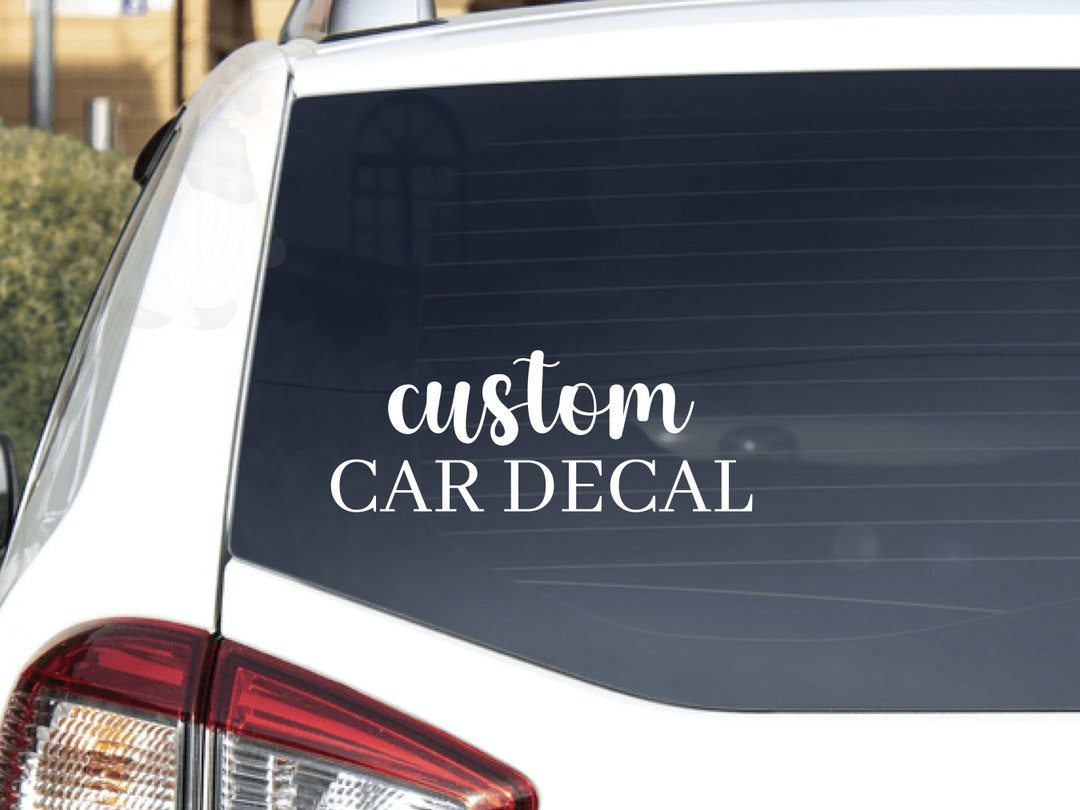
Applying the Decal to the Car Surface
Start by cleaning the area thoroughly, removing any dirt, wax, or oils that could prevent proper adhesion when you create car decal. It helps to work in the shade or on a cooler day so the vinyl does not set too quickly while you are positioning it.
Use a spray solution of water and a few drops of dish soap to temporarily slide the decal into place, then use a squeegee from the center outward to push out water and secure the vinyl. Slowly remove the transfer tape at a sharp angle, and if the decal starts to lift, lay the transfer tape back down and smooth it again.
Maintenance and Longevity Tips
After you create car decal, avoid washing the vehicle immediately and instead wait at least 48 hours for the adhesive to cure and bond properly with the paint. Gentle cleaning with mild soap, soft cloths, and non-abrasive techniques will help the decal stay vibrant for years.

Inspect the edges regularly, especially before road trips, and press down any lifting corners before they catch on dirt or washing brushes. With proper care, a well-installed decal can keep its color and adhesion, allowing you to change your car’s look again whenever you are ready to create car decal anew.
By planning your design, choosing quality materials, and applying the decal carefully, you can turn your vehicle into a moving canvas that stands out while protecting the original paint underneath.
Easy Cricut Car Decal | Make and Apply your own Car Decal with Cricut
Learn to make and apply car decals with Cricut. This easy step by step tutorial will help you personalize your car in no time!
