Car Window Decal
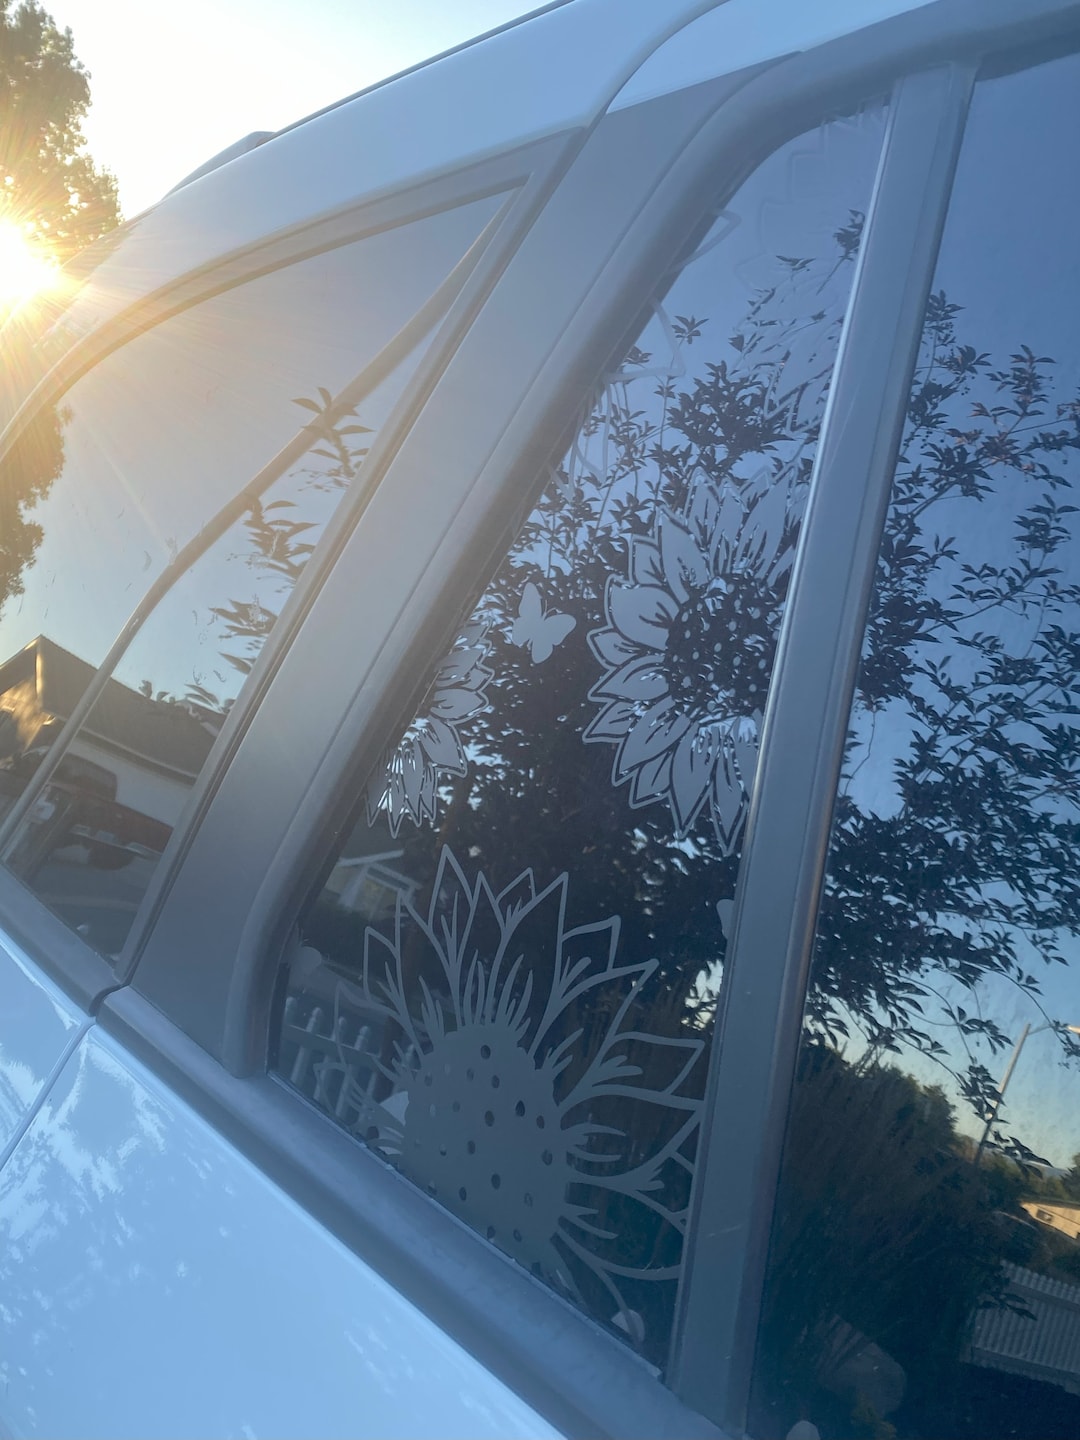
A car window decal is a stylish, low cost way to personalize your ride and make a statement on the road.
What is a car window decal and how does it work
A car window decal is a graphic cut from vinyl and applied to glass surfaces, giving you an instant custom look without permanent paint. These decals use strong adhesive designed for glass, so they stay in place but usually remove cleanly when you want a change. You will find options ranging from simple logos, quotes, and tribal patterns to detailed scenes that cover large portions of the rear or side windows. Because they are printed on durable vinyl, they resist fading, light rain, and everyday wear, making them practical for both city driving and weekend road trips.
Applying a car window decal is straightforward, and most people can do it with a few simple tools. You clean the glass, position the decal, use a squeegee to push out air bubbles, and trim any excess for a seamless finish. The key is to work slowly, align the design carefully, and avoid rushing the process so the decal adheres smoothly. Once applied, the decal sits flat against the glass, preserving visibility while adding personality, and it can be swapped out whenever you crave a new style.

Choosing the right design for your car windows
The best car window decal matches your personality and fits the size of your glass without blocking crucial sightlines. Consider minimalist emblems for a subtle look, bold typography for a statement, or scenic patterns that frame your view in a creative way. Think about where the decal will sit, because rear windows often suit larger designs, while smaller side windows work better with compact icons or short text. When you explore different styles, focus on clean lines and high contrast so the graphic remains sharp and readable in daylight and at night.
- Simple emblems or symbols for a sleek, professional appearance.
- Motivational quotes that wrap across the lower part of a rear window.
- Geometric shapes and tribal patterns for a modern, edgy vibe.
- Nature or abstract art that complements your car color without overwhelming it.
Before committing, you can use digital mockups or paper templates to visualize how the decal will look on your windows. Test the placement while parked, check that it does not interfere with mirrors, and ensure you keep the design within safe zones that do not obscure your view. A well planned car window decal enhances your style while staying fully compliant with visibility and safety expectations.
Materials and printing quality that last
High quality vinyl and professional printing make a huge difference in how a car window decal ages under sun, rain, and wind. Look for decals made from cast vinyl or premium adhesive films, because they conform better to curves and resist bubbling. UV resistant inks help the colors stay vibrant, preventing fading even when your car spends long hours in direct sunlight. A durable car window decal will also handle car washes, light abrasion, and temperature swings without peeling or cracking.

When you compare options, check details such as ink adhesion, flexibility of the material, and whether the adhesive leaves minimal residue. Some premium decals include protective layers that guard against scratches and road debris, extending the life of the graphic. Investing in better materials usually means your decal looks fresh for years instead of fading or lifting after a few months. This attention to quality turns a simple accessory into a long term expression of your style.
Installation tips for a flawless finish
Installing a car window decal correctly reduces frustration and ensures the final look is smooth and bubble free. Start by washing the glass with a gentle cleaner, then wipe it with rubbing alcohol to remove oils and residues that can interfere with adhesion. Cut the decal slightly larger than the window so you can reposition it easily before trimming to the final edge. Use a soft squeegee, start from the center, and work outward to push out air and secure the vinyl smoothly against the glass.
- Clean the surface thoroughly before peeling the backing.
- Use a level or measuring tools if the design needs to be perfectly aligned.
- Apply firm and even pressure with the squeegee for a consistent bond.
- Trim excess material with a sharp hobby knife for neat edges.
If bubbles appear later, you can often lift a corner, re squeegee, and lower the decal gently to release trapped air. Avoid peeling the decal under extreme heat, because the adhesive softens and can stretch. With a little patience and care, your car window decal will look professional and stay intact through seasons of driving.

Removing and replacing decals without damage
One of the advantages of a car window decal is how easily you can refresh your look by removing and replacing it. To take it off, gently heat the edges with a hairdryer on low, which weakens the adhesive and makes peeling smoother. Slowly lift a corner, peel back at a low angle, and use a plastic scraper if needed to avoid scratching the glass. If residue remains, a mix of warm water and mild soap or a dedicated adhesive remover usually clears it without harming the window film or tint.
When you install a new decal, give the glass a fresh cleaning and check for any leftover adhesive before putting the next design. Rotating between several decals lets you change your style with the seasons or for special events without committing to one look forever. This flexibility makes a car window decal a fun, low commitment way to experiment with graphics, colors, and themes. As long as you handle removal carefully, your windows stay clean, and you can keep customizing your ride whenever inspiration strikes.
Legal considerations and safety best practices
While a car window decal is a creative accessory, it is important to follow local regulations so it does not become a safety hazard. Many regions limit how much of the windshield and side windows can be covered, so always keep clear lines of sight for driving and signaling. Avoid placing decals over critical sensors, cameras, or navigation markers, because they can interfere with safety systems. Choosing transparent or lightly tinted films for portions that affect visibility can help you stay compliant while still expressing your style.

To balance personality and safety, plan your car window decal layout with visibility in mind and avoid overly complex designs near the driver’s line of sight. If you frequently drive at night, ensure that reflective elements or dark colors do not reduce the clarity of your lights or make it harder for others to see you. By combining smart design with responsible placement, you enjoy a personalized car that remains safe, legal, and road ready.
In the end, a car window decal offers a flexible, visually appealing way to customize your vehicle without permanent changes. With thoughtful design, quality materials, careful installation, and attention to safety rules, your decals can turn everyday drives into moments of personal expression while keeping your windows both stylish and functional.
Create and Sell Car Decals with Your Cricut | DIY Business Ideas
Want to make money from home with your Cricut machine? In this step-by-step Cricut tutorial, I'll show you how to make and sell ...
