Camping Trailer Decals

Adding camping trailer decals is one of the easiest ways to personalize your camper and make it instantly recognizable on any campsite or highway.
What Are Camping Trailer Decals and Why They Matter
Camping trailer decals are adhesive vinyl graphics designed specifically for the exterior surfaces of travel trailers, pop-ups, and fifth wheels. They range from simple letter decals with your family name to intricate full-panel illustrations that showcase mountains, waves, or wildlife. Because they stick directly to the painted surface, they protect the original finish while giving you a bold, custom look. Unlike paint, quality decals are engineered to resist UV rays, moisture, and minor scratches, making them a durable choice for mobile storytelling.
Beyond protection, decals communicate your personality before anyone steps foot inside your camper. On busy campgrounds, they help friends and fellow travelers spot your unit at a glance. They can display your sense of humor, your love for nature, or your passion for a favorite hobby. For many, the decision to add camping trailer decals is less about decoration and more about sharing a story that invites conversation and connection on the road.

Popular Themes and Design Ideas for Camper Decals
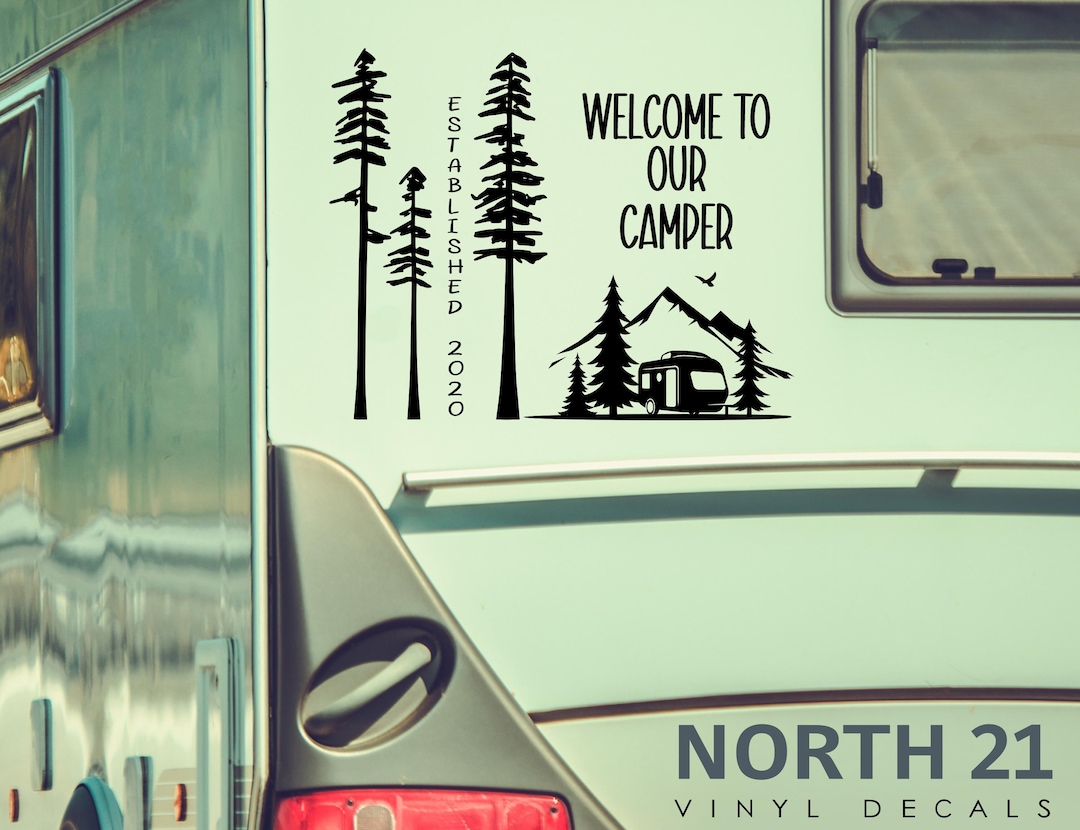
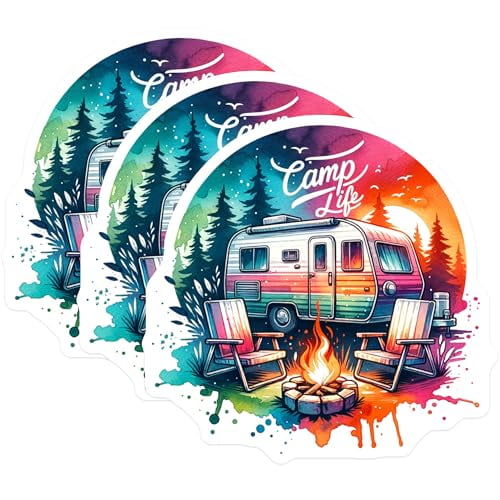
You can choose camping trailer decals that reflect your adventures, such as mountain silhouettes, pine trees, campfires, or tent icons for the classic outdoors vibe. Coastal travelers often opt for wave patterns, anchor graphics, or compass roses to highlight their love of the sea. Minimalist designs with clean lines and single-color logos suit those who prefer a subtle, modern aesthetic. If you want more playful options, consider animal cutouts, constellation maps, or retro-inspired script that says "Wanderlust" or "Home Is Where The Rig Is."
Before finalizing your design, think about how the graphics will wrap around corners and panel seams on your specific camping trailer decal layout. Measure key areas like the rear panel, side doors, and front bumper so the proportions stay balanced. Sketching a rough template on paper or using a free online design tool can help you visualize spacing and avoid awkward gaps. Remember that simpler shapes tend to be more forgiving when applied to curved surfaces, so discuss sizing and placement options with the decal provider to ensure a professional finish.
Choosing High-Quality Materials for Long-Lasting Results
Not all vinyl is created equal, and camping trailer decals can suffer if you choose the wrong grade for outdoor exposure. Look for premium cast vinyl or durable calendared vinyl with strong adhesive and UV inhibitors to prevent fading. A good decal should also be waterproof and resistant to road spray, tree sap, and bird droppings so your graphics stay vibrant through multiple seasons. If you frequently tow in harsh conditions, consider laminated overlays or thicker material options that add an extra layer of protection against abrasion.

When evaluating brands, check reviews from other RV owners to see how certain camping trailer decals hold up over time. Some budget options crack or lift at the edges after a year of constant travel, while higher-end products can last several years with minimal maintenance. Pay attention to the manufacturer's recommended cleaning methods, as harsh chemicals can degrade adhesives and printed inks. Investing in quality from the start reduces the frustration of replacing worn decals and keeps your camper looking polished.
Application Tips and Best Practices for a Clean Finish
Proper surface preparation is essential for camping trailer decals to adhere smoothly and last longer. Clean the area with rubbing alcohol or a mild detergent, then dry thoroughly to remove any dust, grease, or residue that could create air bubbles. Some installers prefer to use a mild soap solution and a soft squeegee during application to reposition the decal easily before the adhesive sets. Once the graphic is in place, work from the center outward to push out trapped air and ensure the vinyl conforms fully to curves and edges.
Use a level or measuring tape to keep text straight and graphics aligned, especially when applying multiple decals that need to form a cohesive look. If you are installing the decals yourself, work in a shaded, cool area to prevent the adhesive from setting too quickly. For larger projects, you might choose professional installation to guarantee precise alignment and bubble-free results. With careful placement and a bit of patience, your new camping trailer decals will look sharp from the first trip and remain crisp through many seasons of use.
Maintaining and Removing Decals Without Damage
Routine care keeps camping trailer decals looking fresh and protects the underlying paint. Wash your camper with a soft sponge or microfiber mitt, using gentle soap and avoiding high-pressure washers directly on the edges of the graphics. Over time, dirt can accumulate at the borders, so rinse thoroughly and dry to prevent staining. If you notice small peeling edges, you can gently press them back down and consider using a silicone-based edge sealant recommended by the manufacturer to extend the life of the decals.
When it is time for an update or a resale, most quality decals can be removed without leaving a sticky residue if you follow the right process. Heating the surface slightly with a heat gun or a hairdryer on a low setting softens the adhesive, making it easier to peel the camping trailer decals away slowly. Any remaining adhesive can usually be lifted with a plastic razor blade and a solution of isopropyl alcohol, followed by a thorough wash and polish. By caring for your decals during both their life and their removal, you keep your camper in great condition for years to come.
Combining Decals with Other Custom Camper Upgrades
Camping trailer decals pair beautifully with other exterior upgrades like upgraded wheels, fresh paint touches, or stylish awnings that coordinate with your color scheme. If you plan a full camper refresh, consider how your graphics will complement new hardware, storage solutions, or solar panel placements. Coordinating decals with interior themes, such as wall colors or floor mats, creates a cohesive look that feels intentional and well thought out. This holistic approach turns your trailer into a true reflection of your travel style rather than a collection of random add-ons.
Whether you go for a bold statement across the entire side panel or a few tasteful accents near the entrance, camping trailer decals remain one of the most flexible ways to upgrade your rig. They are cost-effective compared to a full wrap, yet they deliver a high-impact transformation that feels uniquely yours. By choosing durable materials, thoughtful designs, and careful installation, you ensure that your camper stands out for all the right reasons every time you hit the road.
In the end, the right set of camping trailer decals can turn an ordinary camper into a rolling expression of your adventures, values, and creativity. With a little planning, quality materials, and proper maintenance, your graphics will stay vibrant and protect your investment for years of memorable trips.
The Top 5 Best RV Decals in 2026 - Must Watch Before Buying!
The Top 5 Best RV Decals Shown in This Video: 5. ▻ RV State Travel USA Map Vinyl Sticker https://amzn.to/4a7xyFy 4.
