Camper Stickers
Camper stickers are a fun and expressive way to personalize your mobile living space while protecting its surfaces from the elements.
What Are Camper Stickers and Why They Matter
Camper stickers are adhesive decals designed specifically for use on the exterior and interior surfaces of camper vans, RVs, and pop-up trailers. Unlike generic stickers, these graphics are built to withstand UV exposure, rain, dust, and the constant vibration of life on the road, making them durable outdoor signage for your rolling home.
These stickers do more than just decorate; they help define the personality of your camper. Whether you prefer minimalist line art, bold wildlife motifs, or witty travel slogans, there is a style that matches your story. Choosing high-quality camper stickers means investing in graphics that retain their vibrancy over years of adventures, resisting fading and peeling far better than cheap alternatives.

Popular Themes and Design Ideas for Camper Graphics
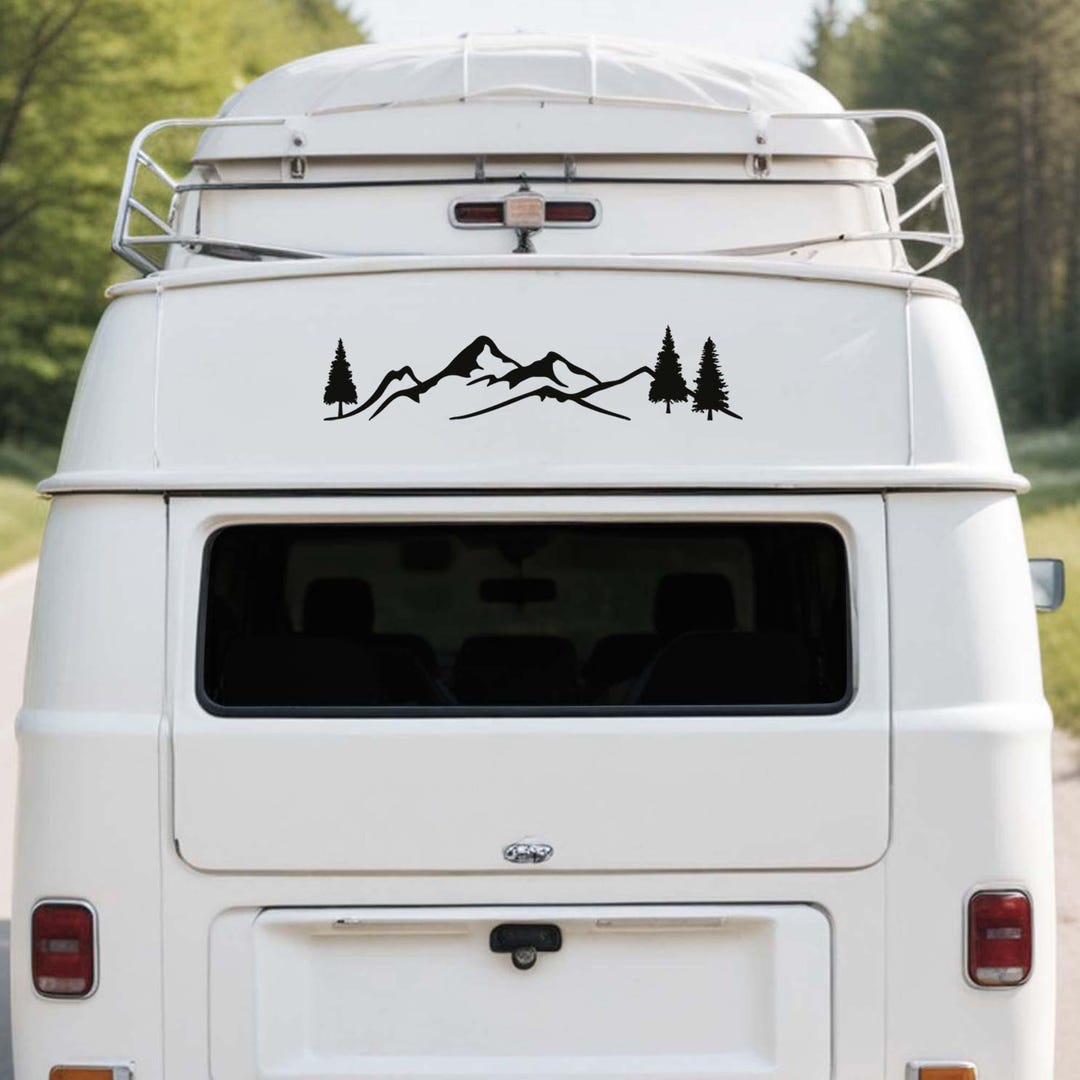
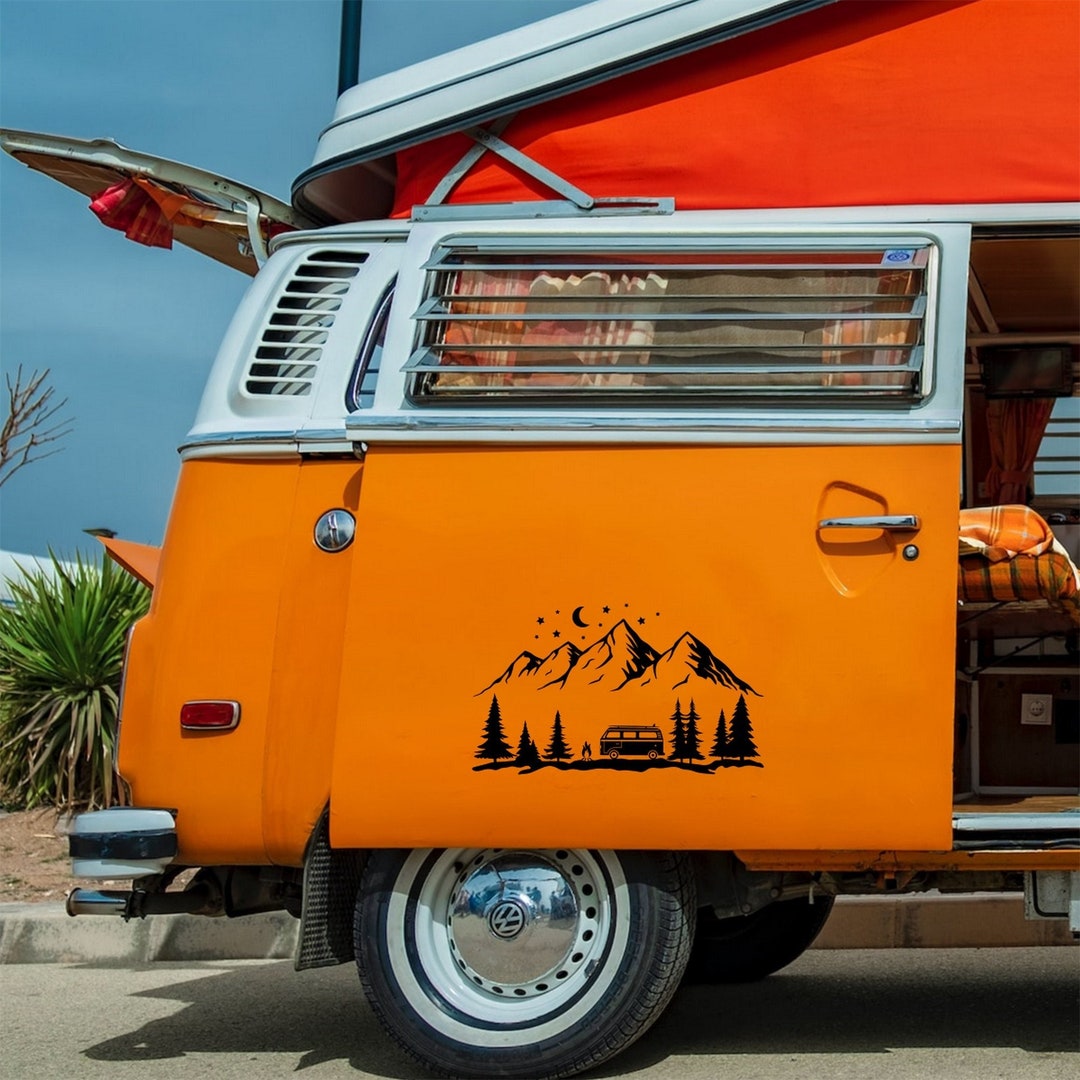
The world of camper stickers is incredibly diverse, ranging from sleek geometric patterns to hand-drawn botanical illustrations. Many owners opt for nature-inspired themes featuring mountains, forests, waves, and sunsets that reflect the landscapes they love to explore. These designs create a visual connection between the vehicle and the great outdoors, turning the camper into a moving canvas of personal experiences.
Below are some of the most popular categories you will find in the market:
- Adventure and exploration themed graphics, such as compasses, maps, and road signs.
- Whimsical and cute motifs, including animals, constellations, and tiny food illustrations.
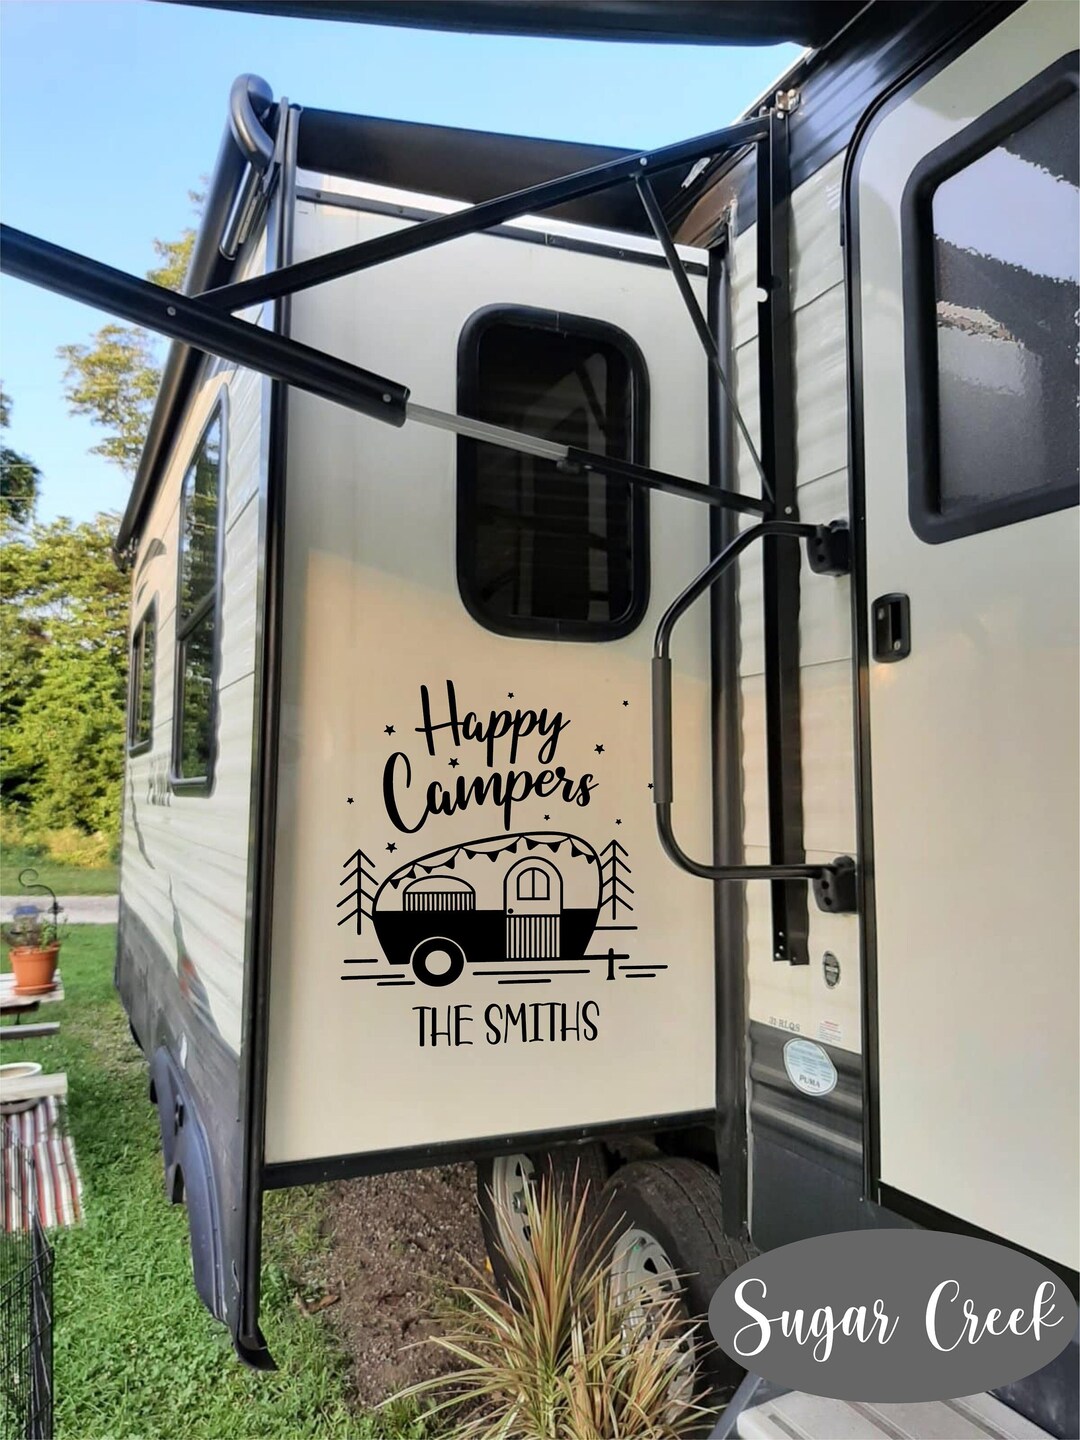
- Inspirational quotes and minimalist typography that convey a sense of freedom and wanderlust.
- Camouflage, tribal patterns, and abstract color blocks for a more edgy, modern look.
When selecting your set of camper stickers, consider the color palette of your vehicle. Light-colored campers can handle darker, high-contrast graphics, while darker surfaces often benefit from lighter or reflective stickers that increase visibility at night.
How to Measure and Plan Your Sticker Layout
Before applying a single sticker, it is wise to plan your layout on paper or using a digital mockup tool. Measuring the available space on your doors, bumpers, and rear wall helps you avoid guesswork and ensures that your graphics align in a balanced way. You might choose a single large focal sticker for the rear panel or a collection of smaller decals that create a cohesive gallery wall effect along the sides.
Consider the flow of the design as your eye moves around the vehicle. Placing stickers at different heights can add dimension, while keeping similar shapes together creates harmony. For those who like to change their look frequently, removable vinyl options are ideal because they allow for easy repositioning without leaving stubborn residue or damaging the paint.
Application Tips for a Flawless Finish
Applying camper stickers correctly is just as important as choosing the right design. Start by cleaning the surface thoroughly with isopropyl alcohol to remove dust, grease, and residues that could prevent proper adhesion. Work in a shaded area on a calm day to avoid dust settling on the adhesive or the sticker curling due to wind. A spray solution of soapy water can be used to temporarily slide the sticker into position before smoothing out air bubbles with a felt squeegee or a soft credit card.
For best results, follow these key steps:
- Peel the backing slowly and align the sticker carefully before pressing it down.
- Use a microfiber cloth to blot out excess water and ensure the adhesive bonds fully.
- Allow the sticker to set for a few hours or overnight before washing the vehicle.
Edge detailing is crucial for longevity. Run your finger along the edges to make sure they are fully sealed, especially on curves where lift can occur over time. If you are applying multiple stickers, overlapping them slightly can create a continuous look, but be careful not to stretch the material, which can cause warping.
Maintenance and Long-Term Care
To keep your camper stickers looking fresh, regular maintenance is essential. Wash your vehicle with a gentle soap and a soft sponge, avoiding harsh brushes or abrasive cleaners that might scratch the vinyl surface. When using a pressure washer, keep the nozzle at a safe distance and use a low-pressure setting to prevent the edges from lifting.

Over time, exposure to harsh weather may cause some stickers to fade or lift at the corners. Catching these issues early and pressing the edges back down with a hairdryer on a low heat setting can extend the life of your graphics. For stubborn dirt buildup, a mixture of water and vinegar can clean without degrading the adhesive, preserving the vivid colors of your favorite camper stickers for years to come.
Where to Find High-Quality Stickers and Custom Options
You can discover a wide selection of ready-made camper stickers at outdoor gear stores, automotive accessory shops, and online marketplaces that specialize in vehicle graphics. Many brands offer curated collections based on specific themes, making it easier to find a set that matches your aesthetic without mixing incompatible styles.
For a truly one-of-a-kind look, consider working with a designer or local print shop to create custom camper stickers. You can upload your artwork, choose your own color scheme, and decide on the exact size and material finish. This approach gives you full control over the placement of logos, contact information, or personal symbols, turning your camper into a genuine expression of your identity.
Conclusion
Camper stickers are more than mere decoration; they are a practical, long-lasting way to protect your vehicle while showcasing your unique sense of style. With thoughtful planning, quality materials, and proper installation, these graphics can transform your camper into a distinctive home on wheels that turns heads wherever you roam.
E23 Como aplicar adesivos, decalques e gráficos na minha autocaravana convertida em campervan: fa...
Episódio 23 Bem-vindos ao meu canal! Nesta série, vou transformar uma Renault Master em uma autocaravana. Neste episódio, vou ...
