Camper Decals

Camper decals are a fun and affordable way to personalize your mobile living space and make it stand out on the road. Whether you want subtle branding, playful designs, or clear identification for adventures, a well chosen decal can turn an ordinary camper into a personal statement.
Why camper decals matter for personalization and visibility
Custom camper wraps and decals let you express personality without permanent changes to the vehicle. You can add your name, a favorite quote, or a small logo that reflects your style, and change it later if your tastes evolve. This flexibility is perfect for renters, part time adventurers, or anyone who wants a unique look without a professional installation.
Beyond looks, functional decals improve safety and communication. Reflective striping, contact information, and hazard symbols help other drivers see your vehicle at night or in poor weather. Clear, visible camper signage can also make roadside assistance or parking conversations smoother, especially in busy campgrounds where many similar rigs line up side by side.

Choosing the right materials for long lasting camper decals
Vinyl is the most common choice because it resists UV fading, handles rain, and can be removed without damaging most factory paint. For campers that see constant highway travel, thicker cast vinyl holds curves better and resists bubbling, while budget friendly calendered vinyl works well for flat, short term projects. Consider a matte finish to hide minor surface imperfections, or a glossy finish for a bold, high contrast appearance.
Outdoor rated adhesive and edge sealing determine how long decals survive wind, heat, and cleaning. Look for products with strong adhesion specs and reinforced corners to prevent peeling at the edges. If you plan to wash your camper regularly at high pressure, choose a flexible material and avoid cheap stickers that crack or lift after a few months of use.
Design ideas and practical tips for camper graphics
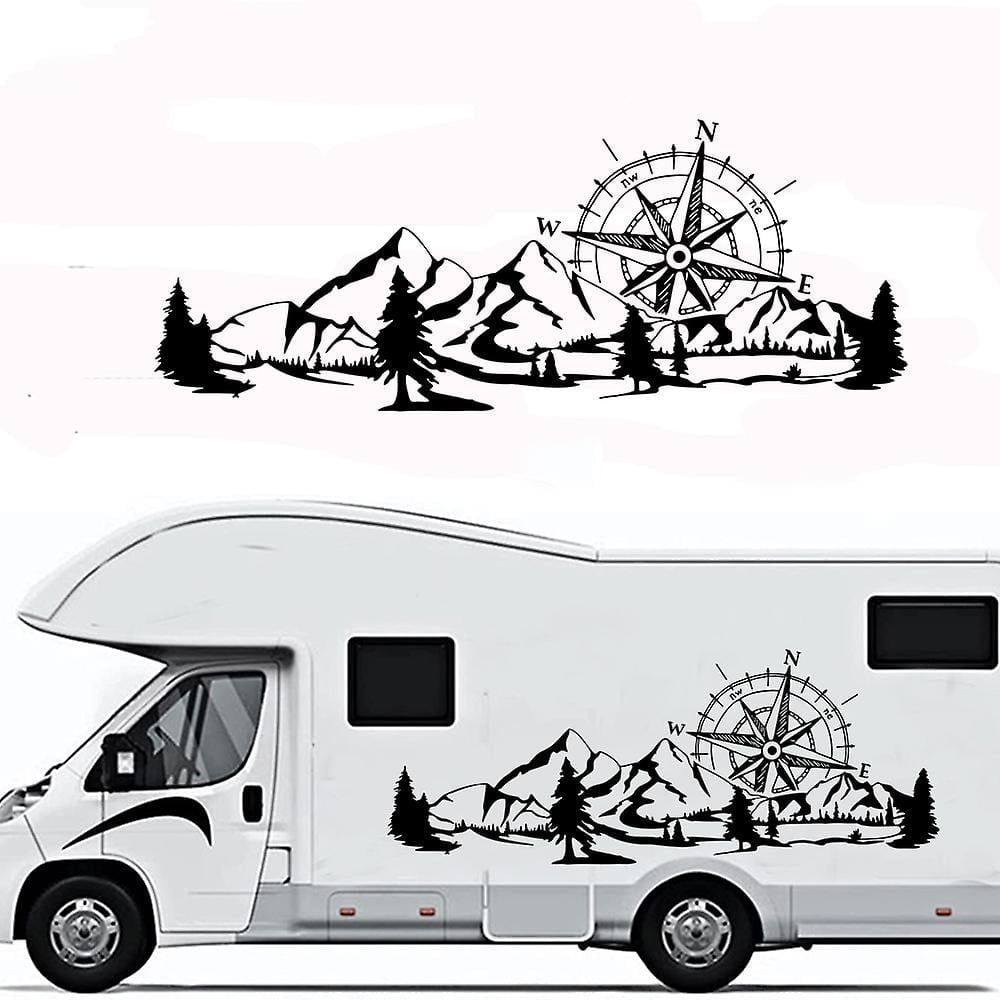
Simple text based designs with your handle or campsite name are timeless and easy to read from a distance. Combine a bold font with a contrasting background color or subtle shadow so letters pop against the camper wall. If you prefer graphics, consider a minimalist mountain, tree, or star motif that aligns with your travel style and does not overwhelm the vehicle lines.

- Keep key information short, such as a name, website, or contact method, so viewers can read it quickly.
- Use consistent color themes that match your interior accents or exterior roof for a cohesive look.
- Test placement digitally before applying, imagining how the design flows across doors, windows, and curves.
- Leave breathing room around windows and handles to maintain visibility and safe operation.
For removable options, consider magnetic vinyl panels or dry erase panels that let you change messages seasonally. These solutions are great for festivals, seasonal routes, or rental fleets that need flexible branding without committing to a permanent look.
Measuring and planning placement for best impact
Start by measuring your available surface area and sketching where major elements will sit. Use masking tape on the surface to outline the proposed shape, then step back to see how the design interacts with the camper contours. Pay attention to seams, vents, and access panels so graphics do not cut across important features or interfere with function.
Symmetry often looks balanced, but a slight off center arrangement can create visual interest and fit awkward spaces better. Think about how the design appears from the front, rear, and sides, especially if your camper is long or has multiple viewing angles. Planning the layout on paper or in a simple digital mockup helps avoid costly mistakes once the adhesive is exposed.
Installation steps for a clean, bubble free finish
Clean the surface thoroughly with a mild detergent, rinse well, and dry completely before application. Some installers prefer a slightly soapy solution that allows repositioning, but you must remove all residue before the adhesive sets to ensure a strong bond. Use a soft squeegee to press the decal down, working from the center outward to push air pockets toward the edges.
- Use a level or measuring tape to align text and graphics neatly.
- Apply low temperature heat carefully around edges if the vinyl resists conforming to curves.
- Trim excess material with a sharp hobby knife, leaving a tiny border if you want to avoid cutting into the adhesive.
Take your time with alignment; small adjustments early on prevent the need to peel and reapply later. If the decal is large or detailed, consider partial installation, where you set one section at a time to maintain control over positioning and tension.
Maintenance, removal, and protecting your investment
Rinse decals regularly and wipe off bird droppings or tree sap promptly to avoid staining the vinyl. Use a soft cloth and gentle soap, avoiding harsh abrasives or high heat washers that can lift edges. Inspect the edges periodically and press down any lifting corners before dirt builds up underneath.
When it is time for a change, most quality decals peel off cleanly with slow, steady pulling. Residual adhesive can usually be removed with a mild adhesive remover or a mix of oil based soap and warm water. A light polish after removal helps restore the original paint shine and keeps the camper ready for your next set of creative camper decals.
How to Paint a Camper or RV and How to Remove Decals
Watch the new, updated video on my new camping channel here: https://youtu.be/yHjnJvc02IA?si=J8i_iOJkTX7OC2vB How to get ...
