Build Your Own Decal
Build your own decal and turn any surface into a personal canvas that reflects your style in just a few clear steps.
Prepare your design and choose the right materials
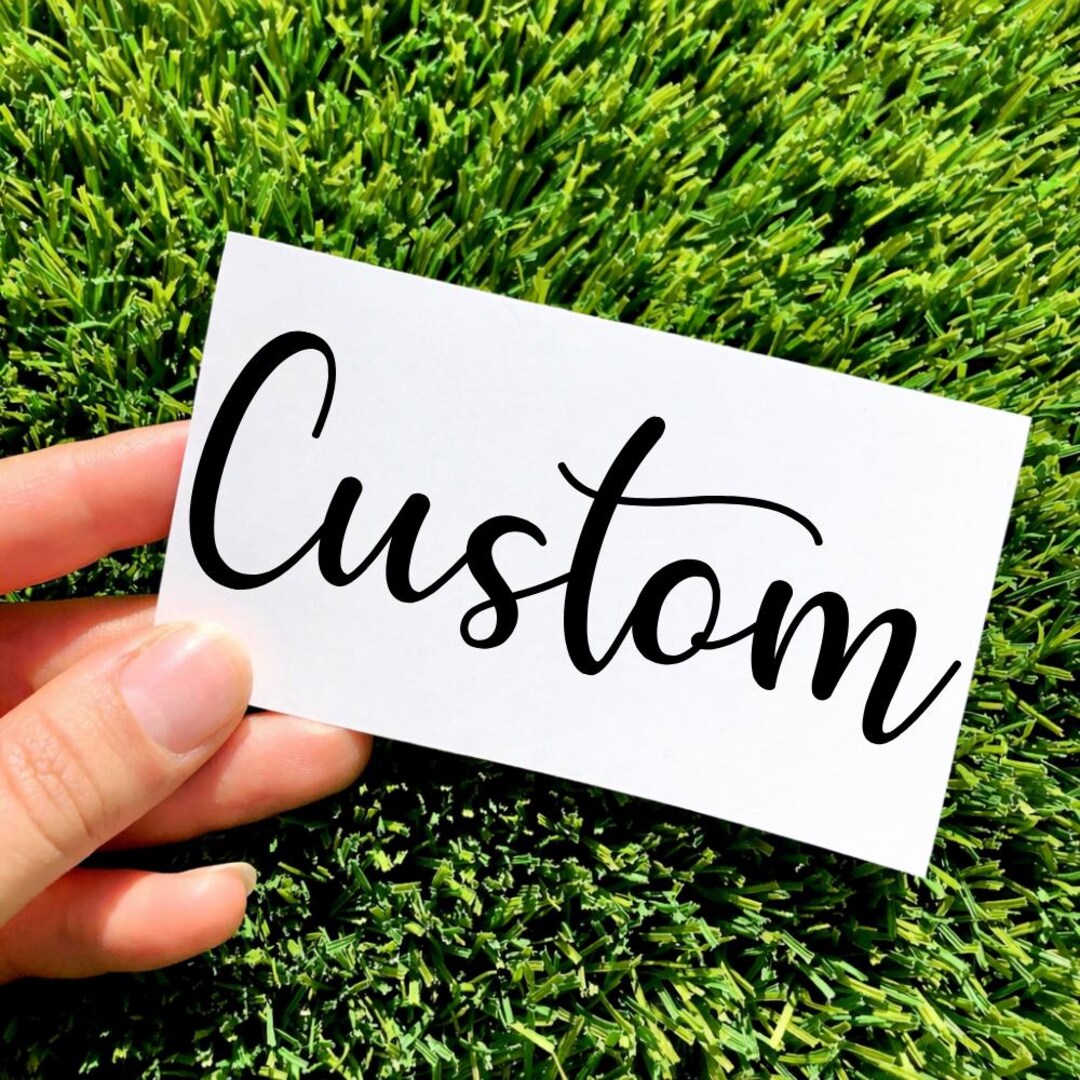
Start by defining the purpose and look of your decal, whether it is for a vehicle, a laptop, a window, or a piece of furniture. Sketch or refine your idea in a digital illustration tool so the lines are clean and the composition suits the shape of the object. Pick a color palette that stands out against the background while still feeling cohesive with your brand or personal aesthetic. Consider the final size, because scaling too much can blur details or make text hard to read once the decal is applied.
Choose materials that match the environment where the decal will live, such as durable vinyl for outdoor use or a more delicate paper for indoor displays. Think about adhesive strength, weather resistance, and whether you want a glossy finish for vibrancy or a matte finish for a subtle touch. Collect the basic tools you will need, including a cutting tool, transfer tape, a squeegee, cleaning supplies, and measuring instruments. Having everything ready before you start will keep the process smooth and reduce the chance of errors or wasted material.
Create or refine your decal design digitally
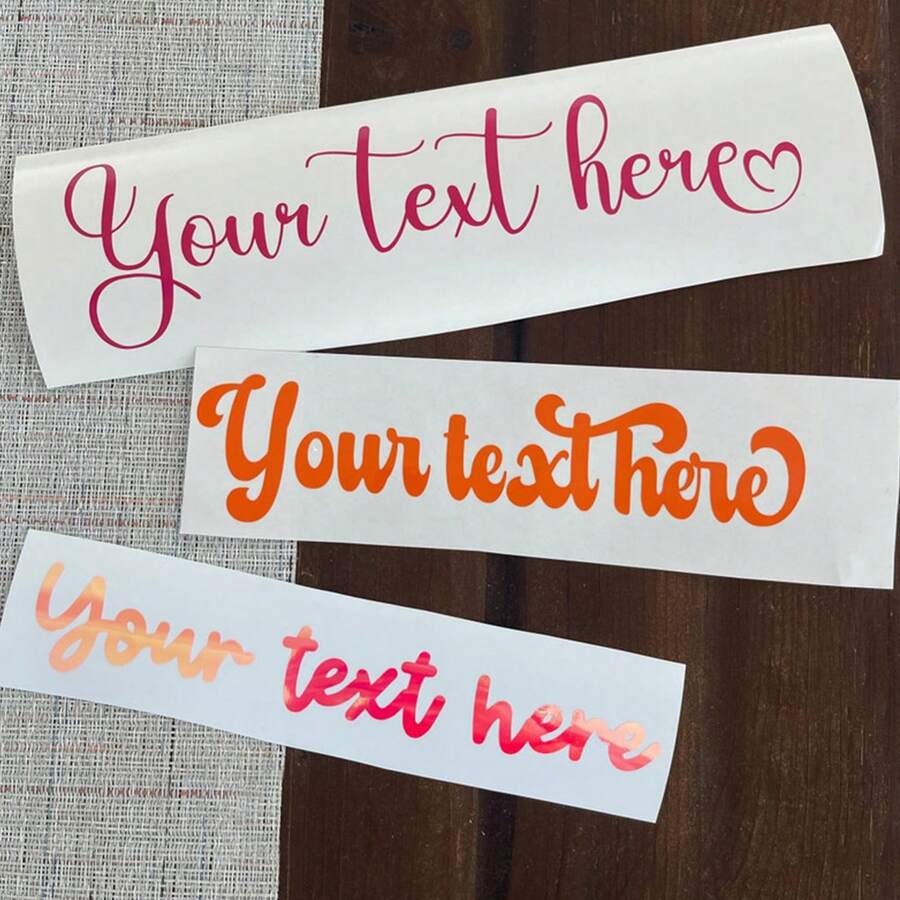
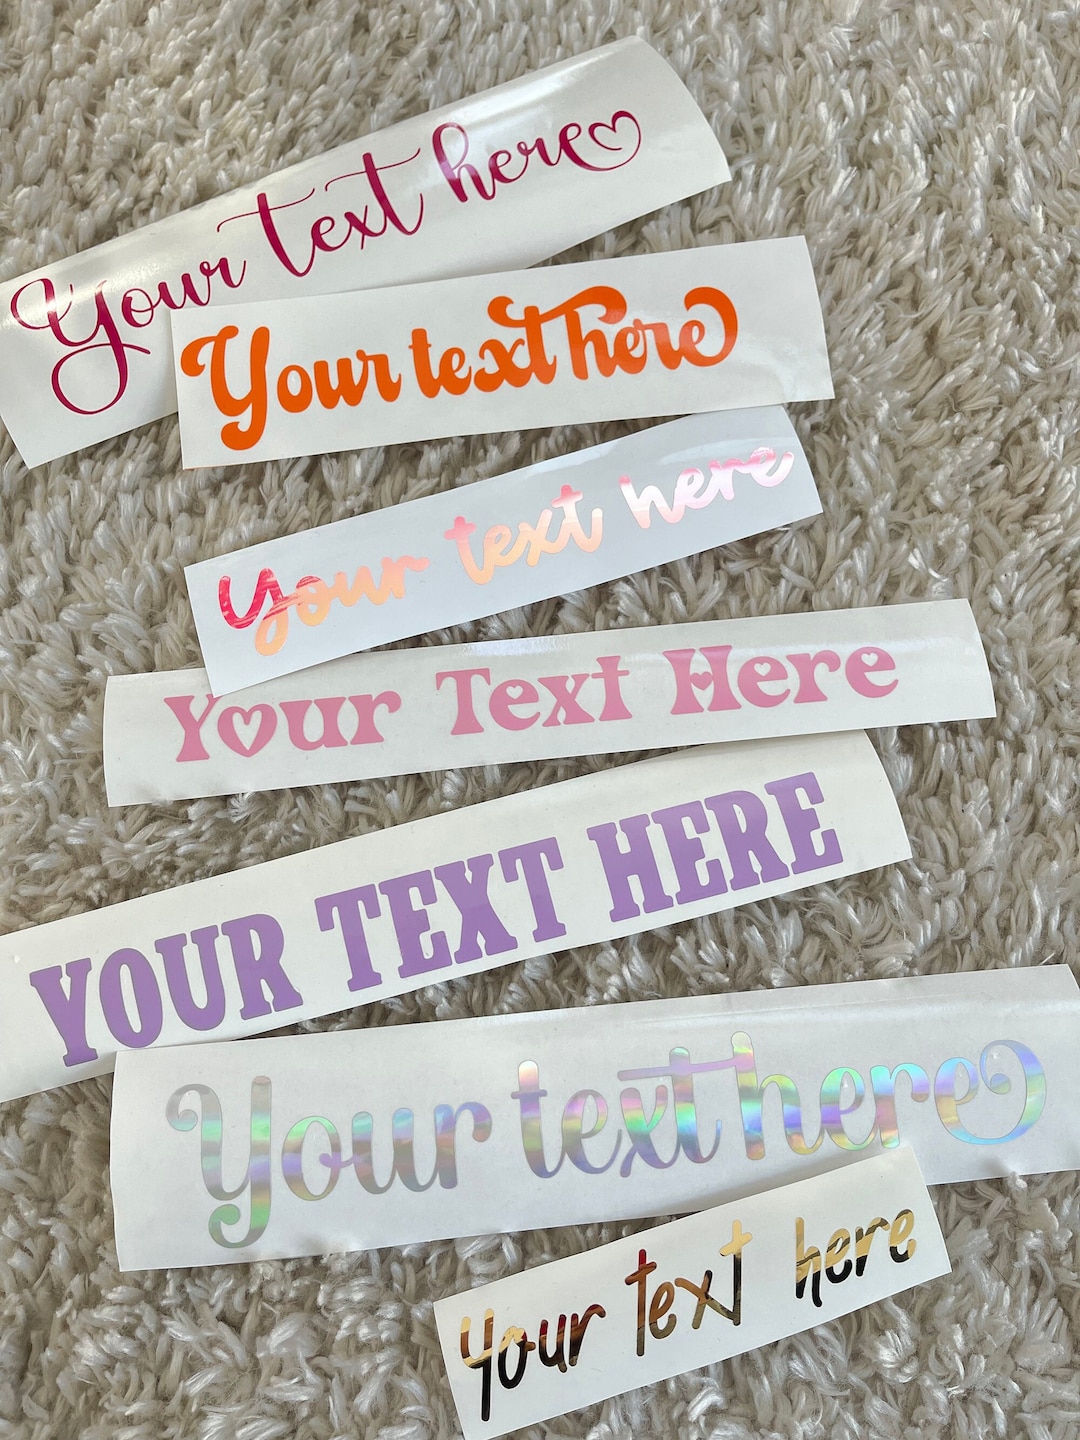
Use vector graphics software to trace your sketch or build the design from scratch, ensuring that lines are sharp and scalable without losing quality. Keep the file at a high resolution and simplify small details that might break during cutting or application. Add clear registration marks if the decal has multiple layers or if precise alignment is important for the final look. Export the file in the format required by your cutting machine or print service, and double-check colors, spacing, and sizing before sending it to production.
Test the design by printing a small mockup or sketching it on paper to confirm proportions and visibility from a distance. Pay attention to contrast, so text and graphics remain legible against the background where the decal will go. If you are adding text, choose fonts that are strong and easy to read, avoiding overly thin strokes that could tear or fade. This stage is your safety net, catching design issues before you invest time and materials in the final build your own decal project.
Cut out the decal precisely
Feed your material into a cutting machine or use a craft knife and ruler to carefully cut along the design lines, taking your time with curves and tight corners. If you are using a professional print and cut service, follow their recommended file specifications and material choices to get clean edges and accurate shapes. As the decal comes off the sheet, inspect the edges for any ragged cuts or pulled material that could weaken the final result. Keep the inner pieces of complex designs safe, because they will be needed during the application process to maintain proper spacing and alignment.
For detailed areas, consider cutting at a slower speed to maintain control and prevent mistakes that would force you to restart the build your own decal process. Lay the cut design on a flat surface to verify that all parts are connected as intended and that the overall shape matches your original vision. When the cutting is complete, you will have a clean, ready-to-transfer decal that is almost ready to make its mark on the world.
Apply transfer tape and prepare the surface
Cover the cut design with transfer tape, smoothing it down gently to remove air bubbles and ensure every detail sticks to the tape layer. Use a squeegee to press the transfer tape firmly onto the decal, working from the center outward to keep everything aligned. Before placing the decal, clean the surface thoroughly with a mild cleaner and dry it completely so the adhesive bonds evenly. Remove any dust, grease, or old stickers, because imperfections under the surface can cause peeling or poor adherence later.
Measure and mark the final position of the decal with light pencil lines or masking tape guides, especially if the design is large or needs to be perfectly centered. Make sure the surface is dry and at the recommended temperature for the adhesive, since cold or damp conditions can affect how well the decal sticks. With the surface prepared and the transfer tape in place, you are ready to position the decal accurately and avoid time-consuming rework.
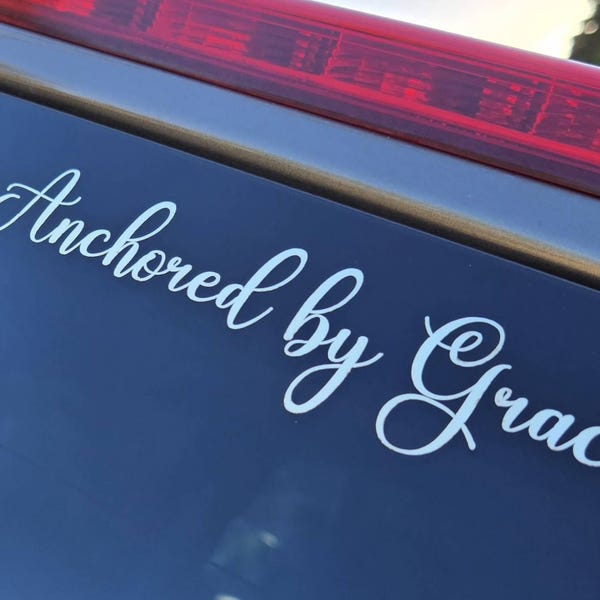
Transfer the decal and smooth out bubbles
Slowly peel back part of the transfer tape while pressing the exposed decal onto the surface, using a squeegee to flatten it and keep it aligned. Work section by section, gently pressing down and smoothing out any wrinkles or air pockets as you go. If you see bubbles, use the edge of the squeegee to push them toward the nearest edge instead of trapping them under the vinyl. Patience during this step pays off, because a well-smoothed decal will look professional and last much longer.
Once the entire decal is transferred, carefully remove the transfer tape at a sharp angle, pulling slowly so that the vinyl stays in place. If small pieces lift up, press them back down and smooth them before the adhesive fully sets. Inspect the edges and corners closely, reinforcing any areas that did not stick completely. This stage transforms your carefully prepared design into a finished decal that looks sharp and stays in place.
Finish, maintain, and troubleshoot your custom decal
After installation, let the decal cure for a day or as recommended by the material supplier before cleaning or touching it excessively. Regularly wash the surface with mild soap and a soft cloth to keep the decal looking fresh, and avoid harsh chemicals that can degrade the adhesive. If edges begin to lift, gently press them down and apply a small amount of soapy water to help the seal stick back to the surface. With proper care, your build your own decal will continue to stand out and express your personality for a long time.

By following these steps, you gain full control over the design, materials, and placement of your decal, creating a high quality result that fits your space perfectly. Each stage, from concept to final smoothing, helps you avoid common problems and achieve a clean, professional finish. Use this process for personal projects, client work, or small batch production, and enjoy the satisfaction of seeing your custom decal come to life on any surface.
Create Your Own CUSTOM Decals and Apply Them PERFECTLY | Applying Transfer Sheets
Creating you own custom decals can be difficult...but does not HAVE TO BE! With this guide on how to create custom decals ...
